I’m always looking for new techniques to try out and experiment with, and recently, I came across a video on Instagram where an artist named Victor Baroni had covered a canvas with foil and was painting on top of that. I found this idea intriguing and wanted to try it out digitally in Procreate. So in today’s tutorial, I’m going to take you through the steps of creating a digital artwork on top of a foil texture.
Can’t see the video? You can also watch it on Youtube.
Step 1: Choose a Foil Texture
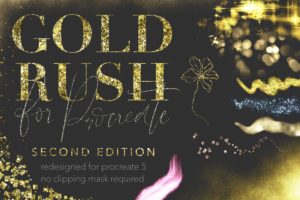
To start, you’ll need to choose a foil texture. You can purchase a foil texture brush set or find a foil texture online to use as a base layer. In this example, we’ll be using the “Foil Fill 3” brush from my Gold Rush set.
Step 2: Add Color to the Foil Texture
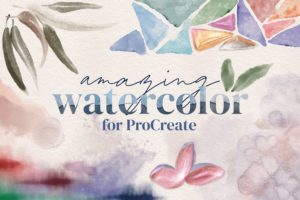
Once you have your foil texture set up, add a new layer and then add color to it. We’ll be using my Amazing Watercolor brush set in this guide, but you can experiment with different brushes to see what works best for you – you can use watercolors, oil, acrylics or anything else you fancy.
Start by selecting a color palette. We’re using the W&N Dark Colors palette from my watercolor brush set. Choose a bright color to start with, and use the Mega Bloom brush to apply it to various parts of the screen. Then Bright Bloom Accent to add more splashes of color.
Step 3: Add White for Dimension
We can add white with the Bright Bloom Accent brush to give more dimension to the piece. Blend it into the other colors using a back and forth motion with this brush. This gives it a more faded look, which is characteristic of watercolors. Experiment with different brushes and colors to create unique blends and textures.
Step 4: Define Edges
To define edges and add structure to your artwork, use the Directional Line Edger brush. This brush is ideal for creating lines and edges that emerge from a certain direction. Use a darker color to create stronger edges.
Step 5: Add Splatters
Add splatters to your artwork to create a more organic and abstract look. Use the Light Splatter brush to add strategic splatters to areas that need more color or texture. You can use different colors to create a more complex and dynamic look.
Step 6: Experiment
Continue experimenting with different brushes, colors, and textures until you’re happy with the result. In my piece I ended up going back with a different watercolor brush at this stage, called Large Dark Bloom, and adding more bright splashes of color with darkened watercolor edges to anywhere to looked boring to me.
You can use this idea to experiment with different brushes, colors, and textures to create your own style. I hope you enjoy it and I would love to see what you come up with!
Supplies
Brushes: Gold Rush

Brushes: Amazing Watercolor
