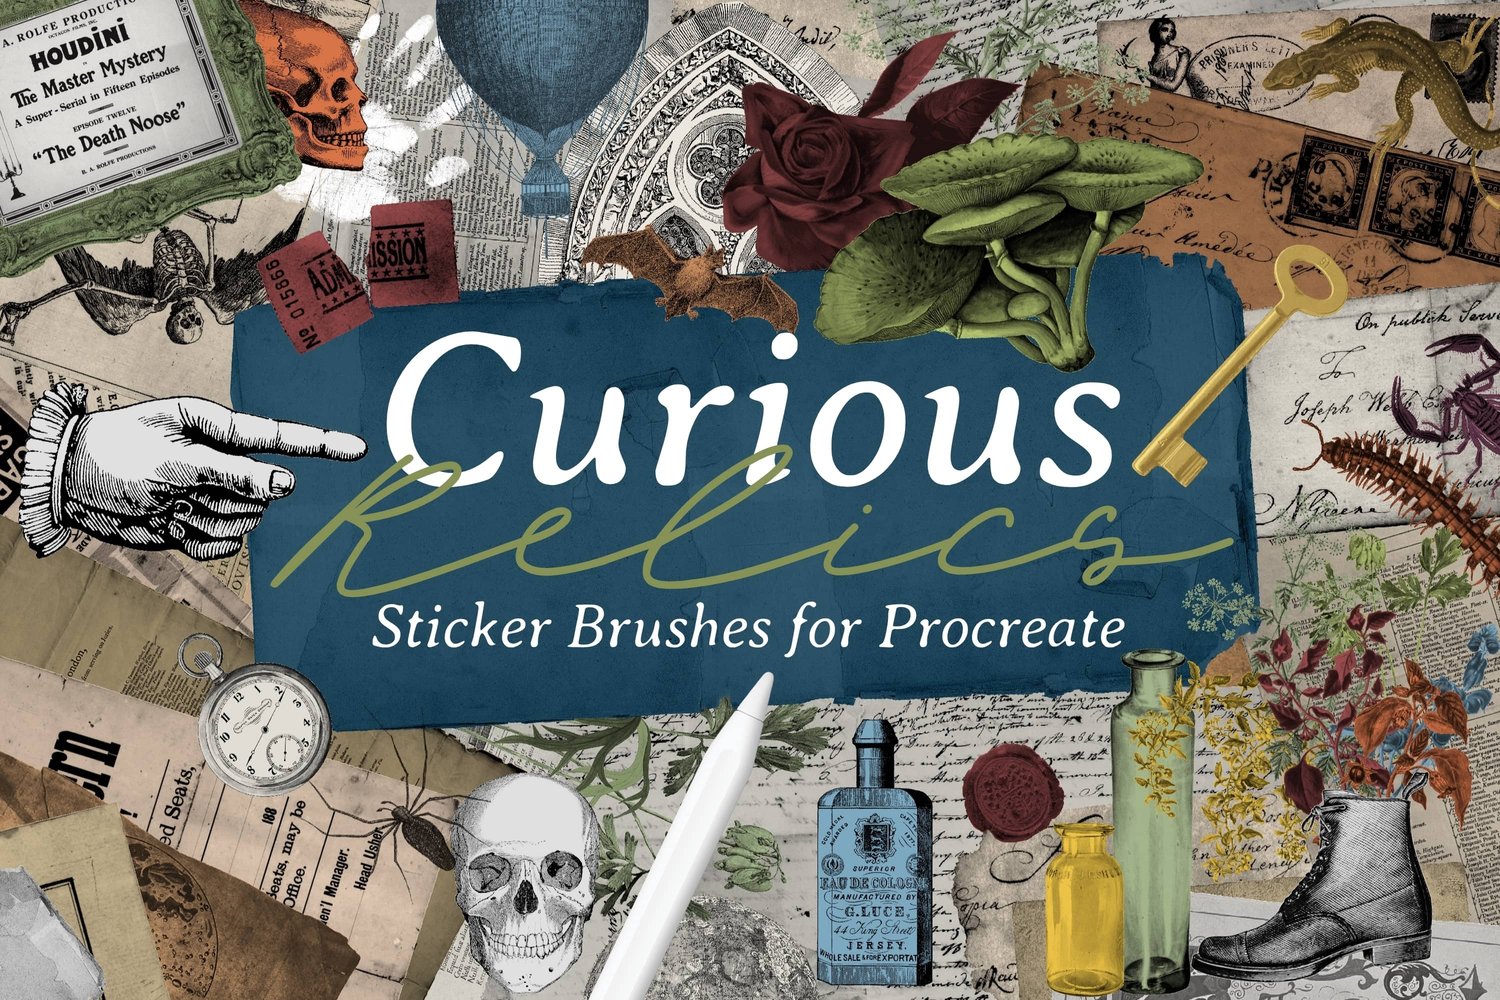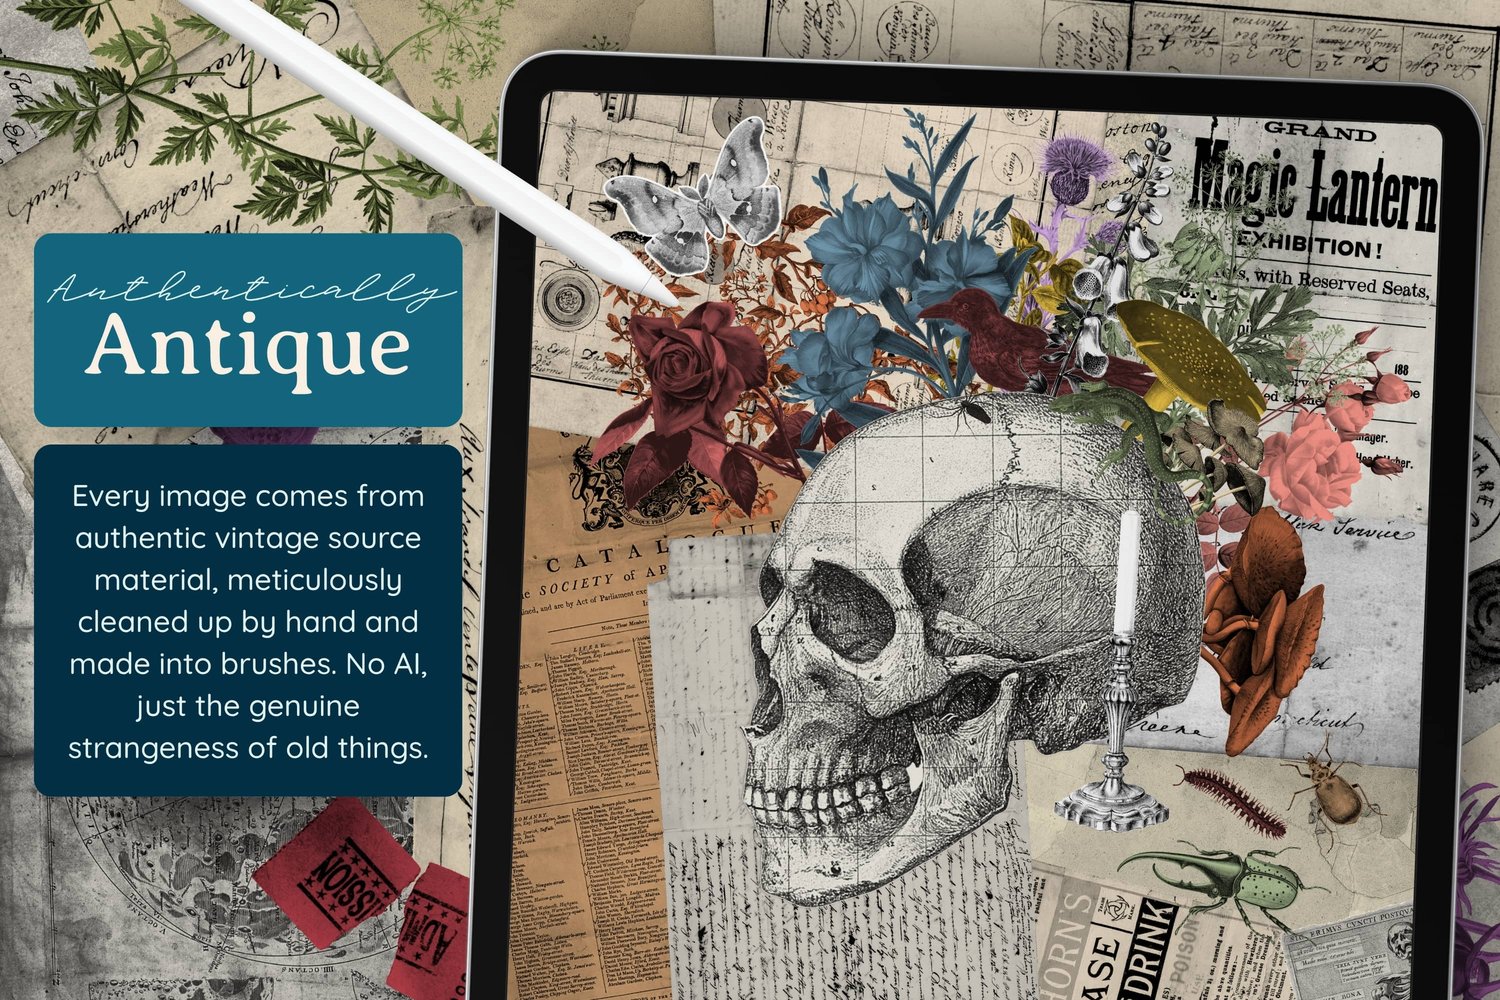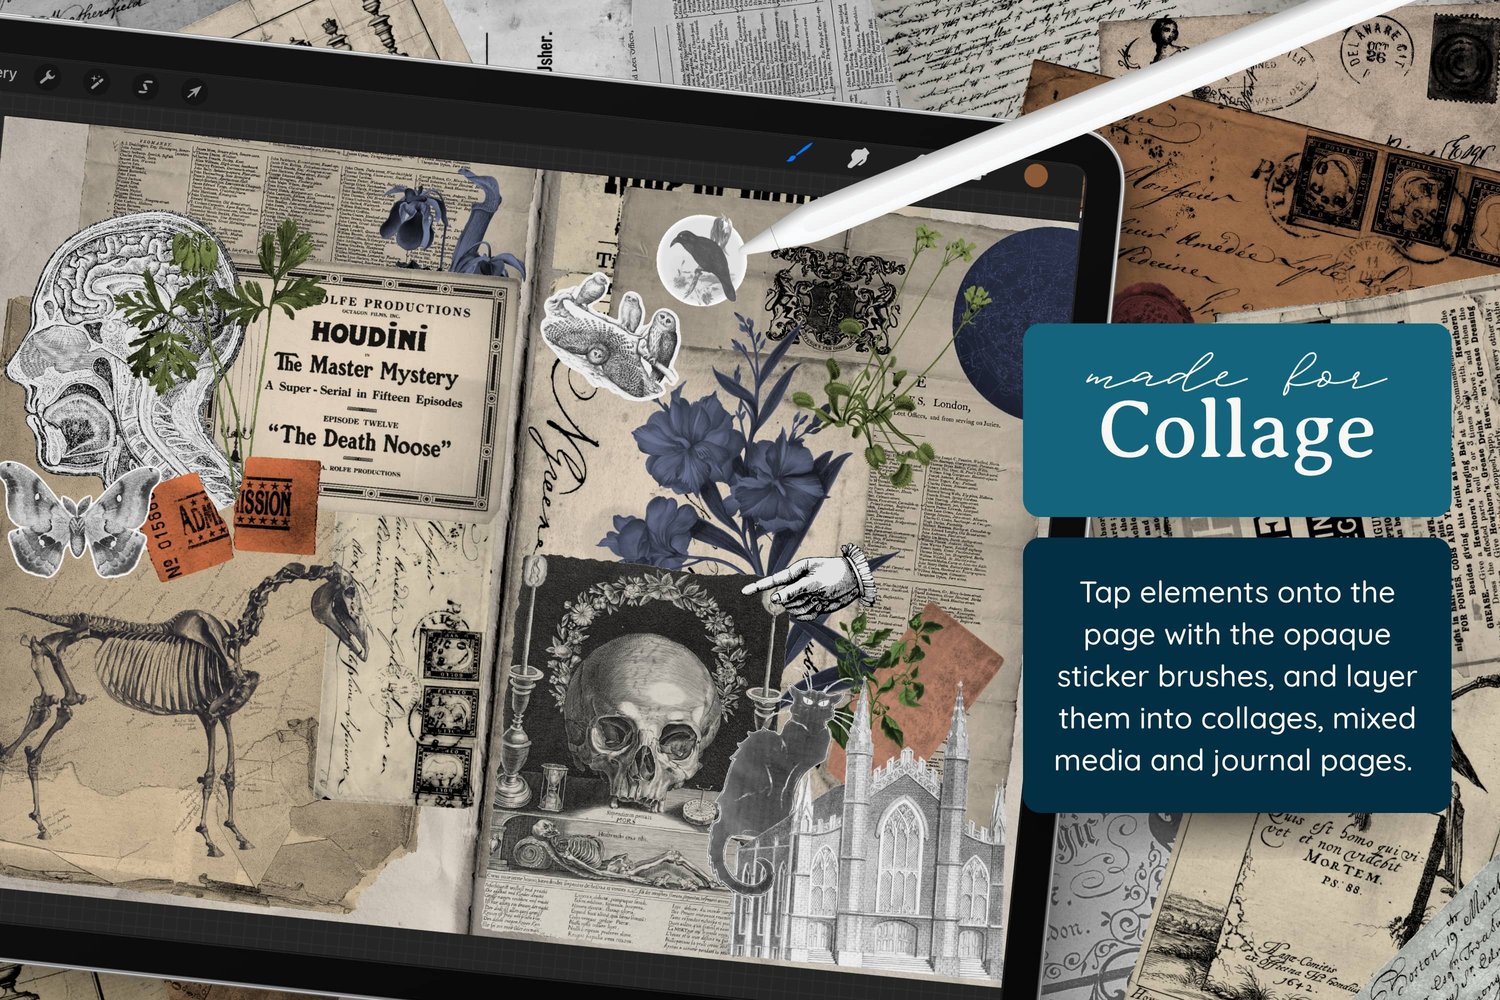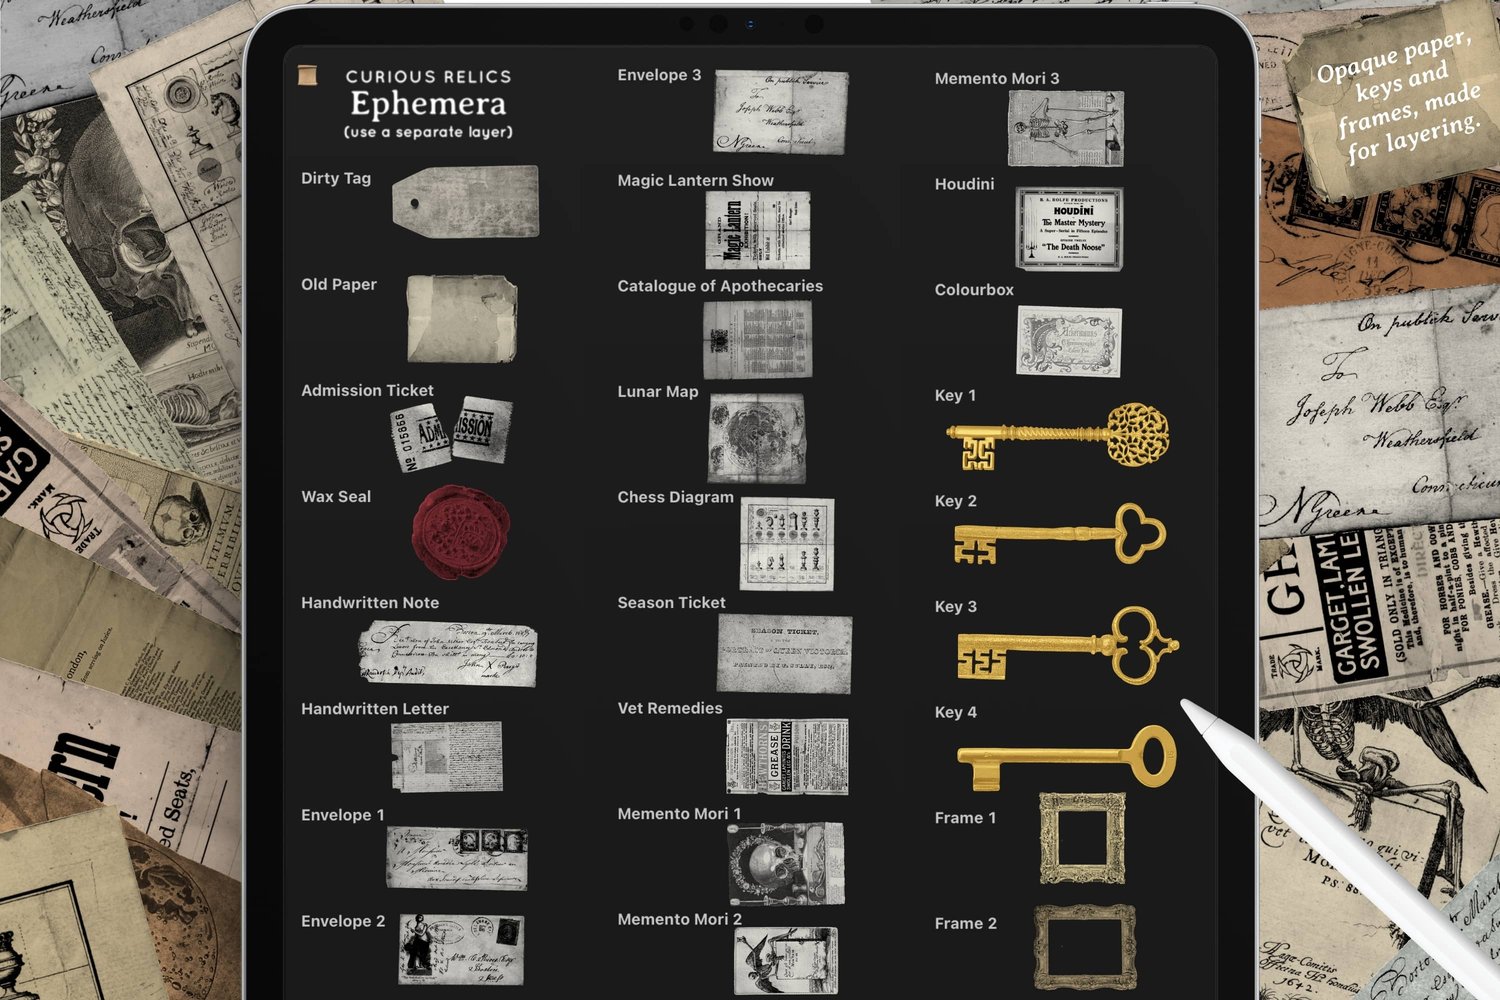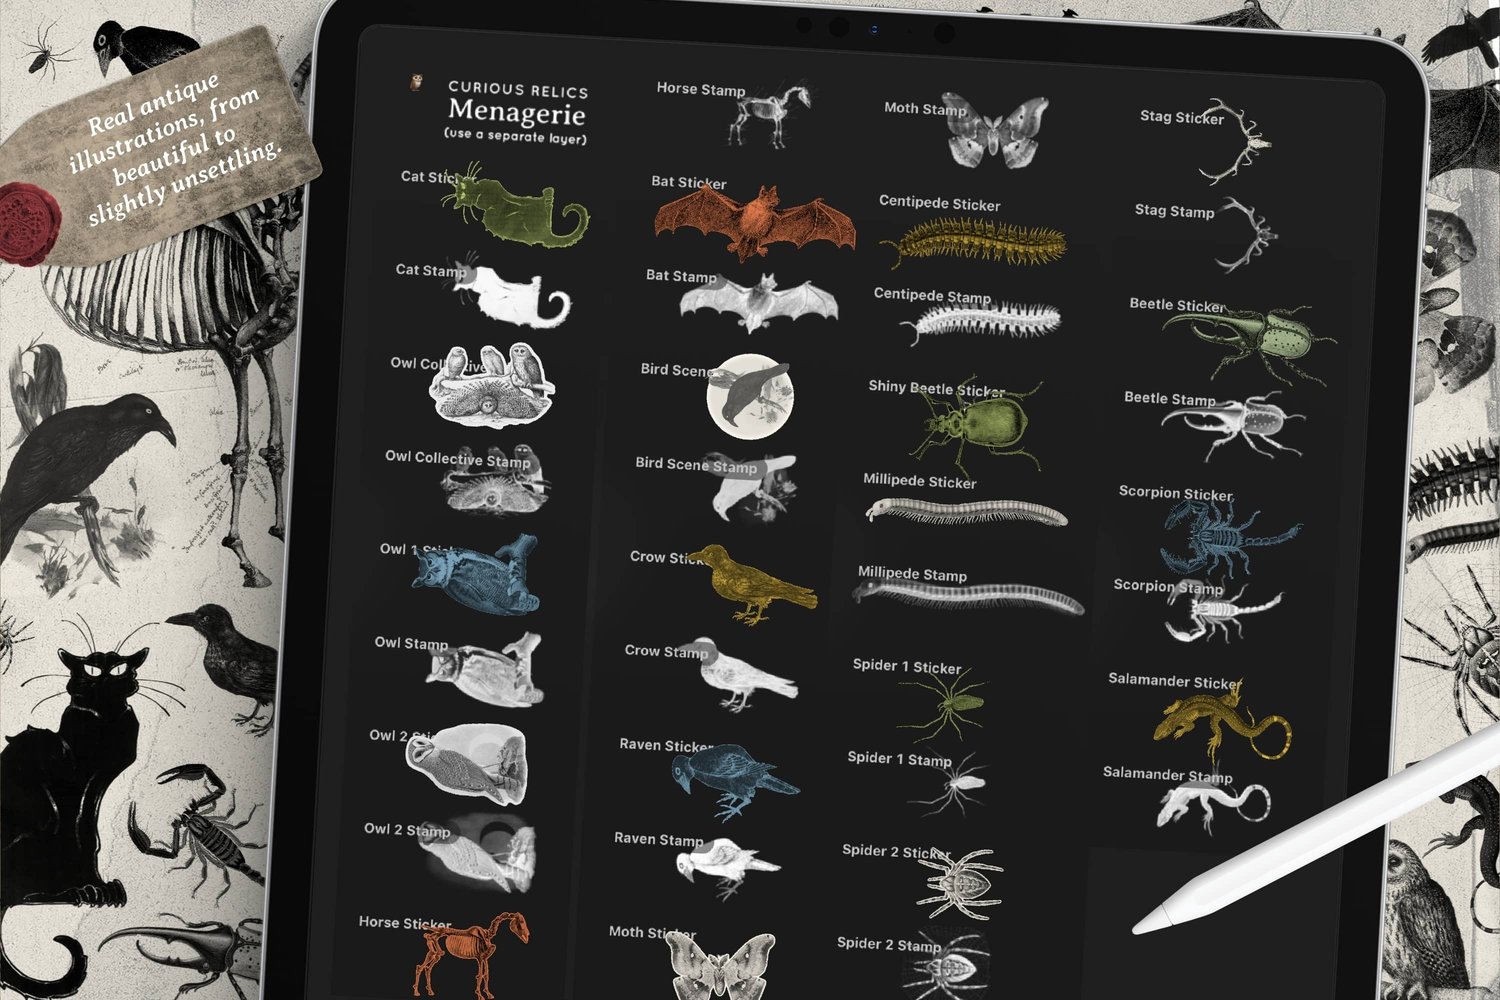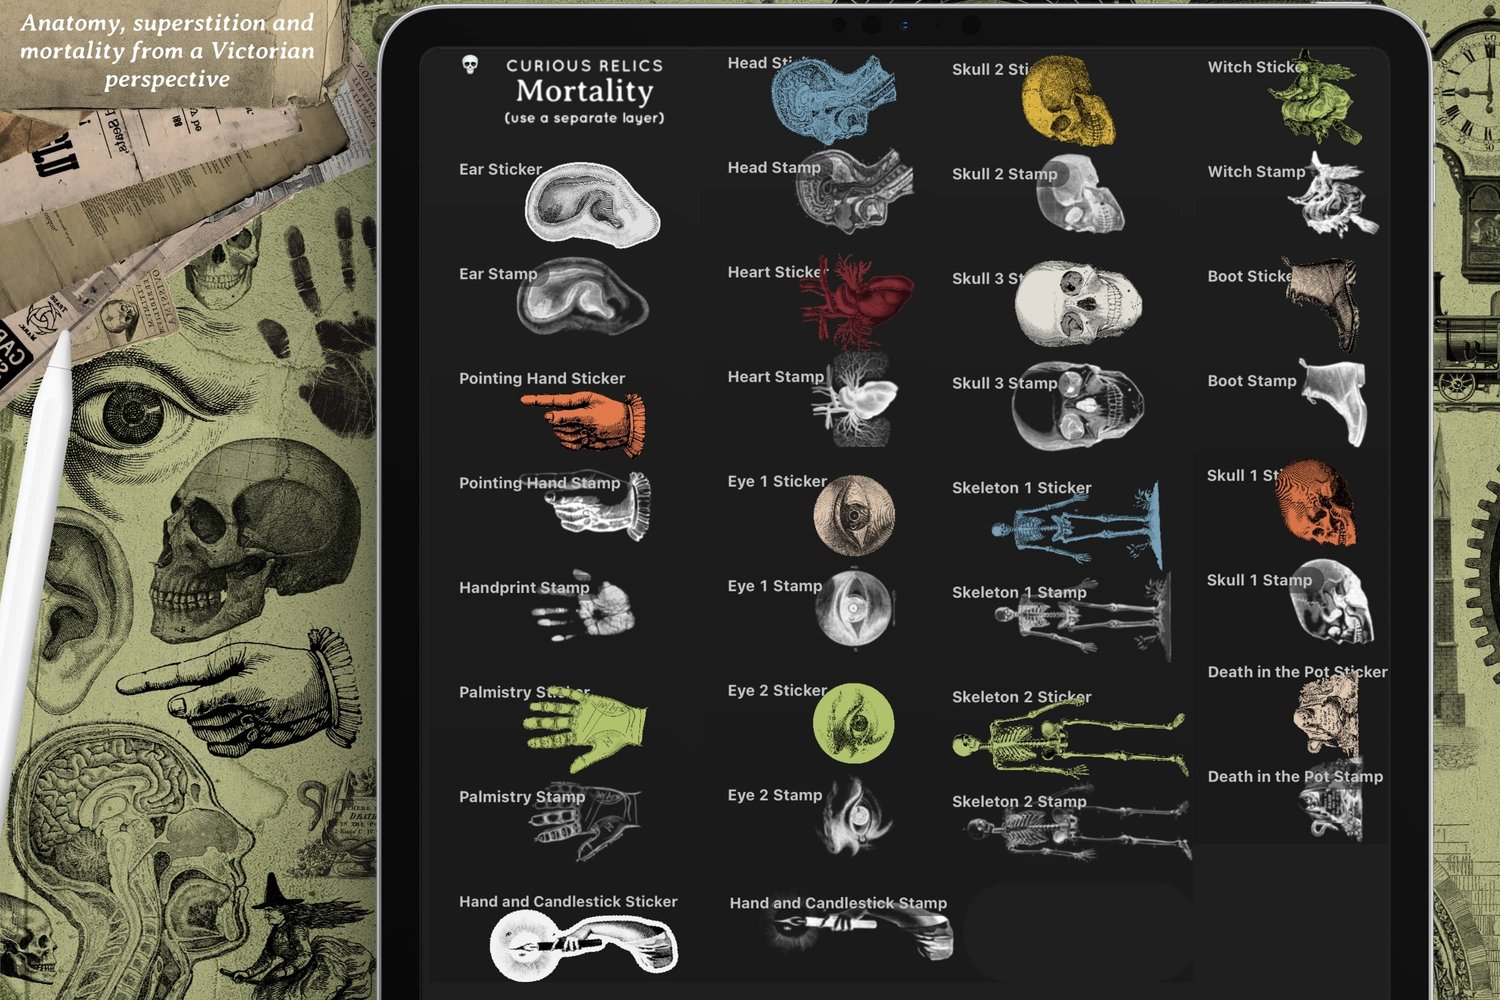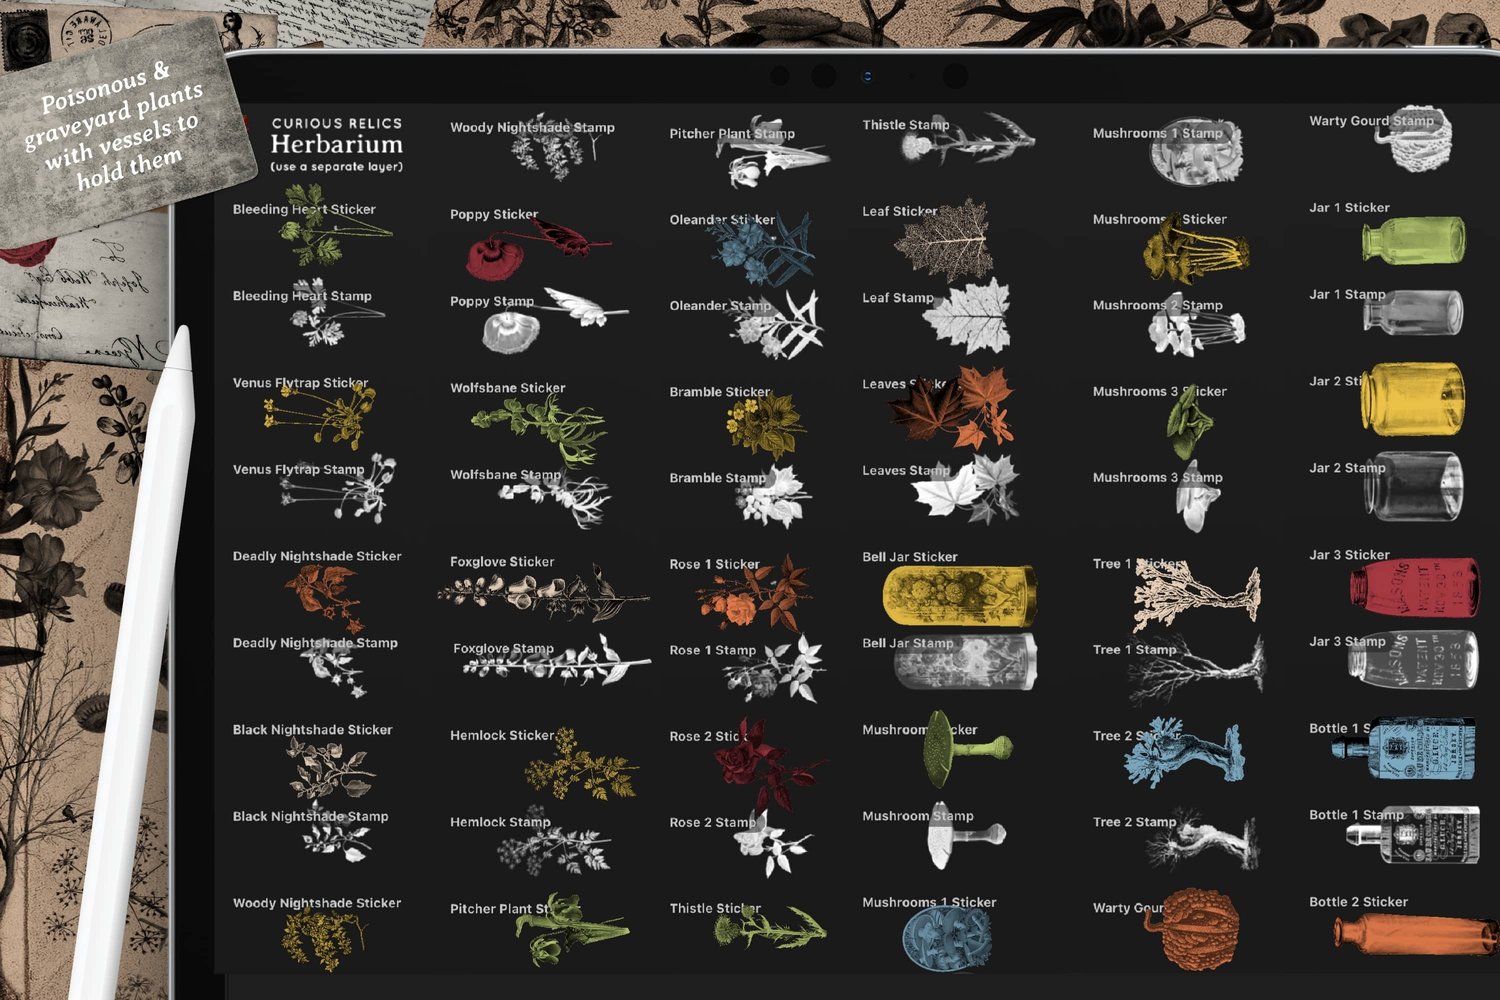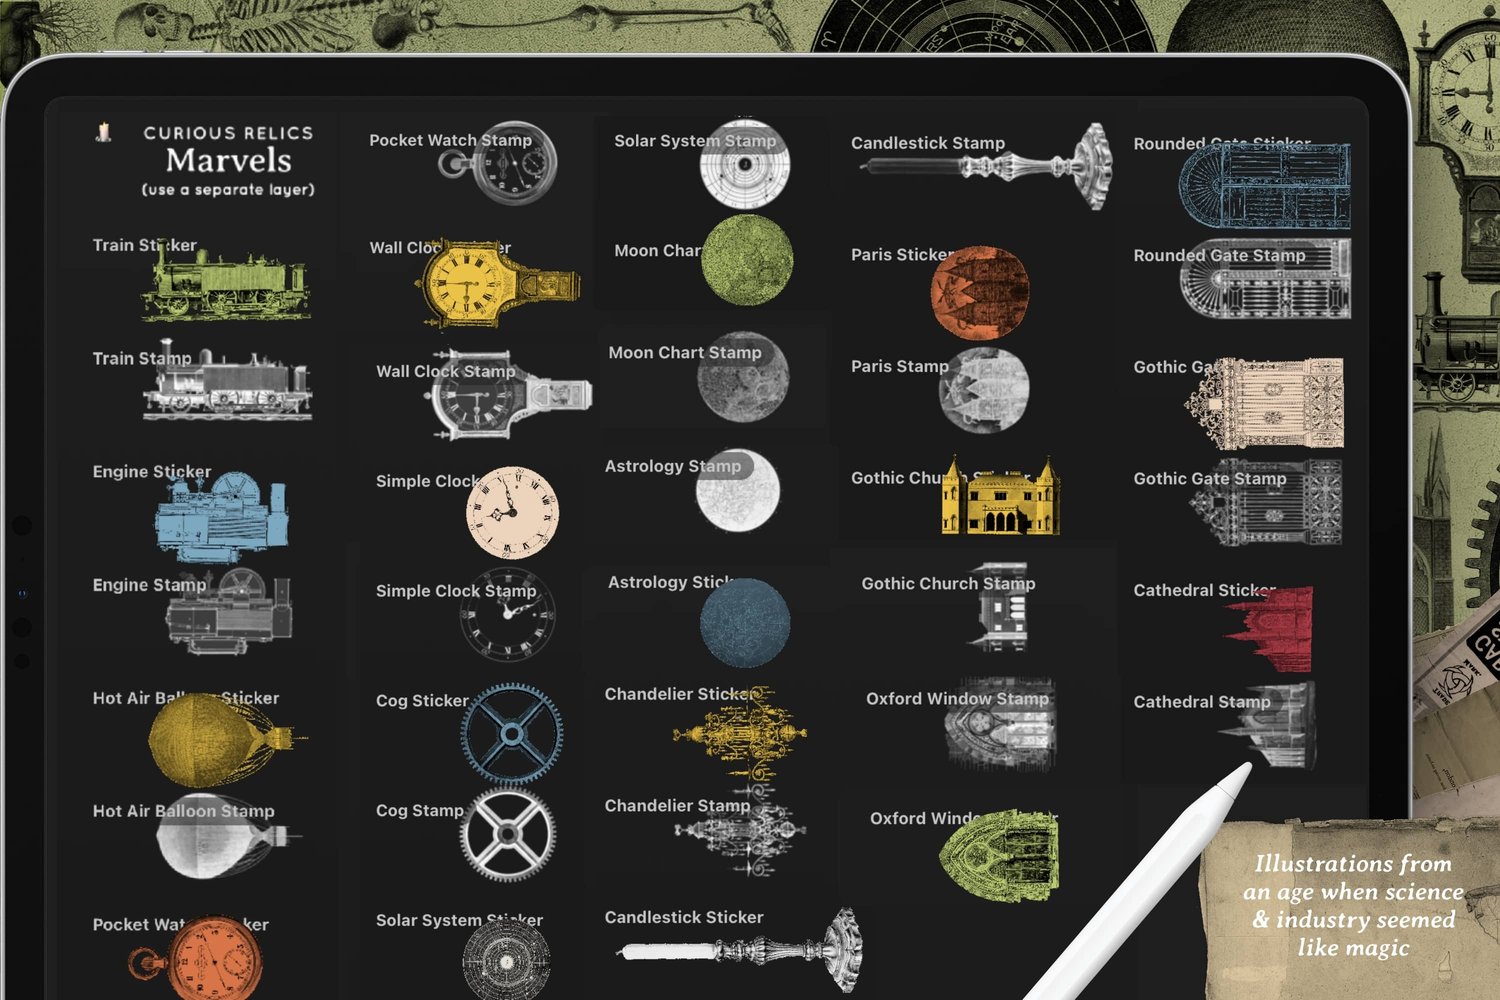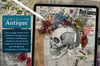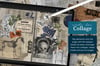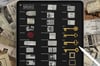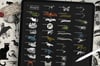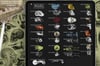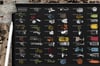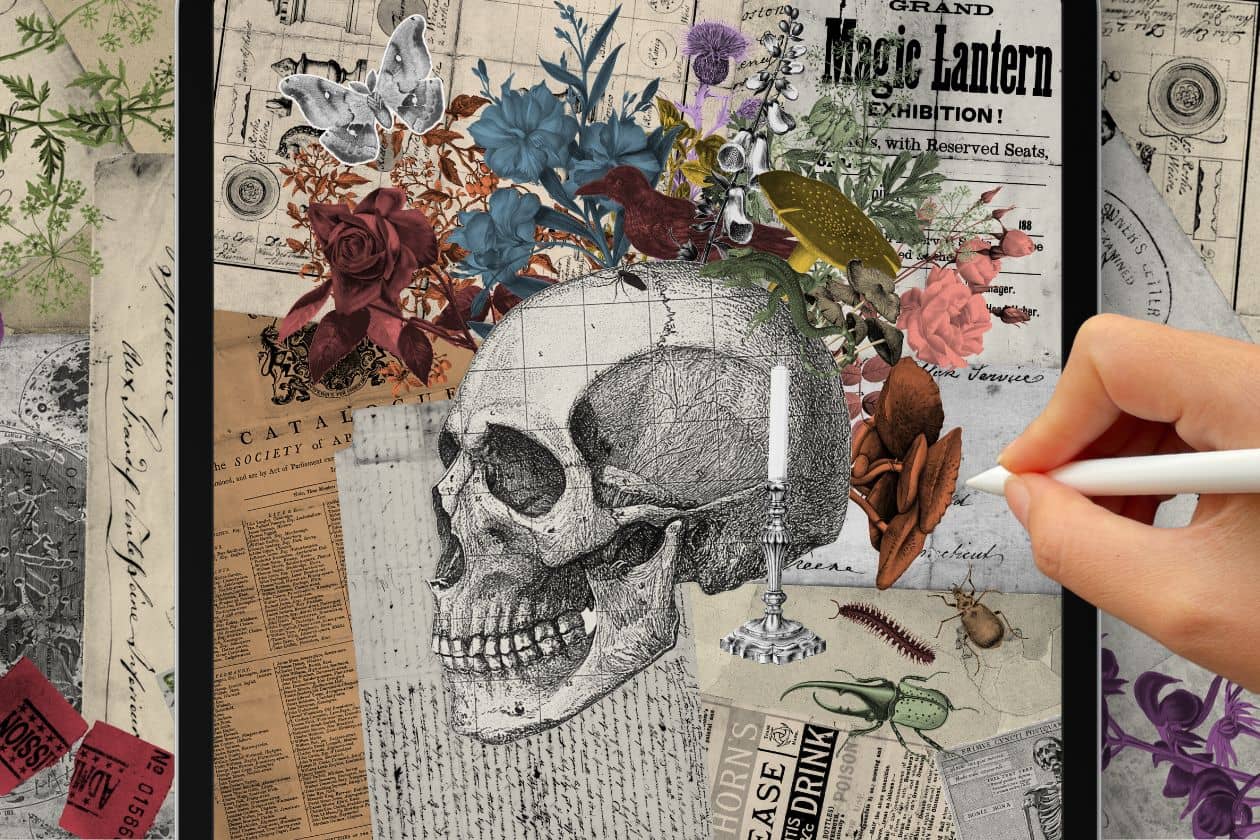
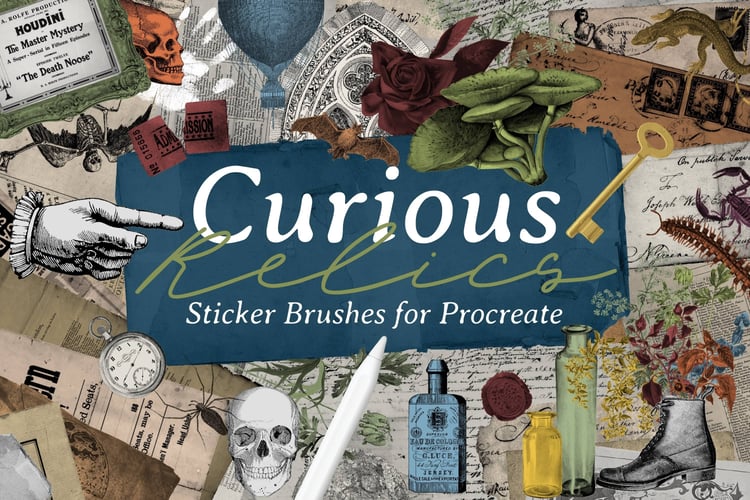
For this week's tutorial, we are making a collage with a vintage skull as the focal point and a big pile of flowers, mushrooms and bugs around it, all sitting on a background of old papers. Everything comes from my new Curious Relics brushes, and I used the sticker versions for nearly all of it, so each piece stamps out solid and stacks on top of the others like real paper, and it ended up somewhere between spooky and pretty. It's a nice one for Halloween, but it works just as well for a year round junk journal page or a print for your wall.
Canvas Setup
- Size: 12 × 12 inches at 300 DPI (a standard scrapbook paper size)
- Brush Set: Curious Relics
- Color Palette: Curious Relics (included with the brush set)
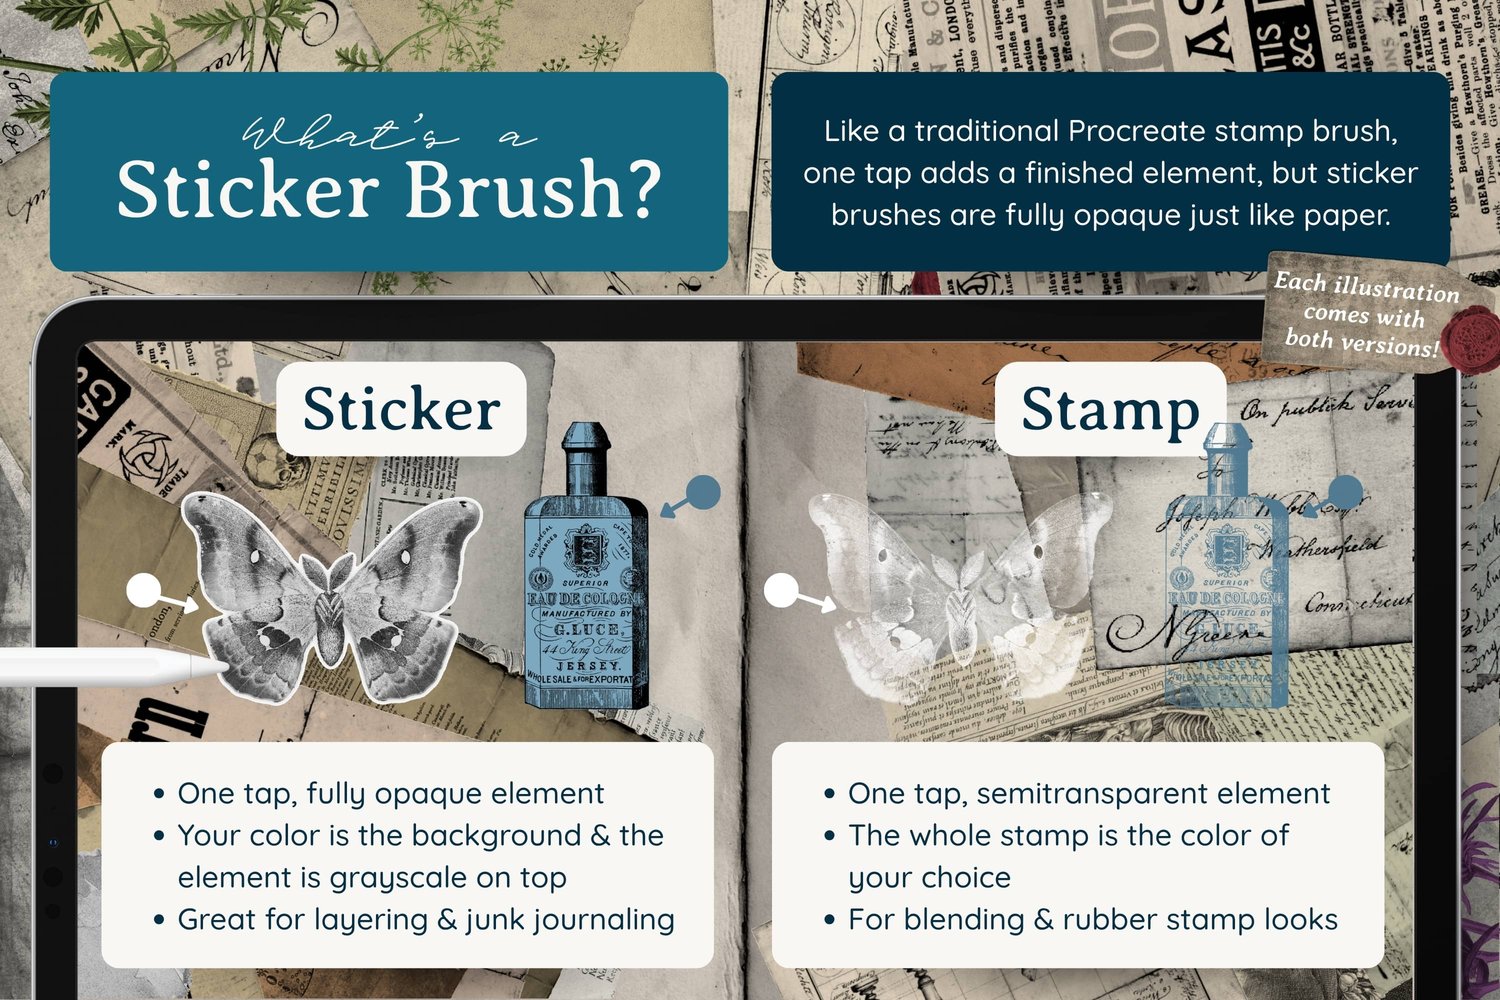
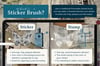
A quick note on stickers vs stamps: Most of the illustrations in Curious Relics come in two versions. The sticker version is fully opaque, and the stamp version is semitransparent like a traditional Procreate stamp. I'm using the sticker versions for this whole project.
Step 1: Place the Skull
We're starting with the focal point first and building the background later.
Brushes Used (Curious Relics):
- Skull 2 (Sticker) in a creamy beige from the palette
There are three skulls to choose from. Number three is great if you want a forward-facing look, but I went with number two. A creamy color felt softer and more vintage than plain white.
Resize the skull so there's room around it, then turn on snapping to center it on the canvas. Once you see the yellow guide lines, nudge it down a bit so you have more space above for the flowers.
Important: Every sticker needs its own layer. If you stamp one sticker on top of another in the same layer, you get an interaction between them. In separate layers they stack like real paper, with nothing showing through. It also means you can resize, flip and move each piece on its own later.
Step 2: Add Flowers and Greenery
Now for the bouquet. The Herbarium section has all the plants, and they're all the kind of thing you'd find in a graveyard or a witch's garden.
Brushes Used (Curious Relics, Herbarium):
- Deadly Nightshade (Sticker) in yellow
- Woody Nightshade (Sticker)
- Bleeding Heart (Sticker) in green
- Oleander (Sticker)
- Rose 1 (Sticker) in a soft peach
- Rose 2 (Sticker) in a bright deep red
- Thistle (Sticker) in a light, dusty purple
- Hemlock (Sticker) in green
Make a new layer and pick a new color for each plant. Move the plant layers below the skull so everything looks like it's growing out of the top.
Tilt your Pencil as you stamp to change the direction, and use the move tool to resize, rotate and flip things around until they point where you want them. I turned snapping off at this stage so I had more control over placement.
Step 3: Reorder and Group the Plants
Once the plants are in, have a look at what wants to be in front and what wants to sit behind.
- The thistle was standing out too much, so I moved it behind everything.
- The hemlock went toward the back too.
- The peach rose tucked in nicely behind the greenery.
- The red rose went behind the oleander so it didn't compete with it.
This is where having everything on its own layer really pays off. You can keep shuffling until it feels balanced. When you're happy, group the plant layers together and name the group "Plants."
Step 4: Add Mushrooms
Mushrooms are further down in the Herbarium section.
Brushes Used (Curious Relics, Herbarium):
- Mushroom 1 (Sticker) in bright yellow
- Mushroom 2 (Sticker) in beige
- Mushroom 3 (Sticker) in orange
Each one goes on its own layer. I tucked them low around the skull and kept them from covering the oleander. When you're done, group them and name the group "Mushrooms."
Step 5: Add the Bugs
Now for the little beasties. These live in the Menagerie section near the top of the brush set.
Brushes Used (Curious Relics, Menagerie):
- Moth (Sticker) in pure white
- Centipede (Sticker) in red
- Shiny Beetle (Sticker)
- Beetle (Sticker) in green
- Spider 1 (Sticker) in a grayish black
- Salamander (Sticker) in dark green
Some stickers have a white border around them, like a fussy cut sticker. If you stamp them in pure white, you get a black and white image with that border, which looks fun against the busier parts of the collage. You won't see the border on a white canvas, but it'll show up once the background papers go in.
I clustered the less savory bugs down at the bottom, perched the spider on the oleander, and put the salamander on the edge of the skull. Move the skull layer below the bugs so they sit on top of it. If a color isn't working (my centipede was green at first and clashed with the beetle), turn the layer off and try a new one.
Group these and name the group "Bugs."
Step 6: Build the Paper Background
Make a new layer and move it to the very bottom of the stack. The ephemera papers are right at the top of the Curious Relics brush set.
Brushes Used (Curious Relics, Ephemera):
- Old Paper and a mix of the other papers in the section, each in a separate layer
I stuck to beige and gray so the background stays quiet and lets the colorful stickers do the talking. Use a few different beiges from the palette, and pull the saturation down on some to get grays.
Put each paper on its own layer and tilt your Pencil so they land at different angles. Keep going until all the white is covered, especially the corners. Then go back and rearrange. Push some papers lower in the stack, and shrink any that are too busy (one of mine had a lot of words on it).
Group all the papers and name the group "Background."
Step 7: Finishing Touches
I liked how the black and white moth looked, so I added a couple more pieces in that style to balance it out.
Brushes Used (Curious Relics):
- Foxglove (Sticker) in pure white (Herbarium), placed inside the Plants group on top of everything
- Candle (Sticker) in pure white (Marvels)
- Crow (Sticker) in dark red (Menagerie)
Optional: Add Shadows
The stickers don't have shadows built in, since that's not something you can put into a Procreate brush. If you'd like a bit more dimension, here's how to add one:
- Duplicate the layer you want to shadow.
- On the bottom copy, turn on Alpha Lock, select solid black, and tap Fill Layer.
- Turn Alpha Lock off.
- Go to Adjustments > Gaussian Blur and set it to about 3%.
- Nudge the shadow slightly to one side and lower the opacity a bit.
You can do this for a few key elements or for everything. It's not necessary though. If these were real stickers, they'd be stuck flat on the page anyway.
Optional Adjustments
- Swap the skull for something else from the set as your focal point.
- Use more of the Marvels section for a steampunk version.
- Use a drawing of your own as the focal point instead.
- Change the paper background to darker tones for a moodier look.