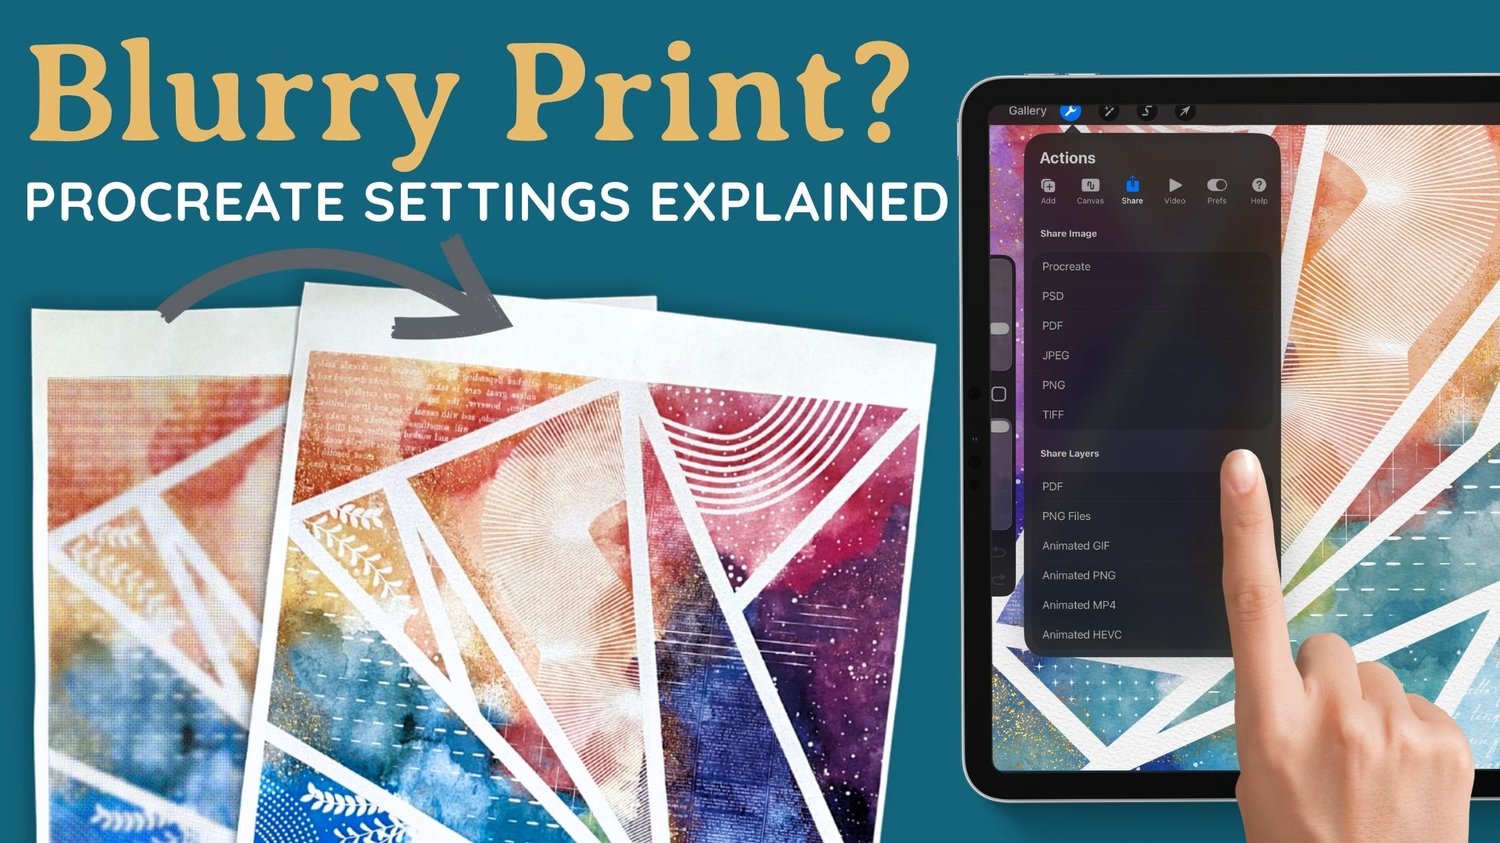
One of the questions I get asked more than almost anything else is how to export artwork from Procreate, which format to use, and why the finished file looks blurry. So I've put together a walk through of every option in the share menu, what each one is for, and the one thing that matters more than all of them put together.
Here's the most important part: your export settings can't add quality to your artwork. They can only preserve or throw away what your canvas already has. Which means the most important decision happens before you make the artwork.
Why Canvas Size Matters
In the video I print the same artwork twice. One version is 2,400 by 3,000 pixels, which is 8 by 10 inches at 300 DPI. The other is the same 8 by 10 inches at 72 DPI, so only 576 by 720 pixels. Same size on paper, and the second one is visibly pixelated. No export format would have saved it.
So, you need to set your canvas up properly before you start drawing:
- Printing: choose the actual physical size you want, at 300 DPI.
- Screens only: forget DPI, it is just a note to printers. Pixels are what count.
- Not sure? Go bigger, because you can size down but you cannot size up. Just keep an eye on the layer limit, because the bigger the canvas the fewer layers you get.
Which format to use
Go to the gear icon, then Share. Here's what each one does.
Procreate
Keeps all your layers and opens in the Procreate app only. Not something to print or send to a client unless they've specifically asked. It's for editing.
PSD
Photoshop document. Also preserves layers, but opens in Photoshop, Affinity Designer and quite a few other design apps, so it travels further. Also for editing rather than final output. The handoff isn't always perfect, so things like text layers might not stay editable in the same way.
A multipurpose document format. Procreate asks what quality you want, and Good and Better are really aimed at text documents. For anything with images in it, go with Best. The file will be bigger, but the quality is worth keeping. PDF is also one of the formats that can carry CMYK out of Procreate, which comes up again further down.
JPEG
Flattened, compressed and the smallest file size here. This is my go to for anything going on the web. When I make brush preview images for my listings, I keep the canvas as small as I can while still holding plenty of detail, usually around 3000 × 2000 pixels, export as JPEG, then run it through compressor.io to squeeze it further. That keeps my site loading quickly (I hope).
A JPEG throws away a little detail every time it's re-saved, so if you keep exporting, reimporting and exporting again, it degrades like a photocopy of a photocopy. And if your piece is crisp line art or text with very clean edges, a PNG will look cleaner. For textural work without a lot of hard edges, JPEG is fine.
PNG
Flattened like a JPEG, but it doesn't lose information with every save, so it stays crisp no matter how many times you export it. Larger file size than JPEG, which is why JPEG often wins for web.
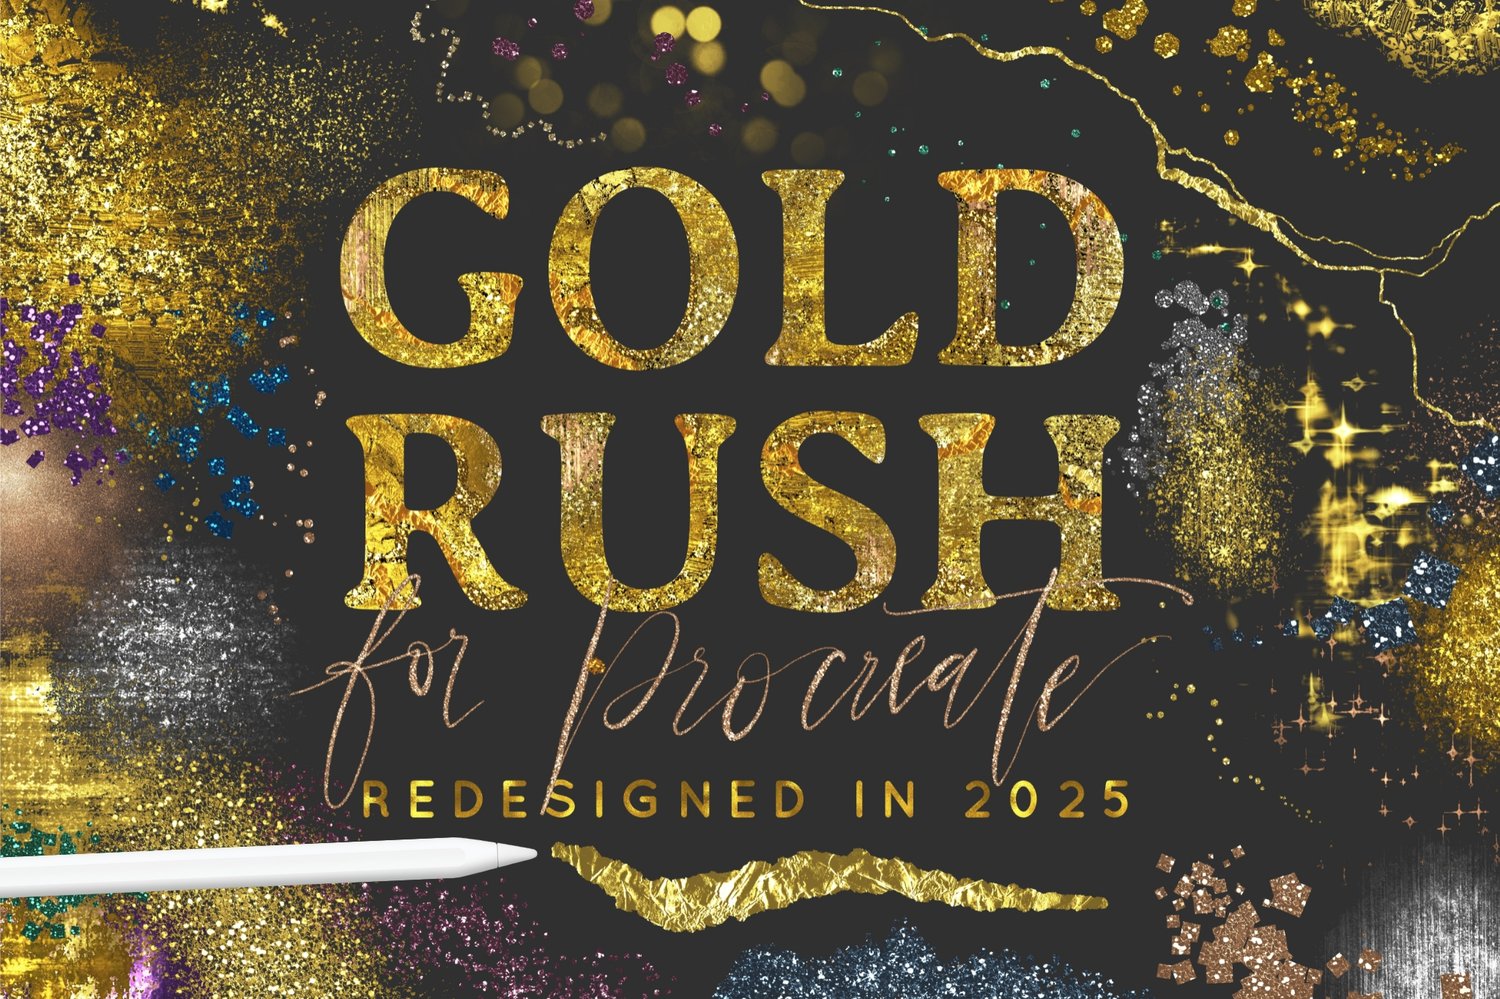
The thing PNG has that JPEG doesn't is transparency. To see it in action, make a mark with a glitter brush from Gold Rush on its own layer. Export as is and you'll get glitter on a white background. But turn the background layer off first, so you can see the checkered grid behind your mark, and then export as PNG. Now it has a transparent background and you can layer it over other images.
That step of turning off the background layer is important to remember, and what makes the transparency work.
TIFF
Flattened, very high quality and lossless, with a huge file size to match. This is a classic print shop request. Procreate can export it, but I wouldn't use it unless you've been asked for it specifically. And always check with your printer rather than assuming, because they may have their own requirements.
Share Layers
Below Share Image you'll find Share Layers, which exports each layer individually as a PDF or PNG, and can be used for animations. That's a whole video for another day.
If your file looks worse after you send it
That is usually not Procreate's fault. Social platforms and messaging apps compress images heavily. If quality matters, share files with AirDrop, the Files app, or a cloud link (like Dropbox, iCloud or Google Drive) rather than through a chat or social media app.
RGB or CMYK
You can check your color profile under the gear icon, then Canvas, then Canvas Information, then Color Profile. Procreate defaults to sRGB if you don't specify. You can switch between different RGB profiles after the canvas is made, but you cannot switch an RGB canvas to CMYK.
I make almost all of my work in RGB, and that's correct for almost everyone. Home printers and nearly all online print services accept RGB happily and do the conversion themselves. Those prints I showed earlier were made in RGB, never converted, printed at home on copy paper, and the colors came out fine.
I've used print on demand companies a handful of times and sent both for test prints, and the RGB version came out better, because they handled the conversion and they're going to be better at it than I am doing it by hand.
The one time to make a CMYK canvas is when a professional printer asks for it specifically. And because you can't convert afterwards, you need to choose CMYK at the point of creating the canvas. In the new canvas screen you'll find the color profile options, with the RGB profiles in one tab and CMYK in the other. If your printer has named a specific profile, look for it in the list, otherwise generic will do.
CMYK artwork does look duller than RGB, and that's true, because there are fewer colors available. But you want to be seeing that while you work, so you get a realistic view of how it will actually print.
One last CMYK note: if you're exporting for a printer who wants CMYK, don't export a PNG. PNG has no capacity for CMYK at all and will convert straight back to RGB. Export a PDF or a TIFF instead.
In short
The export menu is really the last step, and not the sole deciding factor in how your artwork comes out. Most of how your artwork turns out is decided the moment you set up your canvas. Get that part right, and after that it is just about making the art.