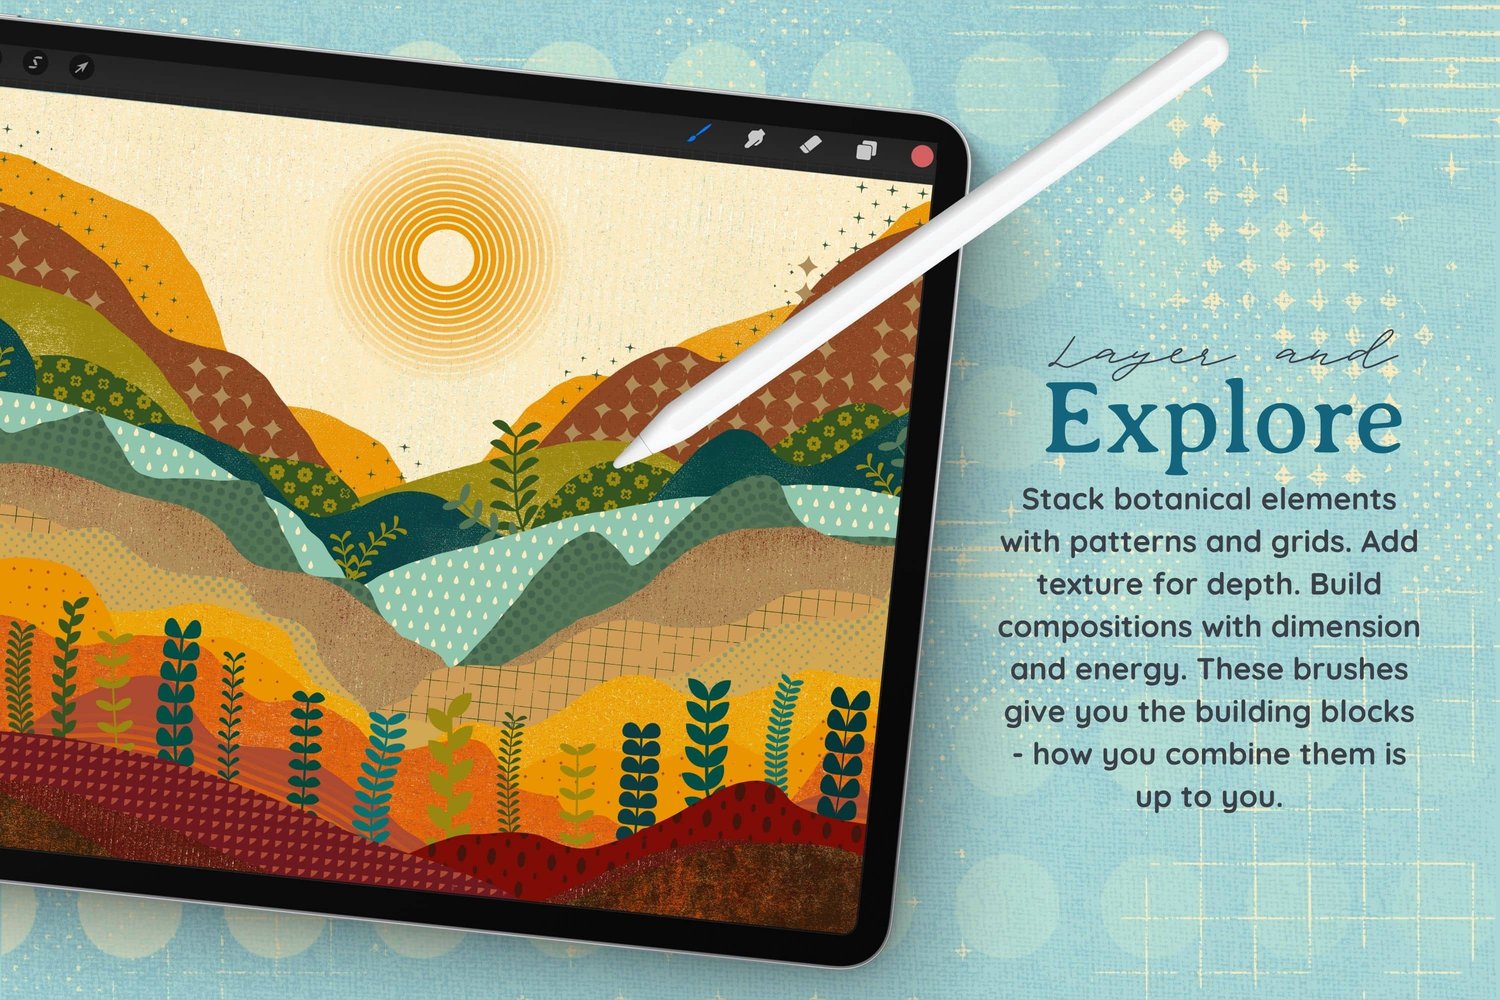
I love a good landscape, and I've been meaning to make one with my Midcentury Magic brushes for a long time. So for today's tutorial, we're building a midcentury inspired landscape with layered mountains, a glowing line gradient sun, and lots of retro patterns and textures on every hill. The technique itself is simple and repetitive, so once you've got the hang of it, you can try experimenting with all different kinds of brushes and palettes.
Canvas Setup
- Size: 11 × 14 inches at 300 DPI
- Brush Set Used: Midcentury Magic
- Color Palette: Midcentury Magic Color Palette (free)
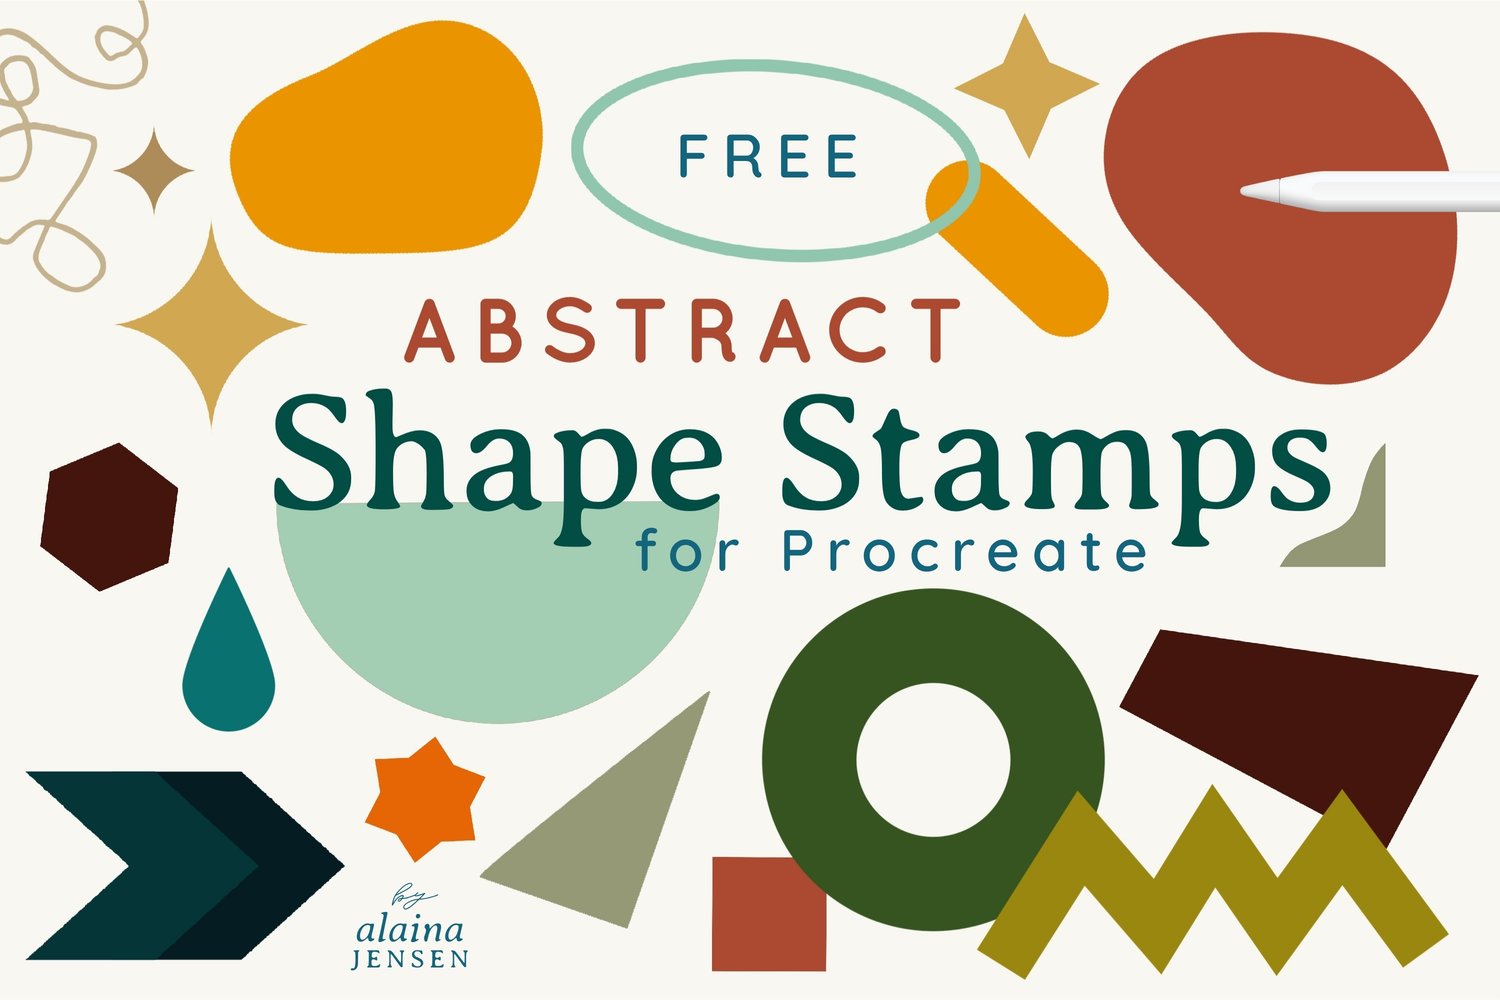
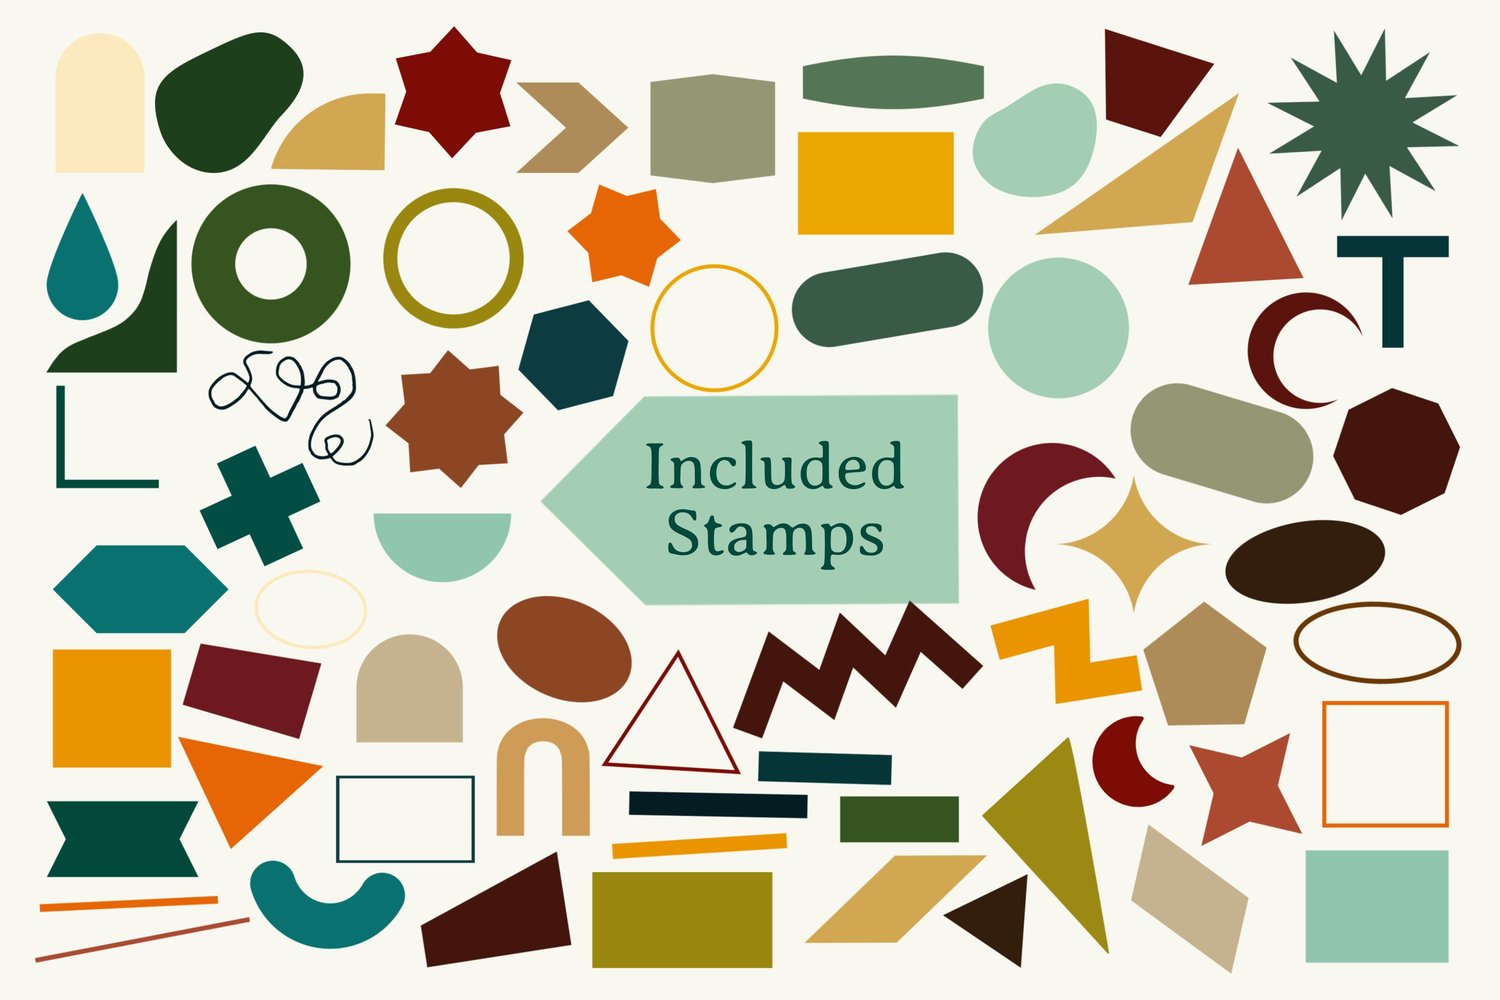
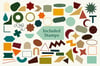
- Optional: Abstract Shape Stamps (free)
Step 1: Set the Background and Add the Sun
Change the background color to a light cream so the whole piece sits on a warm, neutral base.
Brushes Used:
- 12 Large Line Gradient – for the sun
Choose a muted orange, then draw a circle from right to left and hold until QuickShape kicks in. Tap and hold on the screen to snap it to a perfect circle, and keep holding your finger on the screen while sliding your pen to scale it up or down. Use the Move tool with Snapping turned on to center it near the top of the canvas.
Step 2: Build the Mountains
This is where the fill and cut technique comes in. Make a new layer called Color and keep it below everything else. We're going to fill this layer with a color, cut pieces off of it, then refill it with a new color and repeat.
- Choose a color and tap Fill Layer on the Color layer
- Go to the Selection tool (the ribbon icon) and choose Freehand
- Draw a mountain or hill shape, always closing the loop, then Copy and Paste
- Turn the Color layer off to see your new mountain layer appear
Keep repeating this while moving gradually upwards, working through the palette one color at a time. Alternate gentle lumps and slopes with jagged peaky shapes for a little bit of randomness, making it feel more like real mountains.
Step 3: Add Greenery
Brushes Used:
- Various botanical brushes from Midcentury Magic, in dark greens and blues
Make a new layer between two of the mountain layers and stamp a row of stems coming straight up.
Because the layer sits behind some mountains and in front of others, the flowers look like they're growing out of the hills.
Step 4: Add Patterns and Textures to the Mountains
For each mountain layer, add a new layer directly above it and fill it with a pattern, halftone, or texture.
Midcentury Magic Brushes Used, by section:
- Patterns: Offset Stars, Starry Circles, Multi Flower, Drops, Grid, Dots, Diamond Grid, Oval Duo, Corner Triangles, Thin Stripe
- Lines: 12 Large Dot Gradient and 5 Small Line Gradient – swept across a mountain section in a curvy line to echo the sun
- Textures: Grainy Paper, Linen Canvas, Cardboard, Handmade Paper, Grunge
A few things to keep in mind:
- These pattern and texture brushes work a bit like halftones: more pressure means darker and denser marks. Press harder along the top edge of a mountain and let the pattern fade out as you move down.
- On the upper mountains, I let the patterns spill outside the lines on purpose for a loose, layered look. Further down, tap the layer and choose Clipping Mask to keep everything contained.
- Alternate between bold patterns and subtle textures so the piece doesn't get too busy. Anything behind the flowers should stay quiet so it doesn't overpower them.
- If you don't like part of a pattern, just erase it with one of the Procreate default basics brushes.
Step 5: Add Plants Higher Up
The middle of the piece can feel a bit empty, so add a few more plants peeking up from the mid ground mountains.
Brushes Used:
- Atomic Leaf
- Cascade Leaf
- Tempo Leaf
Make a new layer sandwiched between two mountain layers, vary the sizes and greens, and let a few stems poke up over the ridgeline.
Step 6: Texture the Background
Add a new layer below everything and brush some texture across the cream background.
Brushes Used:
- Cardboard – in a couple of colors, plus white and a touch of green
This gives the whole piece a paper cutout feel. You can also add a little extra texture to some of the upper mountains with clipping masks if they're feeling flat.
Optional Adjustments
- The sky is intentionally simple, but you could add birds, clouds, stars, or some doodles up there.
- My free Abstract Shape Stamps might also come in handy for adding silhouettes, buildings or other focal points.
- And you don't have to stick with these brushes. This layered mountain technique works with any pattern or texture brushes you have, including my two most recent sets, Pattern Decay and Pattern Reveal. Each one would give the landscape a completely different mood. You could also try something completely different like Metallic or Holographic texture brushes.