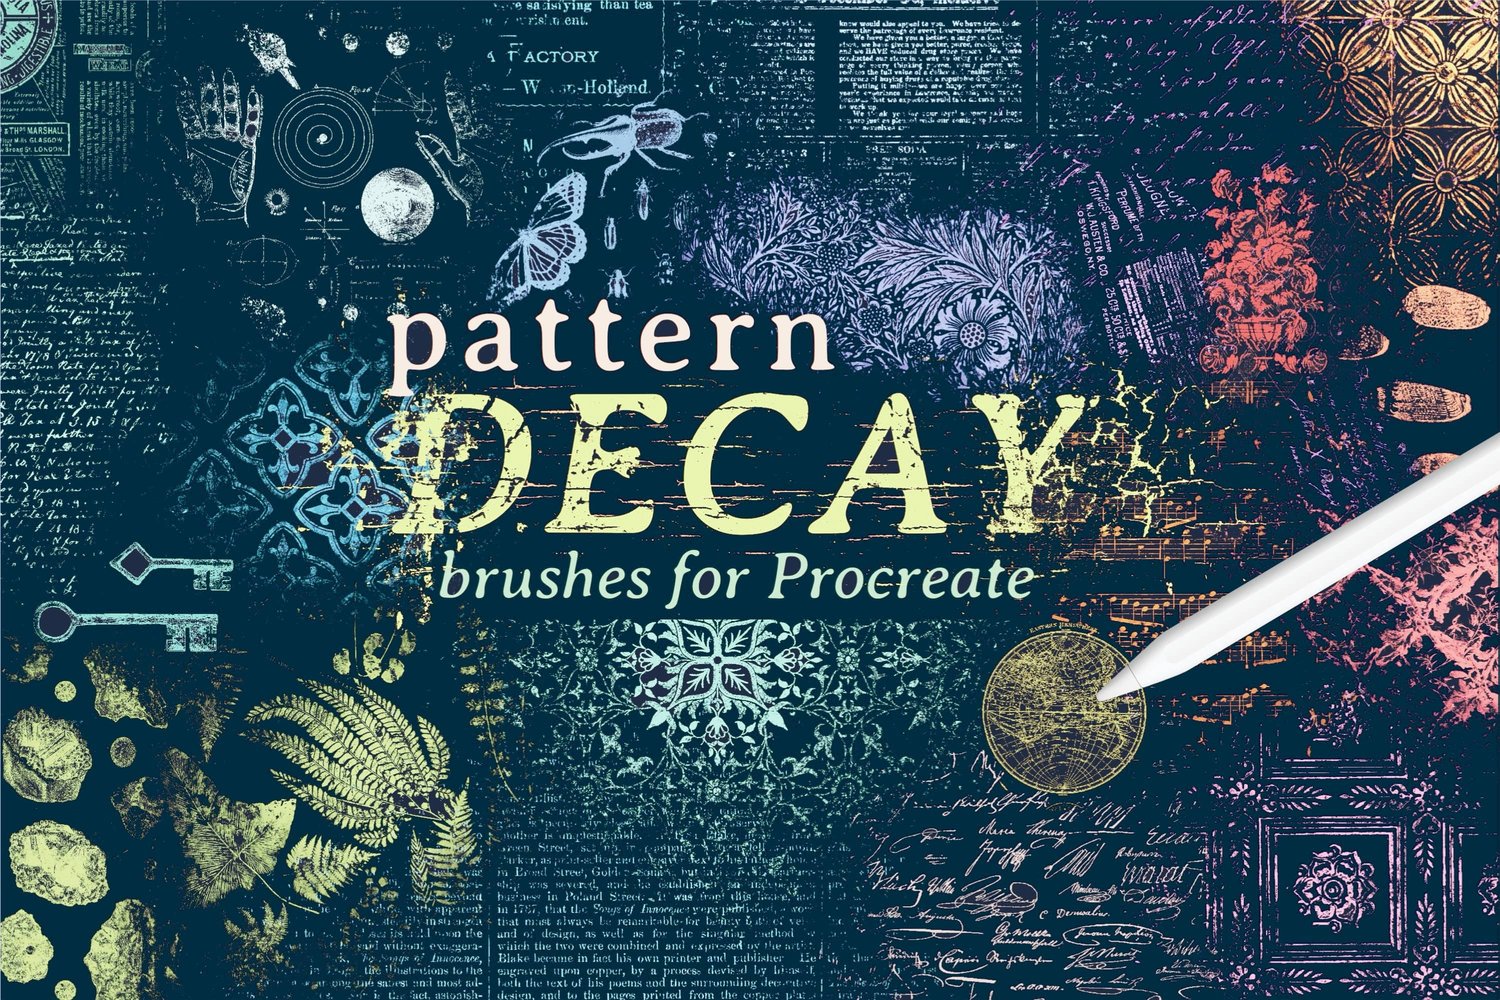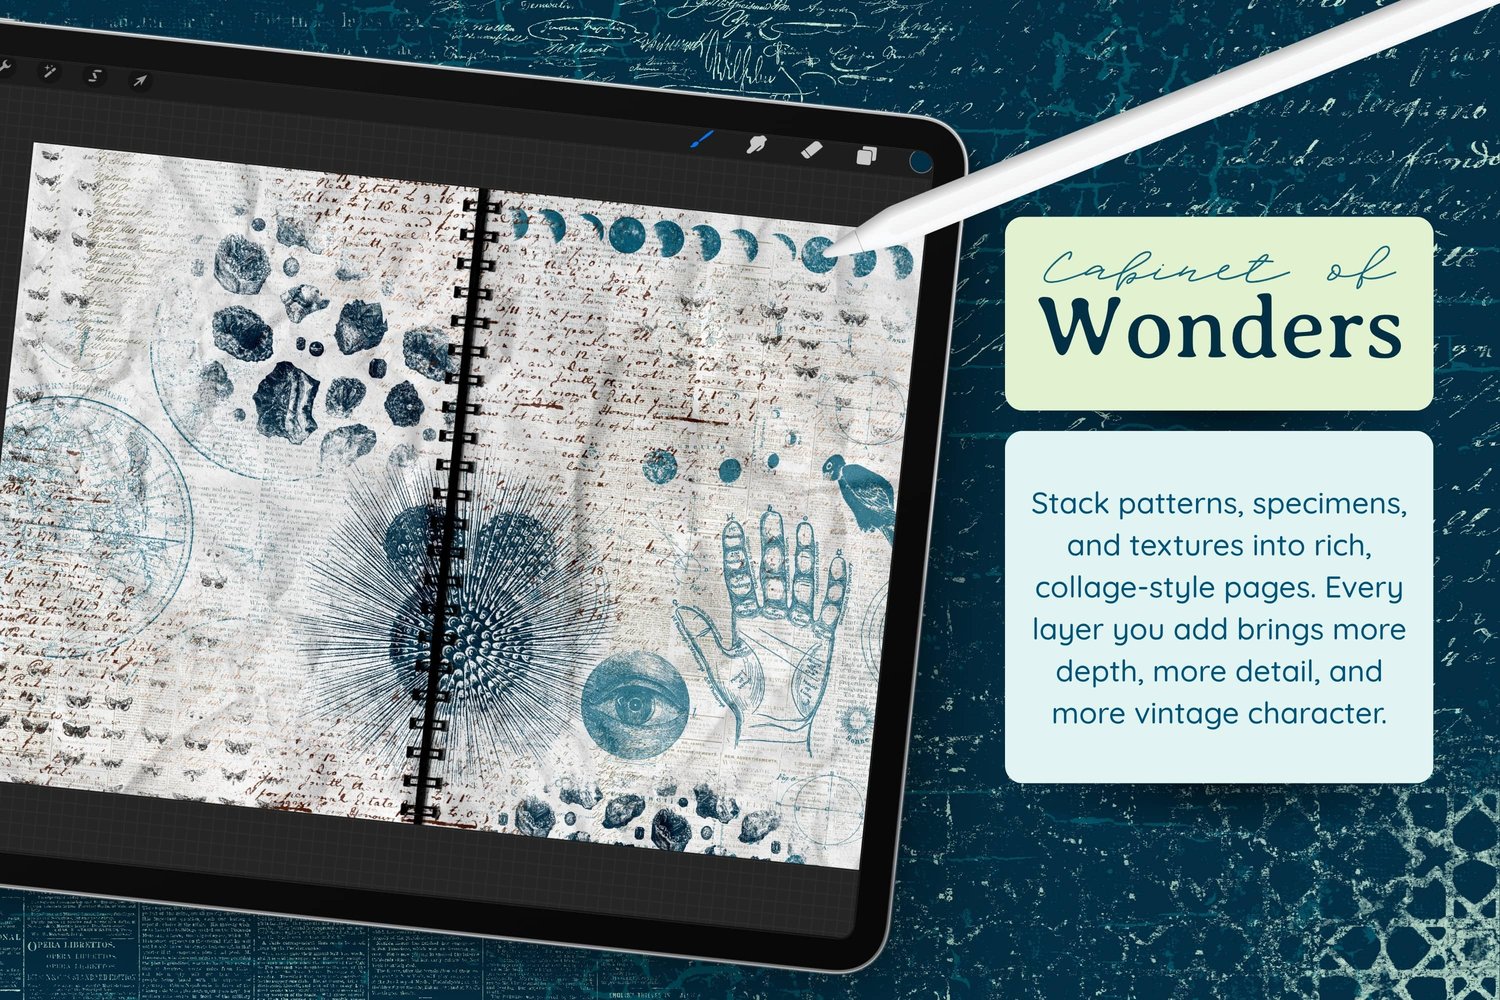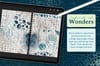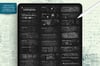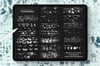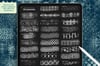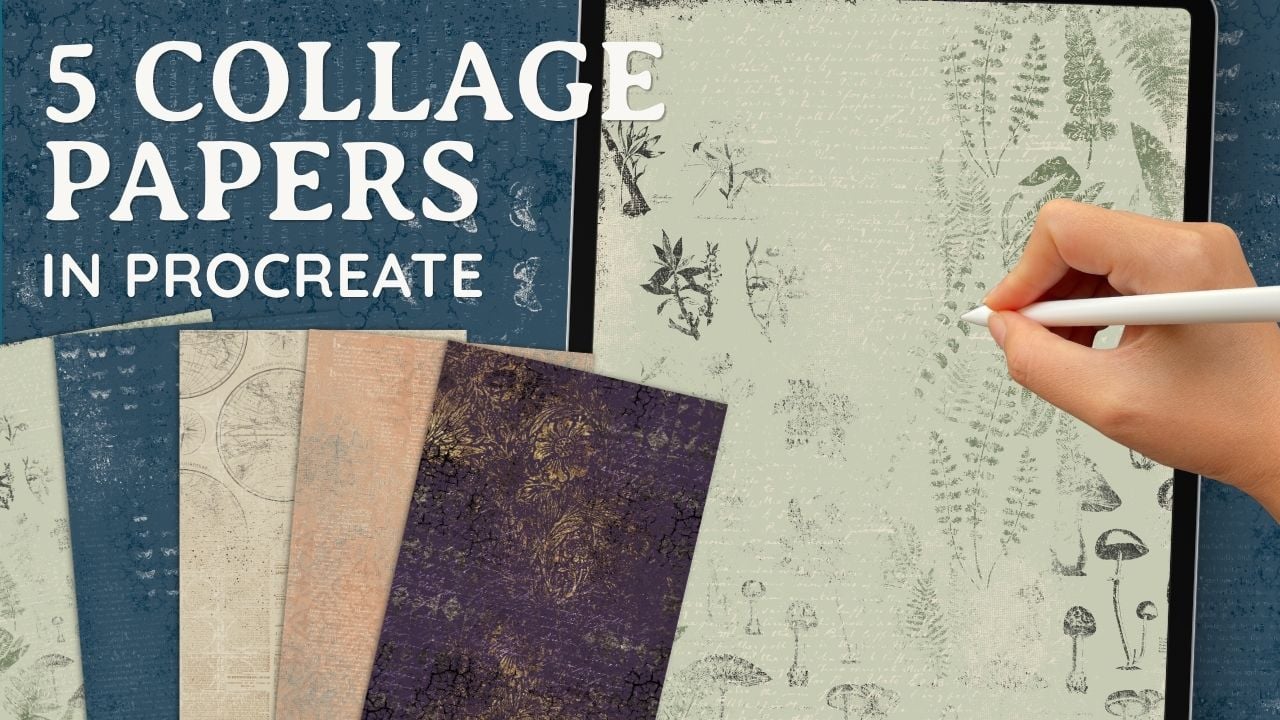
If you love collage, you've probably bought digital papers before. But have you ever made your own? It's easier than you might think, and there's something really satisfying about building a collection of papers that match your personal style and favorite colors. Once created, they're yours to use however you like: as backgrounds, clipped into little bits of ephemera for digital collages, or printed for junk journals and analog projects. You could even sell them. Every batch you make grows a personal stash you can pull from for years.
In this tutorial, I'm quickly showing how to make five digital papers in Procreate, with just a handful of brushes and colors on each page. Because each paper only takes a few minutes, this is a low pressure way to create when you want to play without committing to a big project. You're welcome to follow along with me, or just take any ideas you like and run with them.
Canvas Setup
- Size: 2480 × 3508 px (A4 portrait), 300 DPI
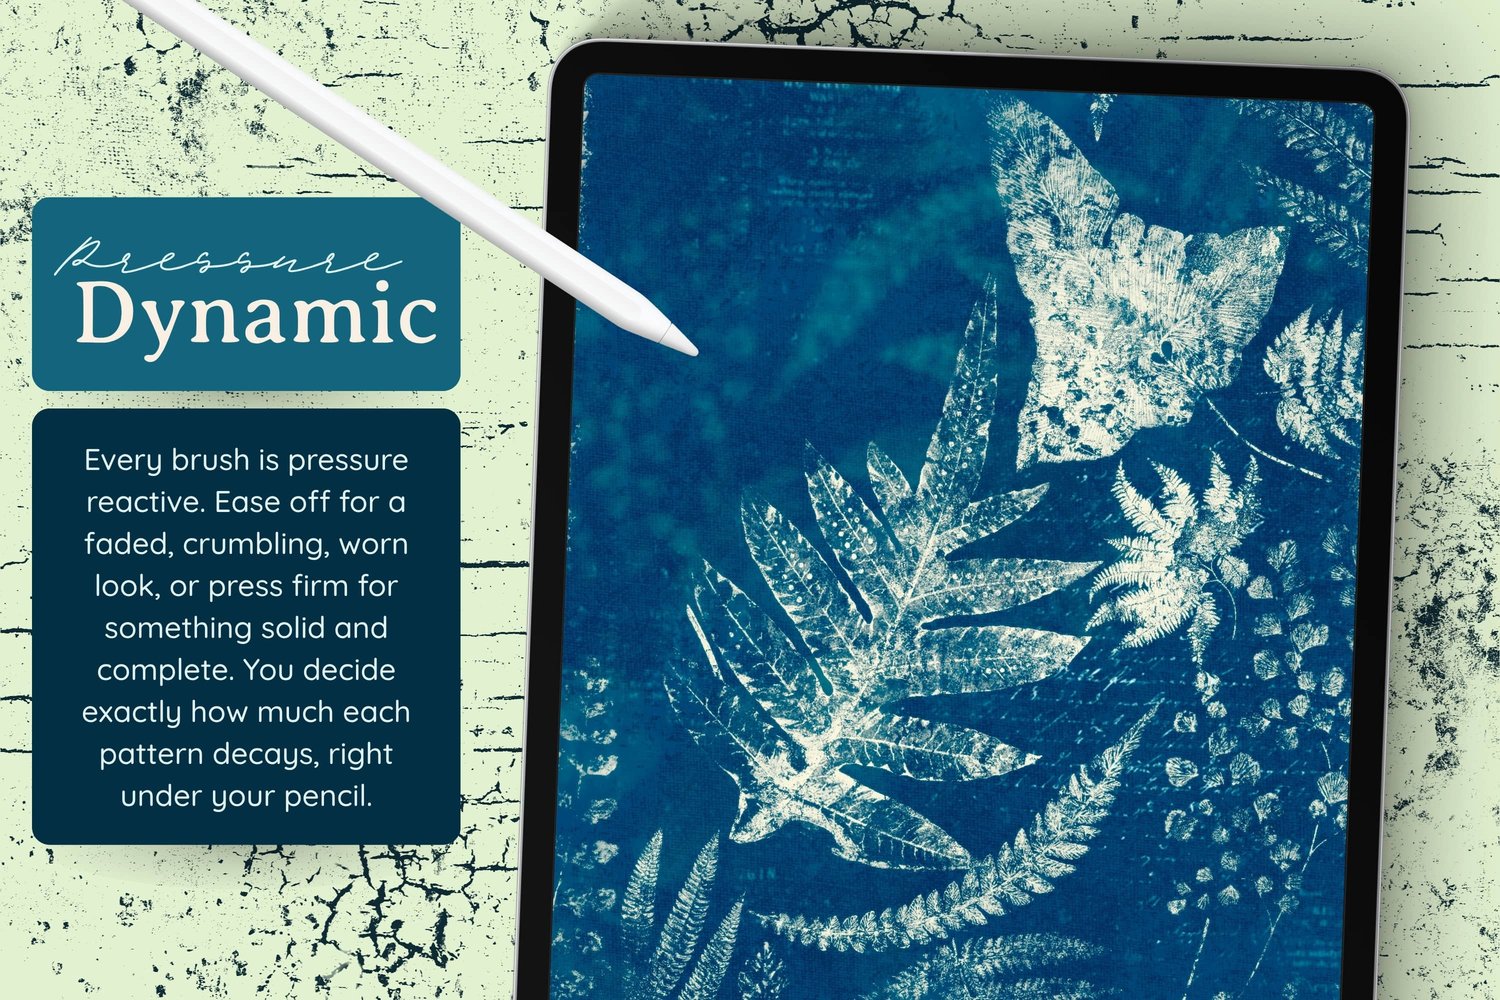
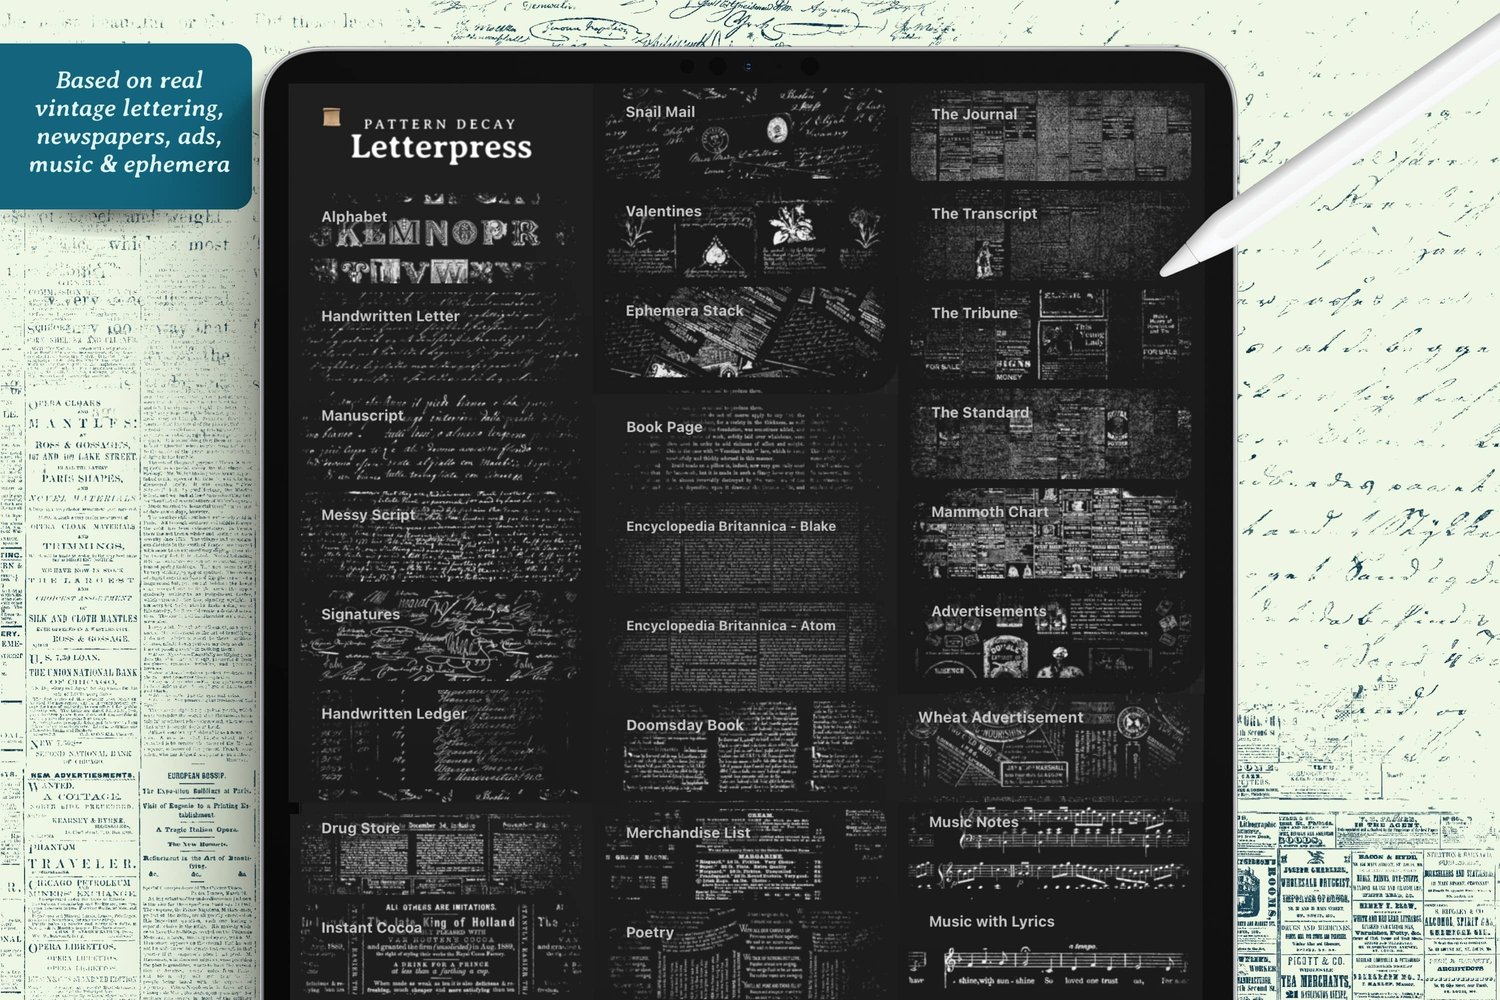
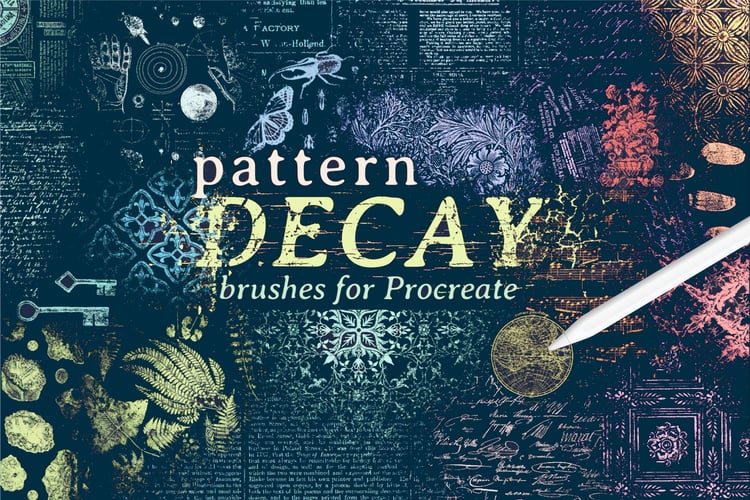
- Brush Set Used: Pattern Decay
A quick note on canvas size: A4 at 300 DPI keeps your papers print-ready, but check your maximum layers when you create the canvas. If your iPad gives you a low layer count, make the canvas a bit smaller.
Paper 1: Herbarium
Set your background to a light sage color, then build up little botanical specimens as if you're pressing plants into an old notebook.
Brushes Used:
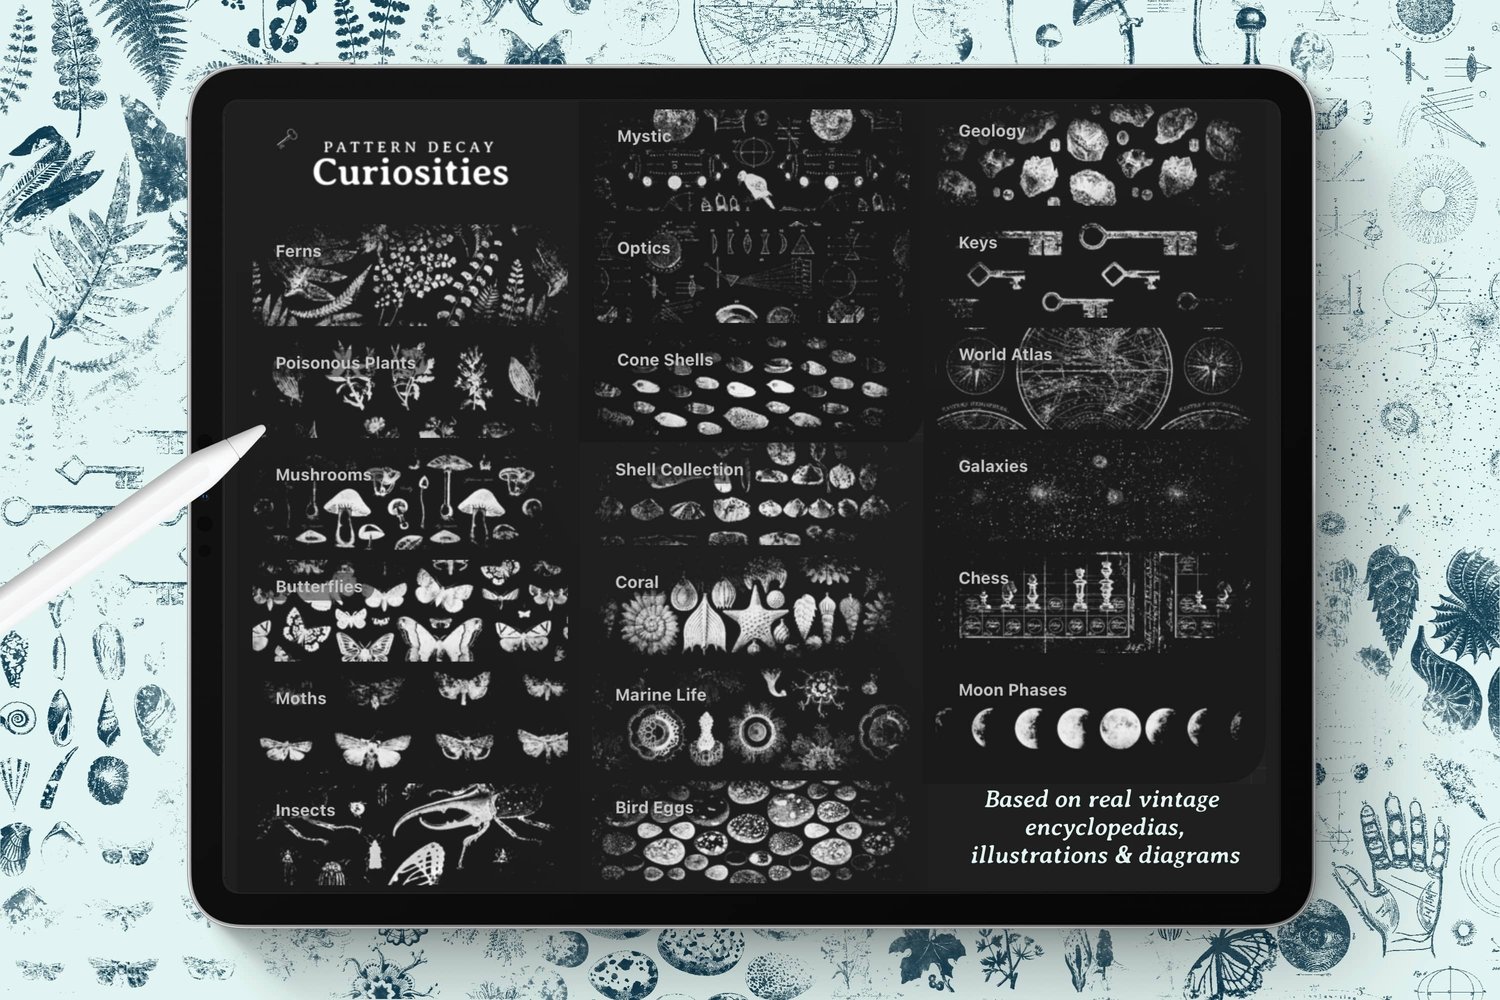
- Poisonous Plants – in dark gray, scattered here and there
- Mushrooms – same dark gray, on a new layer
- Ferns – in a darker green for a bit of color variation
- Messy Script – in a white close to the background color, layered over the plants
- Dirty Canvas – kept small, along the edges and in any sparse areas, first in that light color and then in gray
Paper 2: Butterflies and Moths
Duplicate your canvas and switch the background to a grayish blue.
Brushes Used:
- Butterflies – in a pinkish beige, placed randomly around the page
- Moths – same color, kept small for contrast
- Book Page – in a brighter, desaturated version of the background blue, placed below everything as a background to the background
- Rose Vine – in dark blue, kept small, tucked into a corner behind the butterflies
- Peeling Concrete – in dark blue, then the lighter book-page blue, then very sparingly in the light color
Paper 3: Antique Mysteries
Change the background to a creamy color from the Letterpress palette.
Brushes Used:
- World Atlas – in dark gray with a really light touch, as the main event
- The Journal – in a warm tone, filling some of the empty areas
- Galaxies – in purple, for a little intrigue
- Fresco – in a shade just lighter than the background, along the edges with a light touch
Paper 4: Gilded Florals
Set the background to the dark purple from the Letterpress palette. The patterns go down in pure black first, because the gold comes afterwards.
Brushes Used:
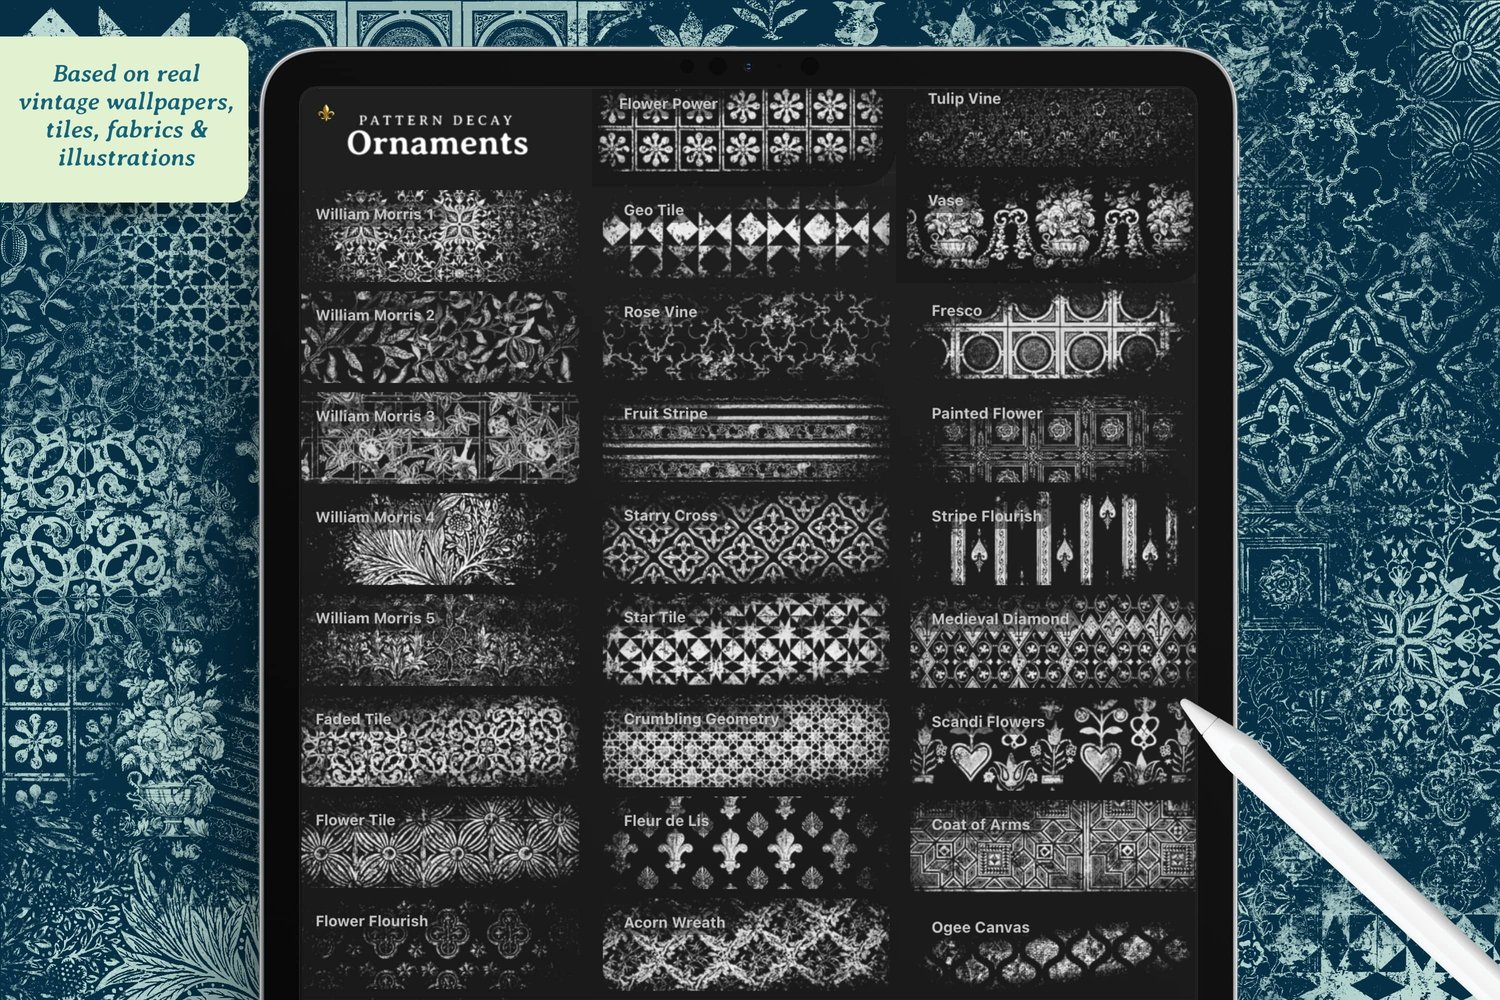
- William Morris – in black, with strong pressure at the top and bottom and lighter pressure through the middle so it goes wispy
- Metalwork – in gold, on a clipping mask above the pattern, applied with little flicks so the grungy black still shows through
- Geo Tile – in a darker purple, placed below everything as a quiet geometric background
- Metalwork Flakes – in gray, on a clipping mask above the Geo Tile, added strategically for extra shine
- Handwritten Letter – in black, barely there
- Metalwork again – in the same purple as the background, on a clipping mask over the letter layer, for a subtle purple shine
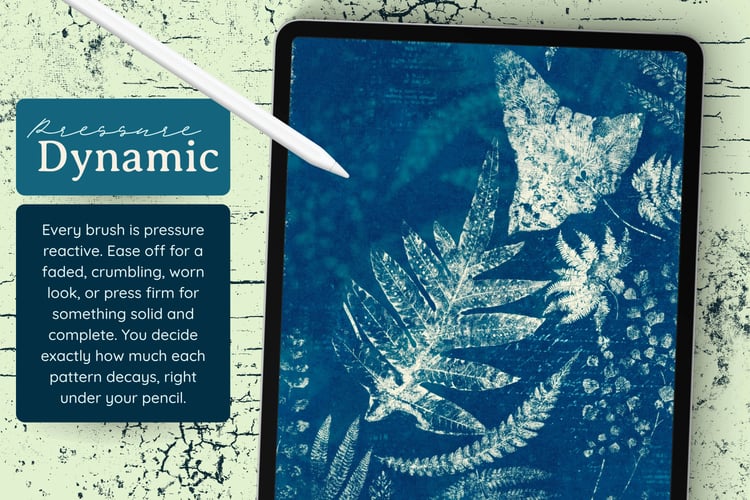
The cracked gold trick: select Big Cracks (Textures section), then tap and hold the eraser icon to erase with the current brush. Keep it fairly small and let it eat into the gold layer. Then add one more layer on top and paint a few black cracks along the edges for extra interest.
Paper 5: Medieval
Finish with a super light peachy background and layer up subtle medieval inspired patterns.
Brushes Used (Pattern Decay set):
- Coat of Arms – in a light greeny beige, sized fairly small
- Starry Cross – in a slightly creamier beige, kept big and subtle
- Doomsday Book – in the lightest color, kept small, focused over the starry cross areas
- Dirty Canvas – in a light grayish blue, fairly large, just a small hint with a really light touch
Saving Your Papers
When each paper is finished, tap the gear icon, then Share, and export as a JPEG or PNG with Save Image. I keep all of mine in a dedicated folder in the Photos app, so I can insert them into future Procreate documents or print them whenever I like.
Optional Adjustments
- Swap in different palettes from the set, or your own colors entirely
- Mix elements across pages, like adding a butterfly to the herbarium paper
- Try this concept with other brushes and styles
- Import a finished paper into a collage piece and crop small sections as accents
- Print a batch for junk journals, or even sell your finished papers