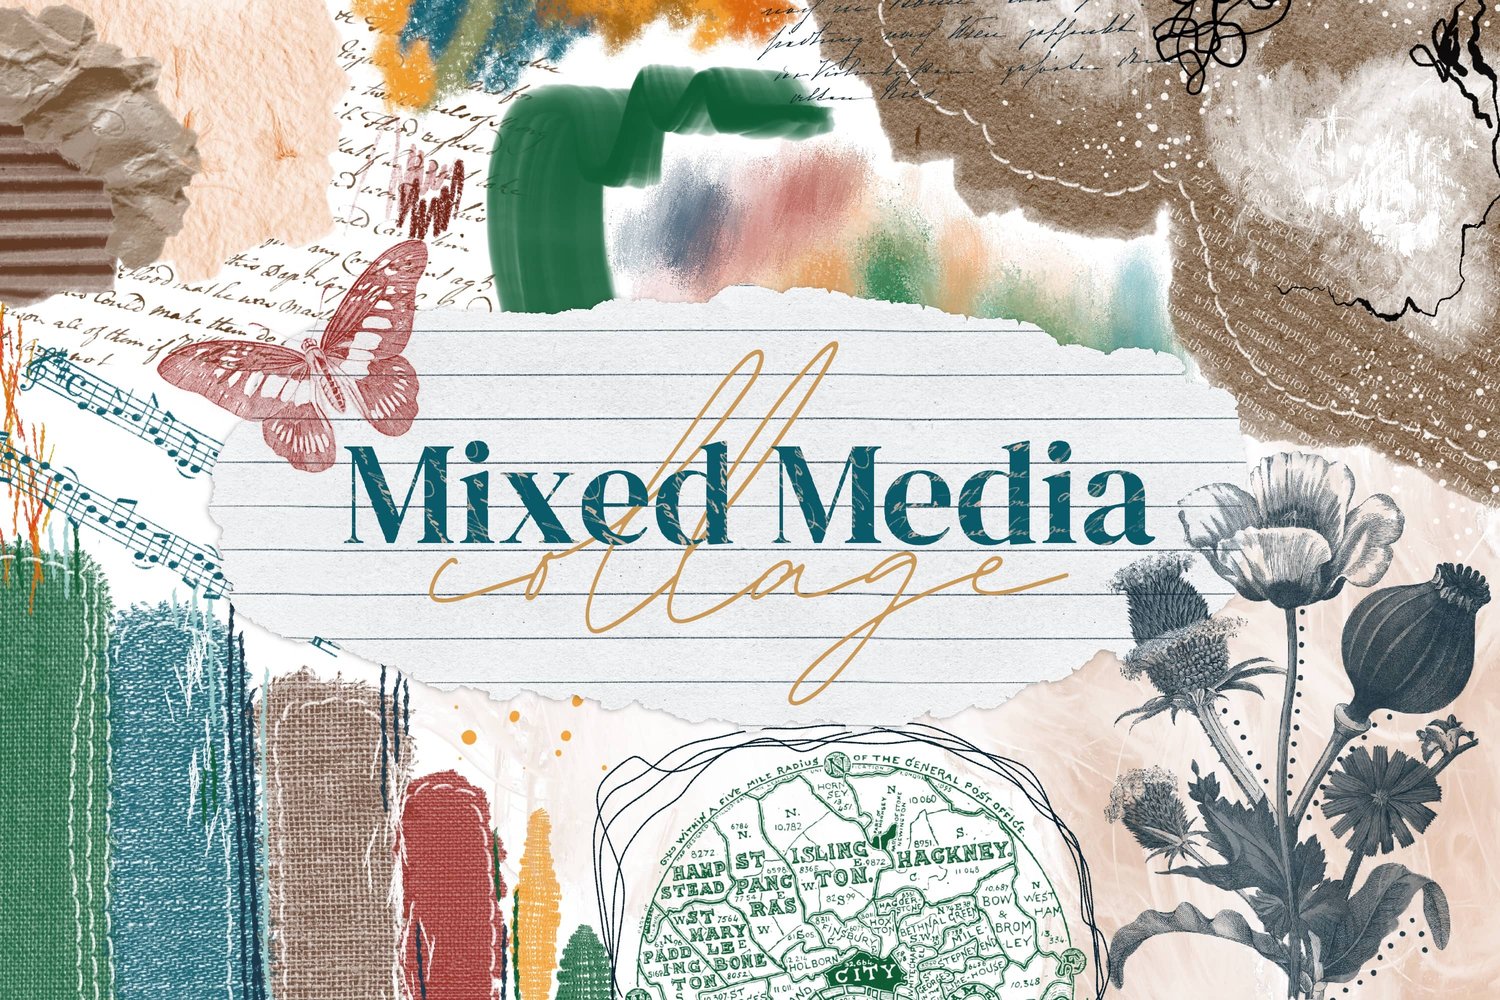
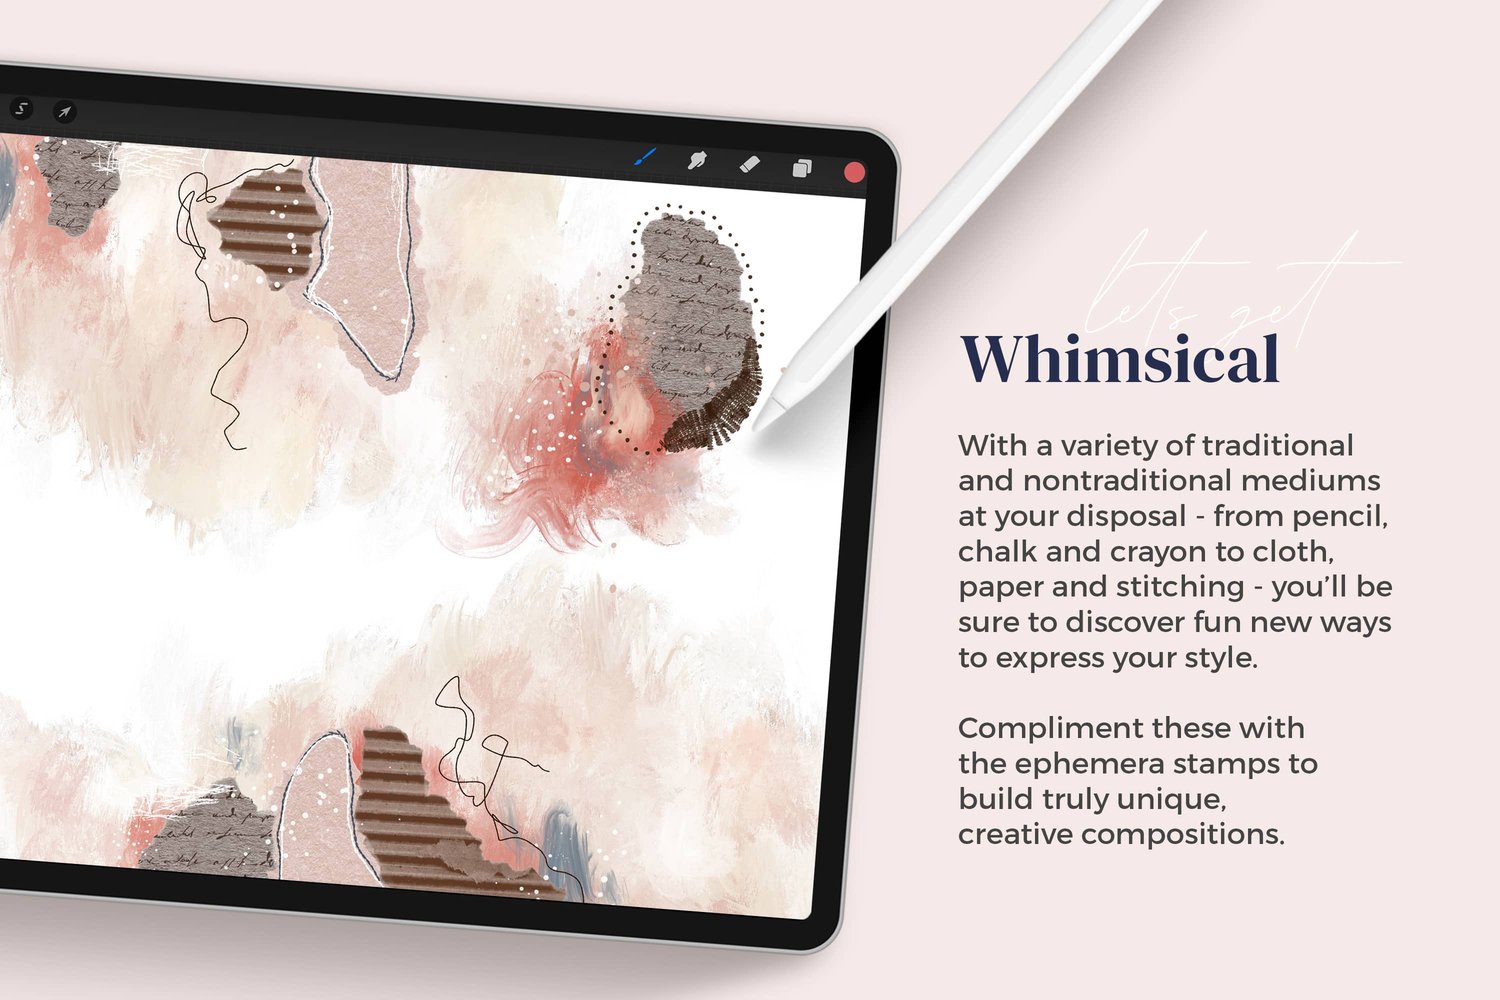
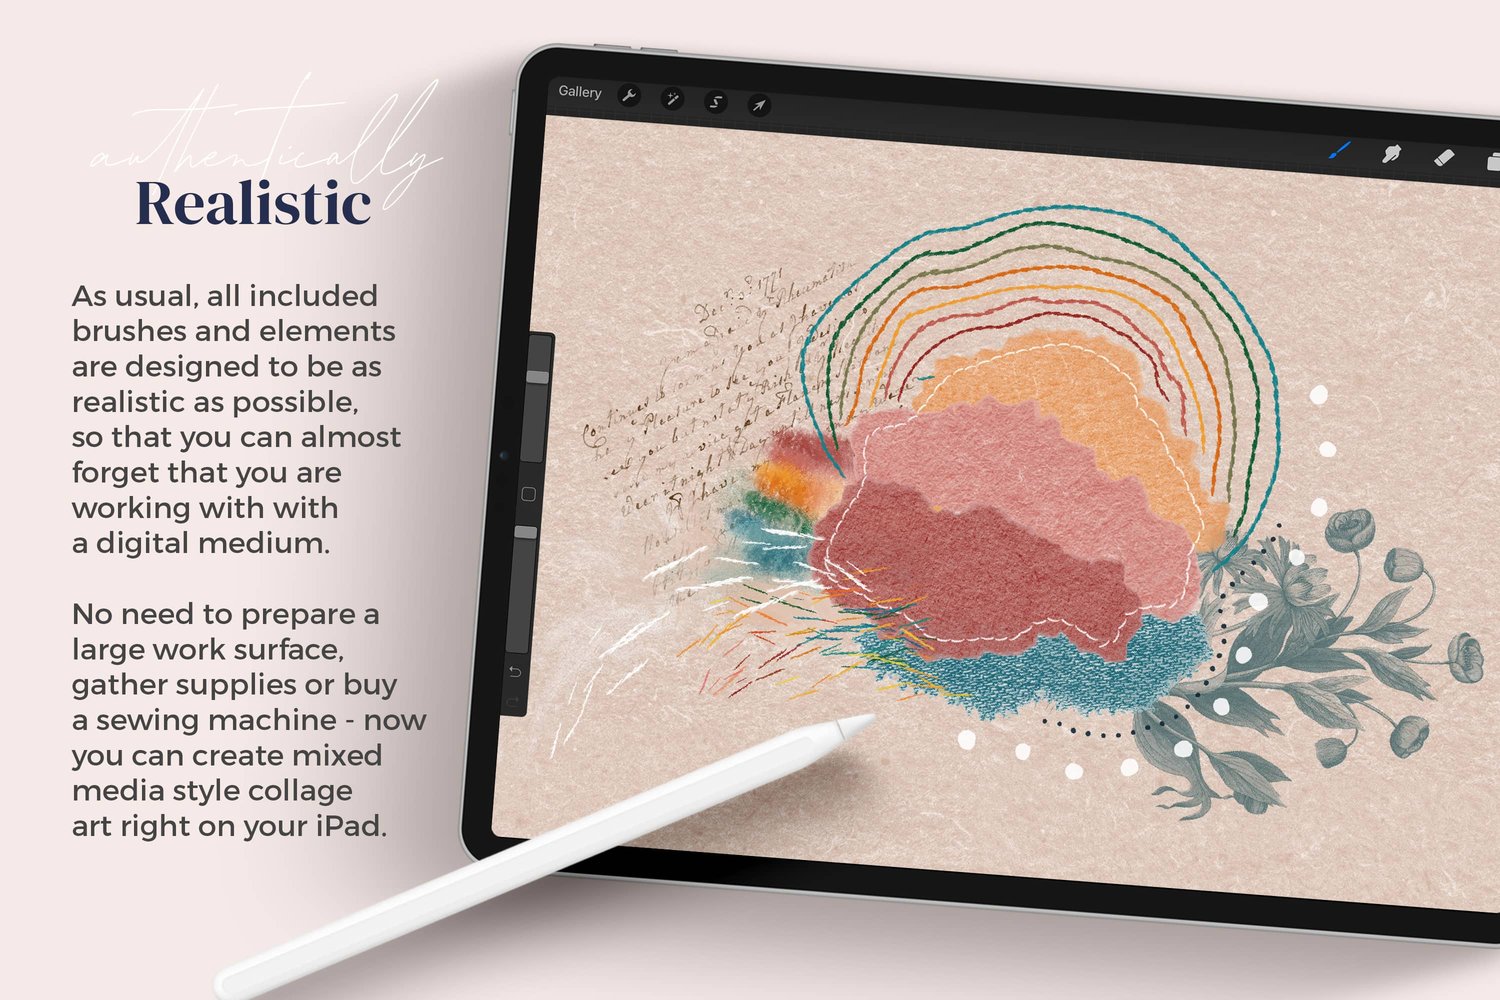
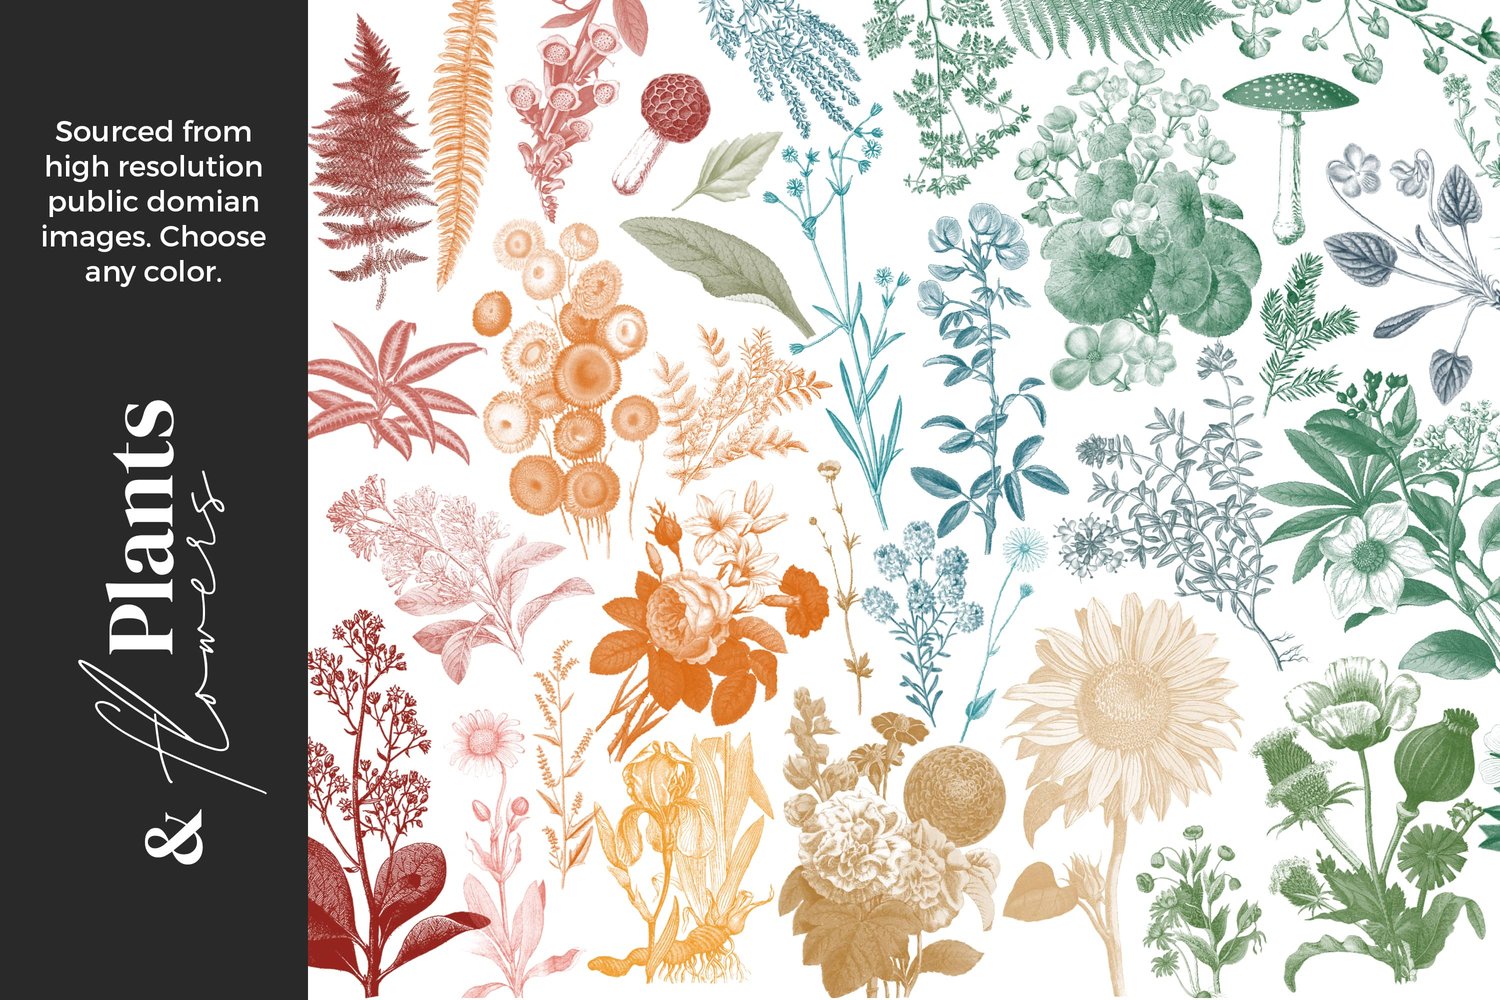
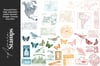
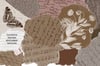
Today we will explore the "Flower Head" collage trend and how to make one in the Procreate iPad app using vintage flower, bird and butterfly stamp brushes. The stamp brushes and palette I'm using are from my Mixed Media brushes for Procreate. You can use this technique to create whimsical portraits for clients, friends, family, or even pets. After carefully choosing a photo, we make an arrangement out of floral stamps in black, and then add color to the stamps with a pencil brush on a separate layer, keeping an eye on how the whole image is taking shape and contrasting with the dark background. You can view the tutorial by clicking below.
Canvas Setup
- Size: Determined by your photo (the canvas is created when you import your image)
- Brush Set Used: Mixed Media for the ephemera stamps and the Soft Pencil coloring brush
- Color Palette: Mixed Media Rainbow
- Also Used: The Unsplash app, plus Procreate's built-in Airbrushing and Flowing Hair brushes
- Photo by Mohammad Khaksarmadan
Step 1: Choose and Import Your Photo
Open the Unsplash app in split screen next to Procreate (swipe up from the bottom and drag the app to the side). Search for a portrait, then simply drag and drop your chosen photo into Procreate.
A few things to look for in your photo:
- A simple background without much going on. A dark background leaves lots of space for a colorful bouquet to shine.
- No busy patterns on clothing or in the background, as these compete with your stamps.
- A subject looking away from the camera tends to feel more artistic.
If you'd rather not use a stock photo, this works beautifully with your own photos of friends and family too.
Step 2: Set Up Your Layers
Duplicate your photo layer so you have two copies:
- Bottom layer: Full opacity, turned off for now. This is your reference, ready to switch on at any time to check how things look.
- Top layer: Tap the N and lower the opacity to around 75 to 80 percent.
The lower opacity matters because we'll be stamping in black, and you need to see those stamps clearly on top of the photo as you work.
Step 3: Stamp Your Composition in Black
Add a new layer and select black as your color. This is important: every stamp goes on its own layer so you can resize, rotate, and reposition each one without affecting the others.
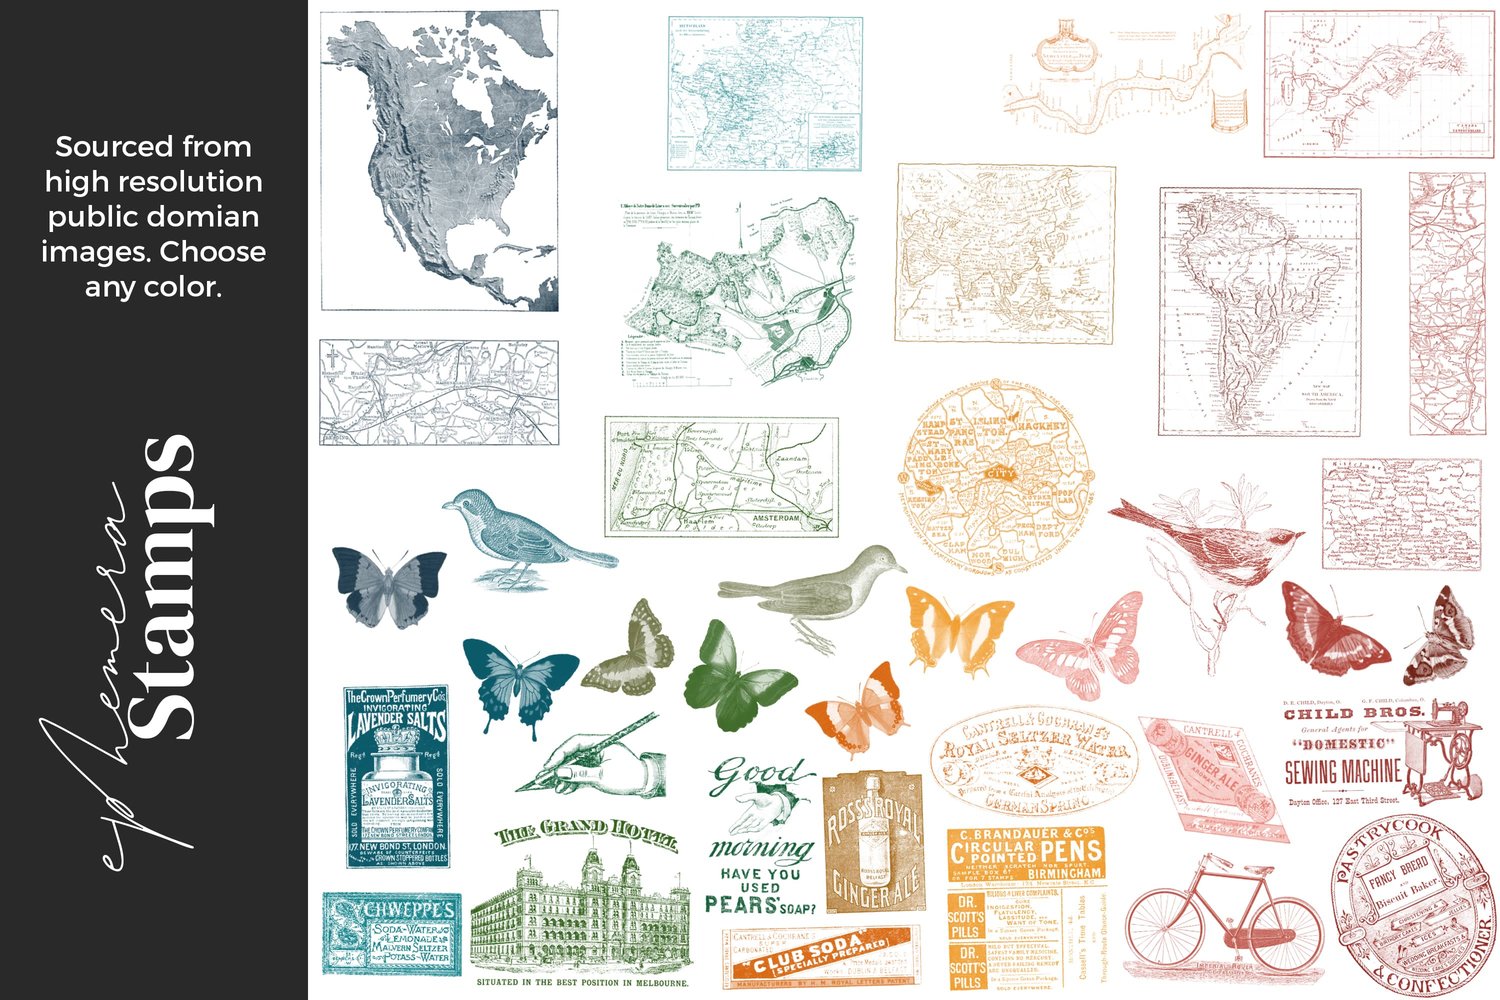
Stamps Used (Mixed Media set, Ephemera Stamps):
- Flower 19 sized fairly large as the main bouquet. It's round and full, perfect as the focal point. Position it so it follows the jawline, leaving the lips peeking out.
- Bird 3 kept small, placed so it looks like it's about to sip nectar from a flower.
- Flower 22 something spindly and small for contrast, on a layer beneath everything else so it appears to grow out from behind the bouquet.
- Flower 7 a big sunflower for the lower area. Use the Airbrushing Soft Brush eraser to remove the stem so only the flower head and a leaf remain.
- A small piece of foliage to fill any remaining gaps.
- Butterfly 6 and Moth 2 nestled near the hair. These outline-style stamps show up best against a dark photo.
As you place each element, zoom out often and check the overall composition. You want everything to have the space it deserves, with nothing overlapping awkwardly. Leave some breathing room too: in my piece, one of the eyes peeks out from behind the flowers, and I left that area open on purpose.
Step 4: Color Behind the Stamps
Here's the trick for getting multicolored stamps: stamps in Procreate can only hold one color, so instead of coloring the stamp itself, we add the color on a new layer underneath each stamp. The black outlines stay crisp on top while your colors glow through from below.
Brushes Used (Mixed Media set):
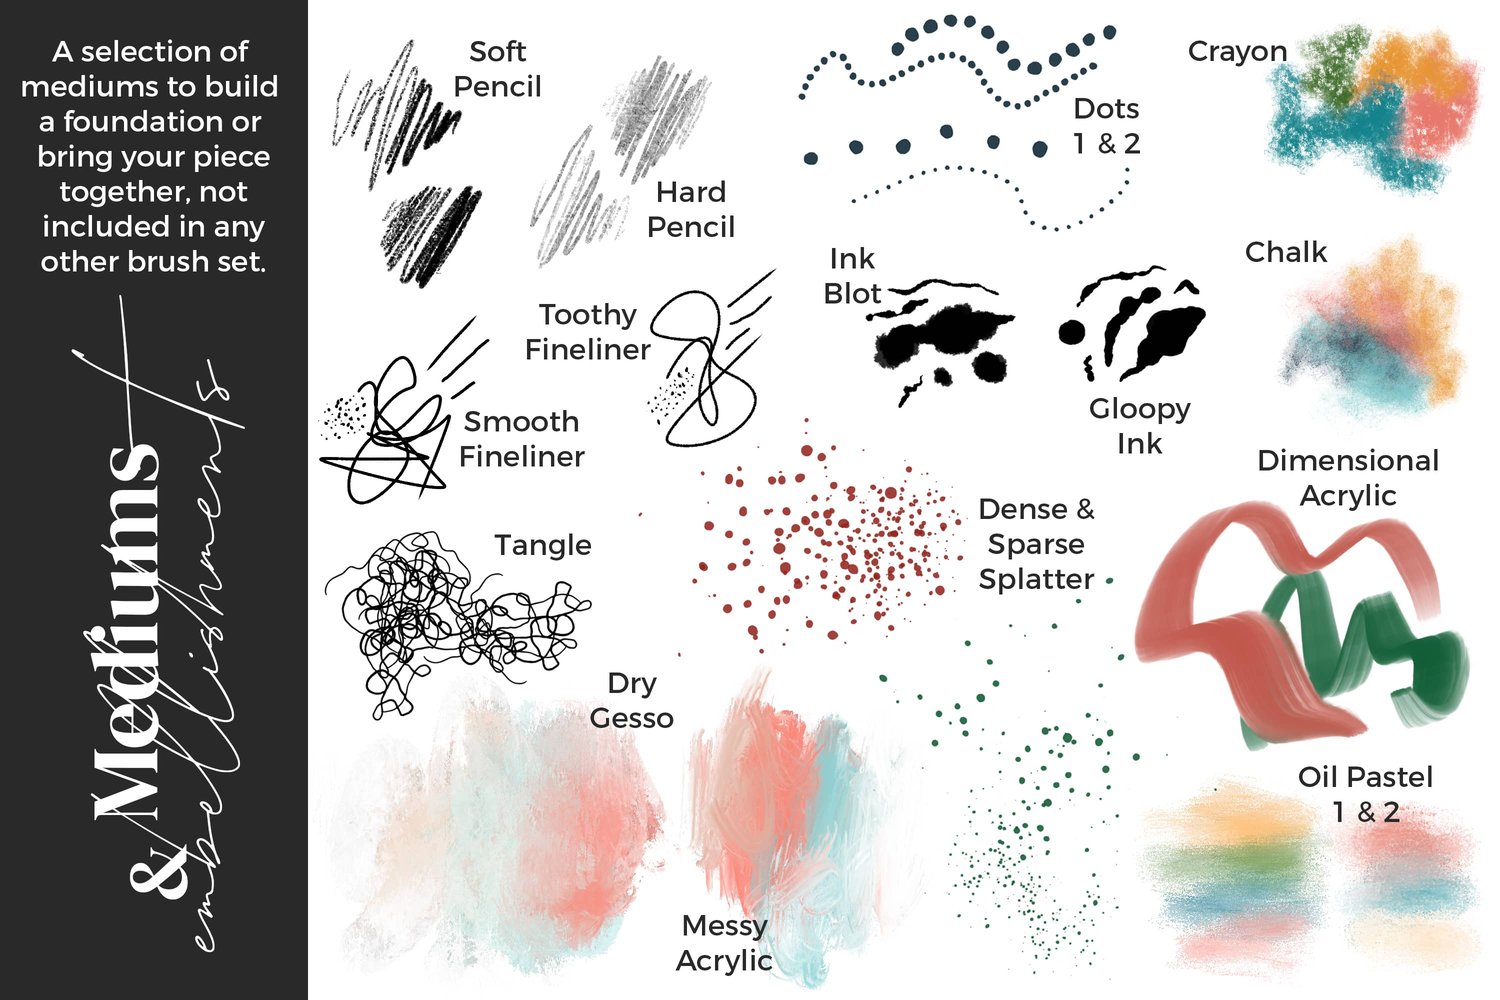
- Soft Pencil for all the coloring. It has a lovely built-in texture that suits the stamped look, and it responds well to pressure. Any coloring brush you love will work, as long as it shows up against your background.
Work through each stamp one at a time:
- Tap the stamp's layer, add a new layer beneath it, and start scribbling in your colors.
- Keep it loose and rough. Going outside the lines a little actually helps the colors show up against a dark background, and it gives the piece a relaxed, hand-colored feel. This isn't the place for perfectionism, or you'll be coloring for many, many hours.
- Mix several colors into each flower and leaf. It's not realistic, but it makes the piece so much more interesting.
- Switch the full-opacity photo layer on now and then to check how everything reads against the real background.
- When a stamp is done, group it with its color layer and give the group a name (Flower One, Bird, and so on) so you can move them together later.
If you stray too far outside the lines, tidy up with the Airbrushing Medium Brush eraser as you go.
Step 5: Tuck the Butterflies into the Hair
To make the butterflies look entwined in the hair, we'll use a non-destructive trick:
- Duplicate each butterfly group and turn the original off. That way the untouched version is always there if you change your mind.
- Flatten the duplicate.
- Choose the eraser, then go to Materials > Flowing Hair (a standard Procreate brush).
- Erase small sections along the edges of the butterfly so strands of hair appear to sweep over it.
It's a tiny detail, but it settles the butterflies into the portrait beautifully.
Step 6: Final Cleanup
Switch the full opacity photo back on and zoom around the piece looking for stray marks, especially in high-contrast areas where smudges show. A handy gesture here: tap and hold anywhere on the canvas and Procreate shows you every layer in that spot, so you can jump straight to the right color layer and erase with the Airbrushing Medium Brush.
Optional Adjustments
- Use a photo of a friend, family member, or client. This makes a really special personalized portrait, and it could even become a fun service to offer.
- No stamps? You can do something similar with graphics from a digital collage set, or with public domain flower images. Just make sure anything you find online is genuinely copyright-free before using it.
- Try a light background instead of a dark one. You'd simply swap the outline-style butterflies for bolder ones and choose coloring brushes that show up on white, like a watercolor brush.