This is the first video in a new series, where I'll be inviting you to make art journal pages alongside me in Procreate, sometimes with a prompt or theme. For this first page I wanted to keep things simple and work with my new free resources to make a mixed media art journal page. There are no rules and perfection is not allowed, so grab your iPad and follow along however you'd like.
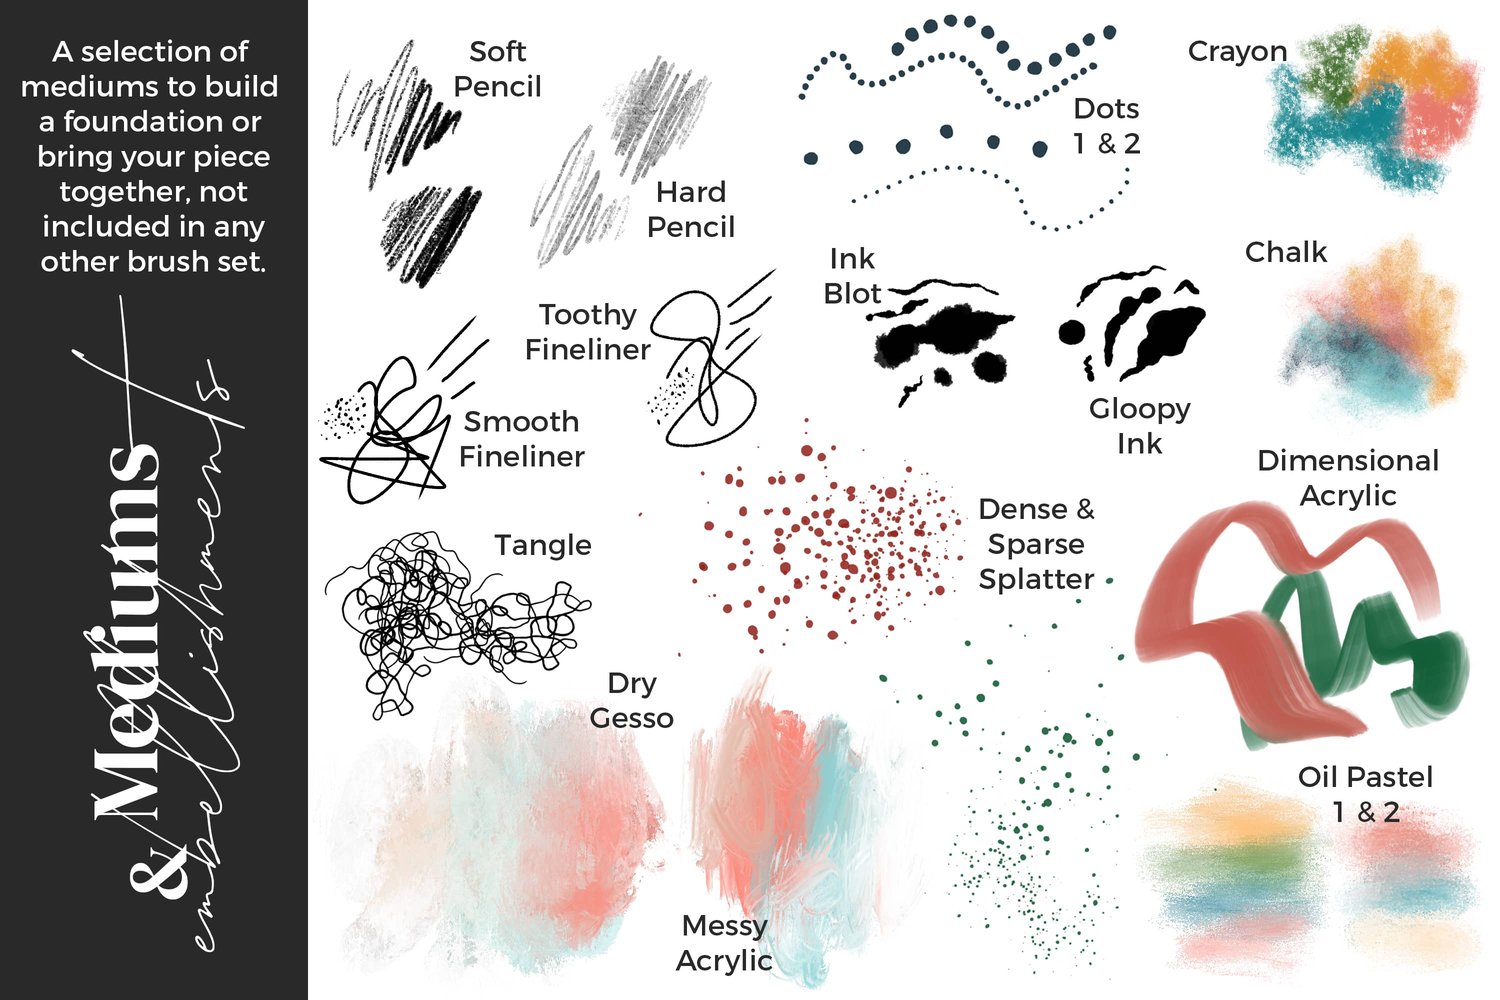
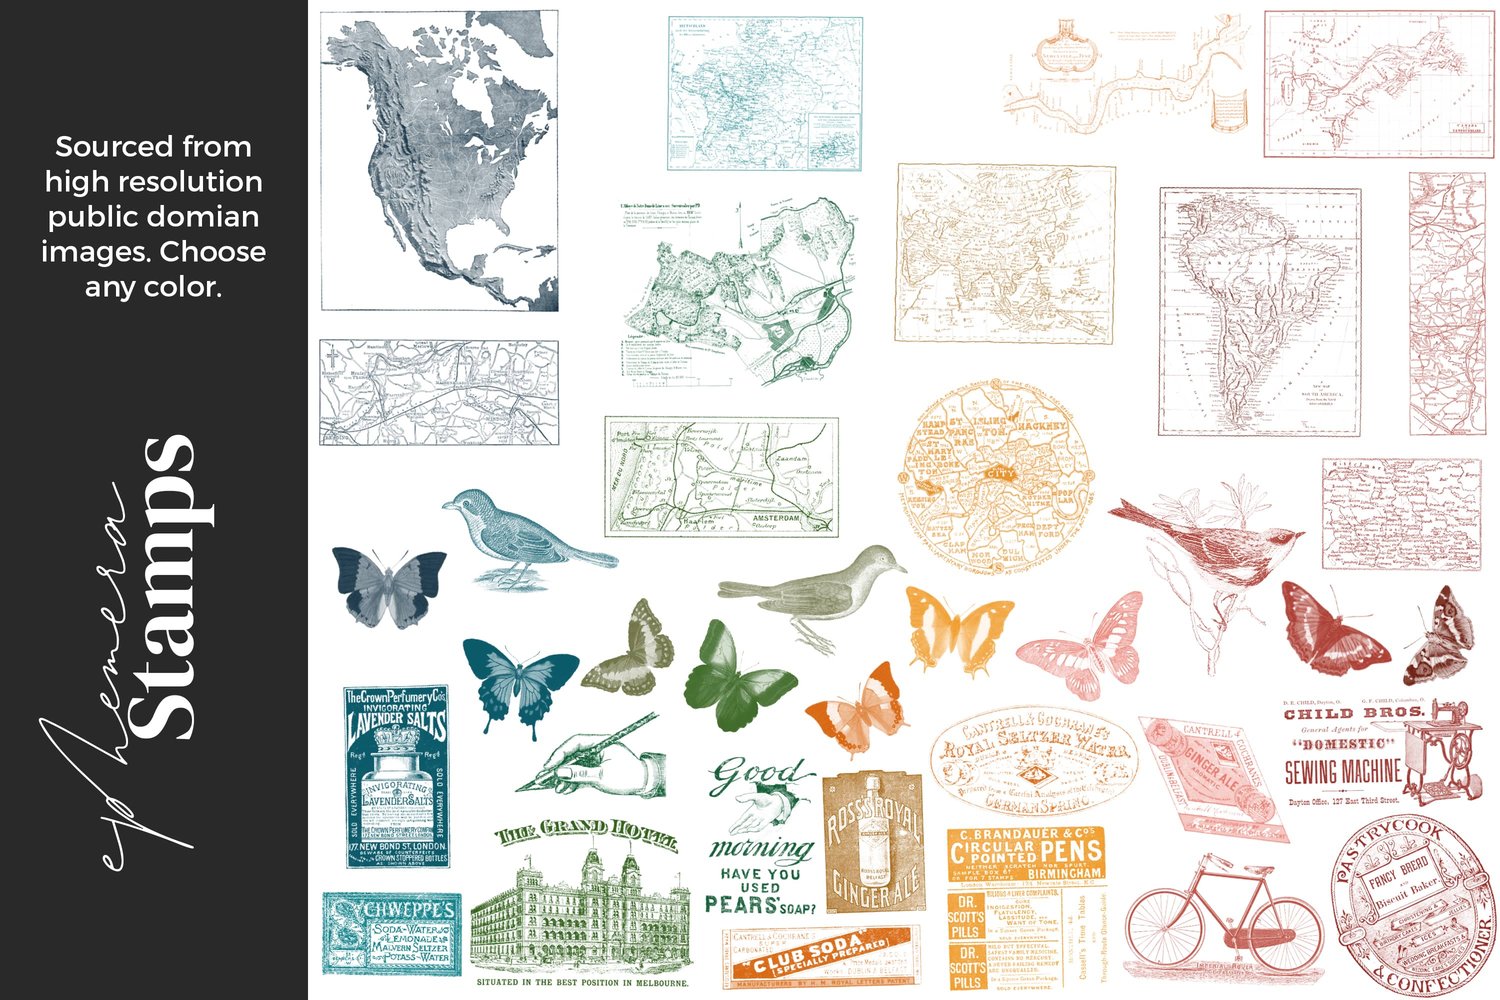
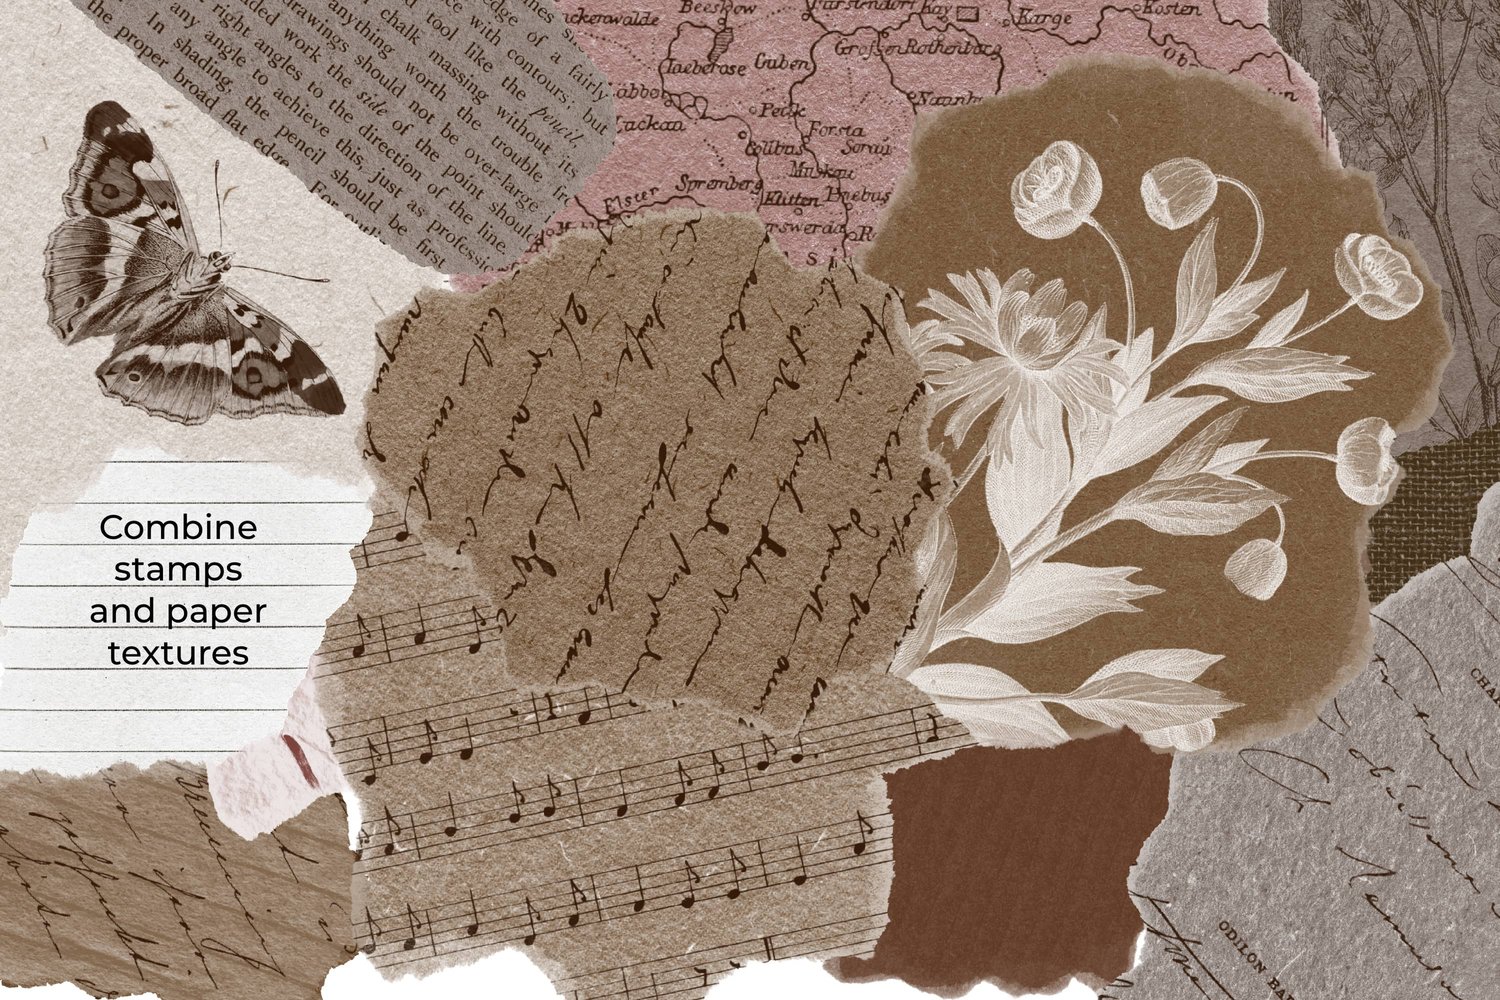
Most of the free things in this video live in my Digital Journaling Starter Pack, which includes the journal template, the Mixed Media Sampler brushes, and the public domain ephemera library. The one paid brush I use along the way is the Deckle Edge Eraser from my Mixed Media brush set.
Canvas Setup
- Template: Free journal template from the Digital Journaling Starter Pack
- Brush sets used:
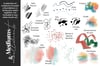
- Mixed Media Sampler (free, included in the DJSP above)
- Mixed Media
- Color palette: Mixed Media Rainbow
- Ephemera library: Included in the DJSP
If you want a walkthrough of the template itself, with the paper textures, the binding, the layer setup and all of that, I have a separate video covering it.
Step 1: Scribble Down Some Gesso Marks
Brush Used (Mixed Media Sampler):
- Flat Gesso
Pick a few colors at random from the Mixed Media Rainbow palette and just scribble. Some bold strokes here, some lighter sweeps there, a bit of tapping in places for texture. White is great to throw in too, it gives things a more painterly feel. Try not to think too hard about it. This is the loose foundation that everything else is going to sit on top of, and there is no wrong way to do it.
Step 2: Drop In Some Ephemera
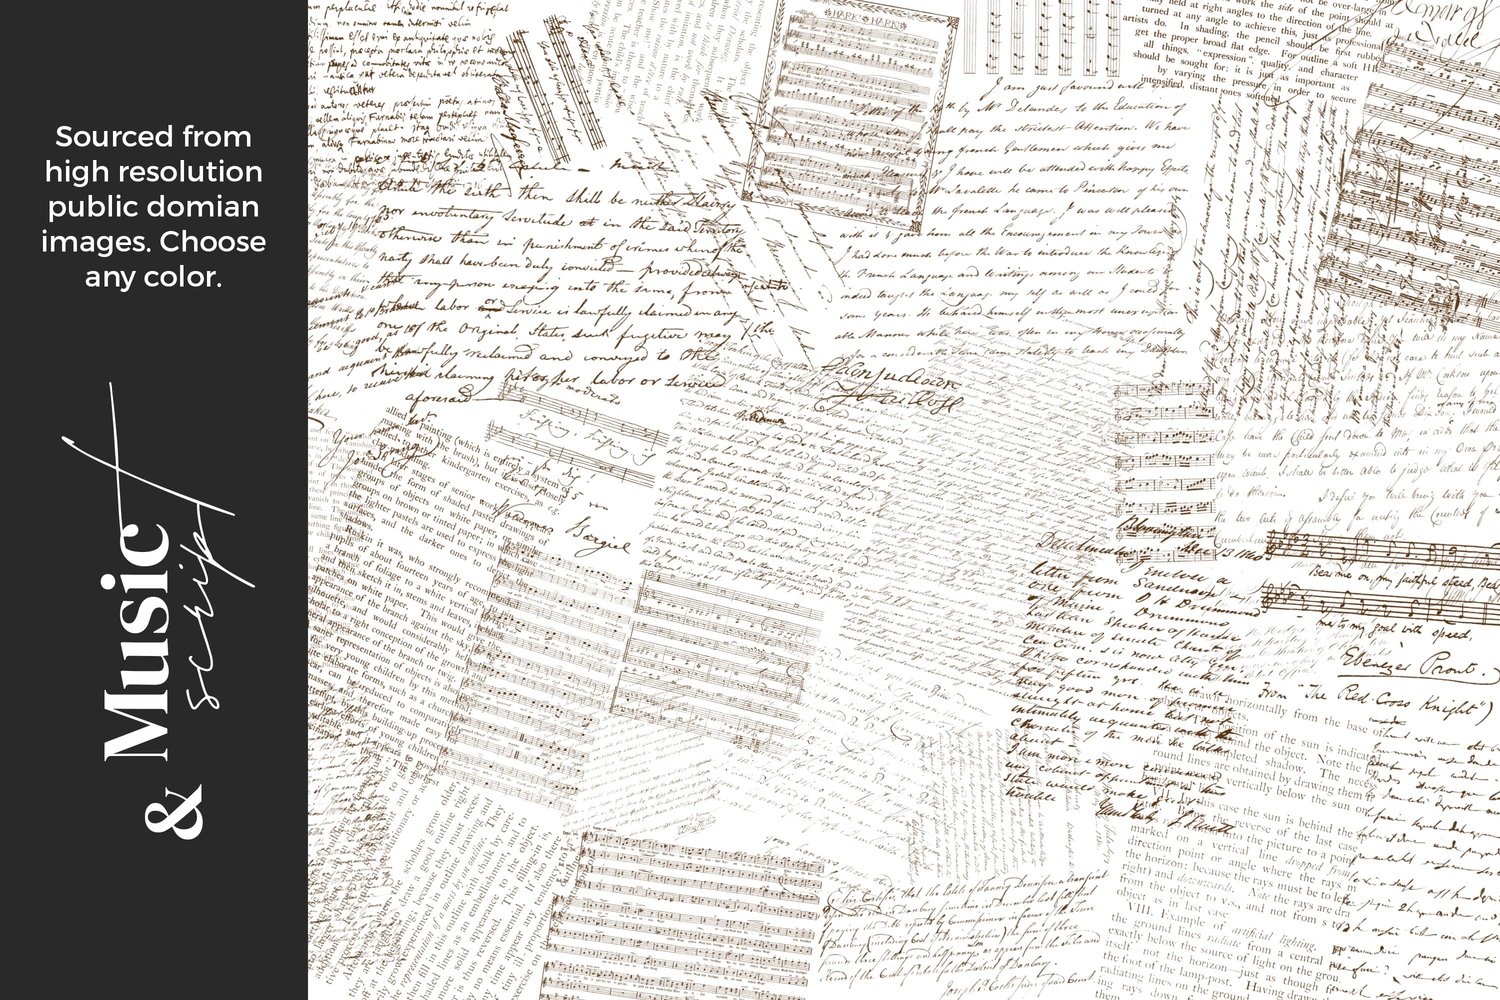
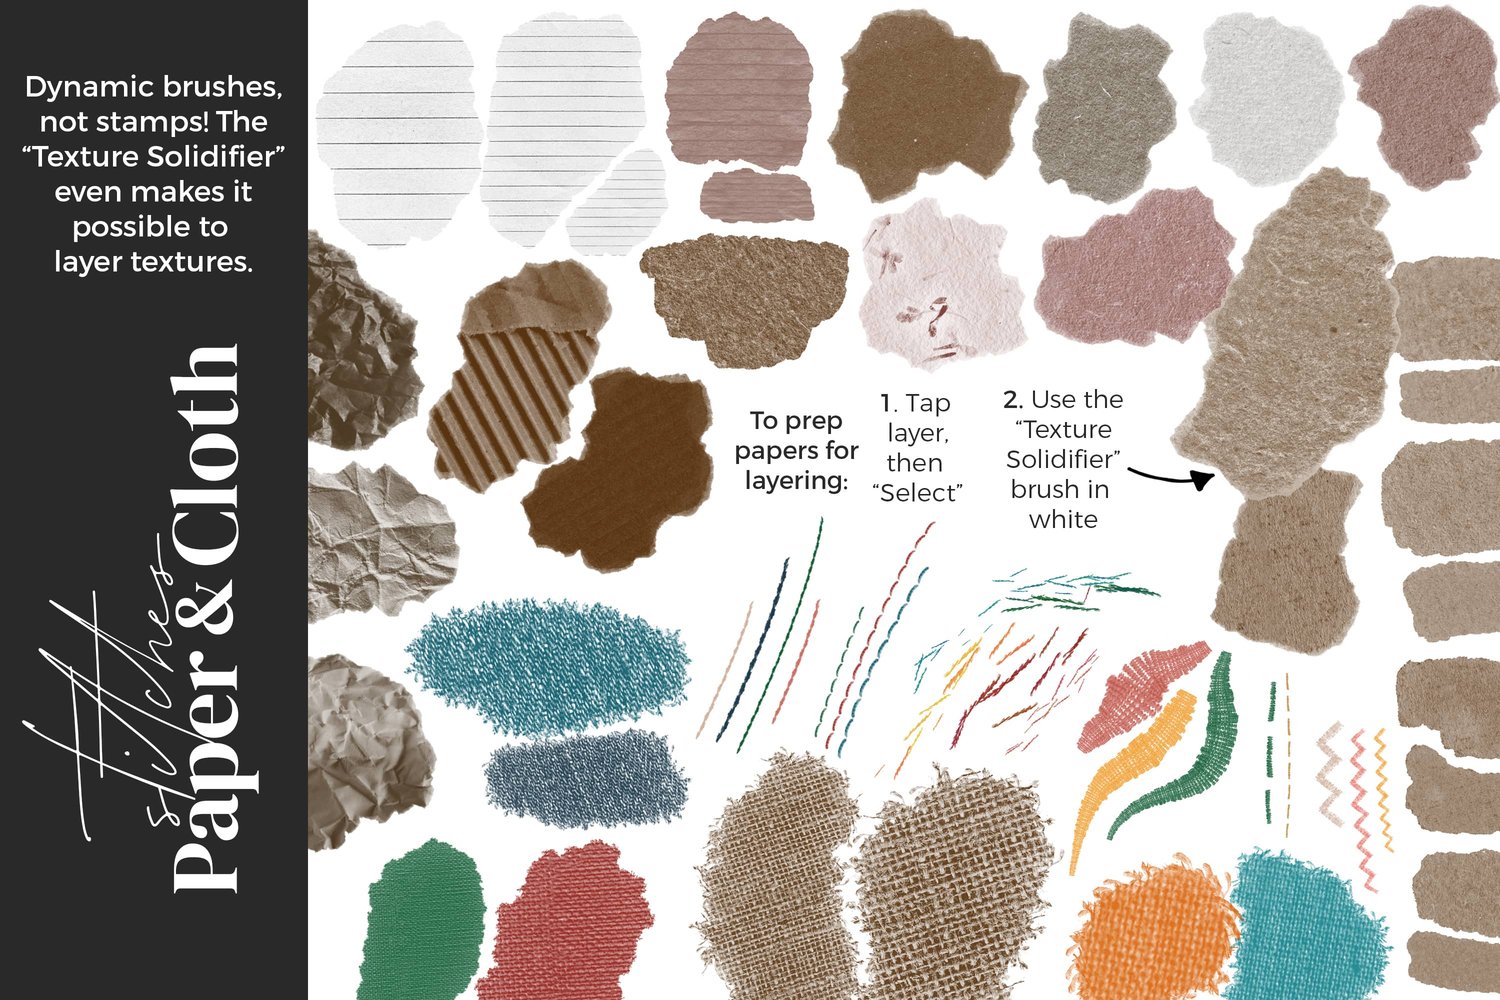
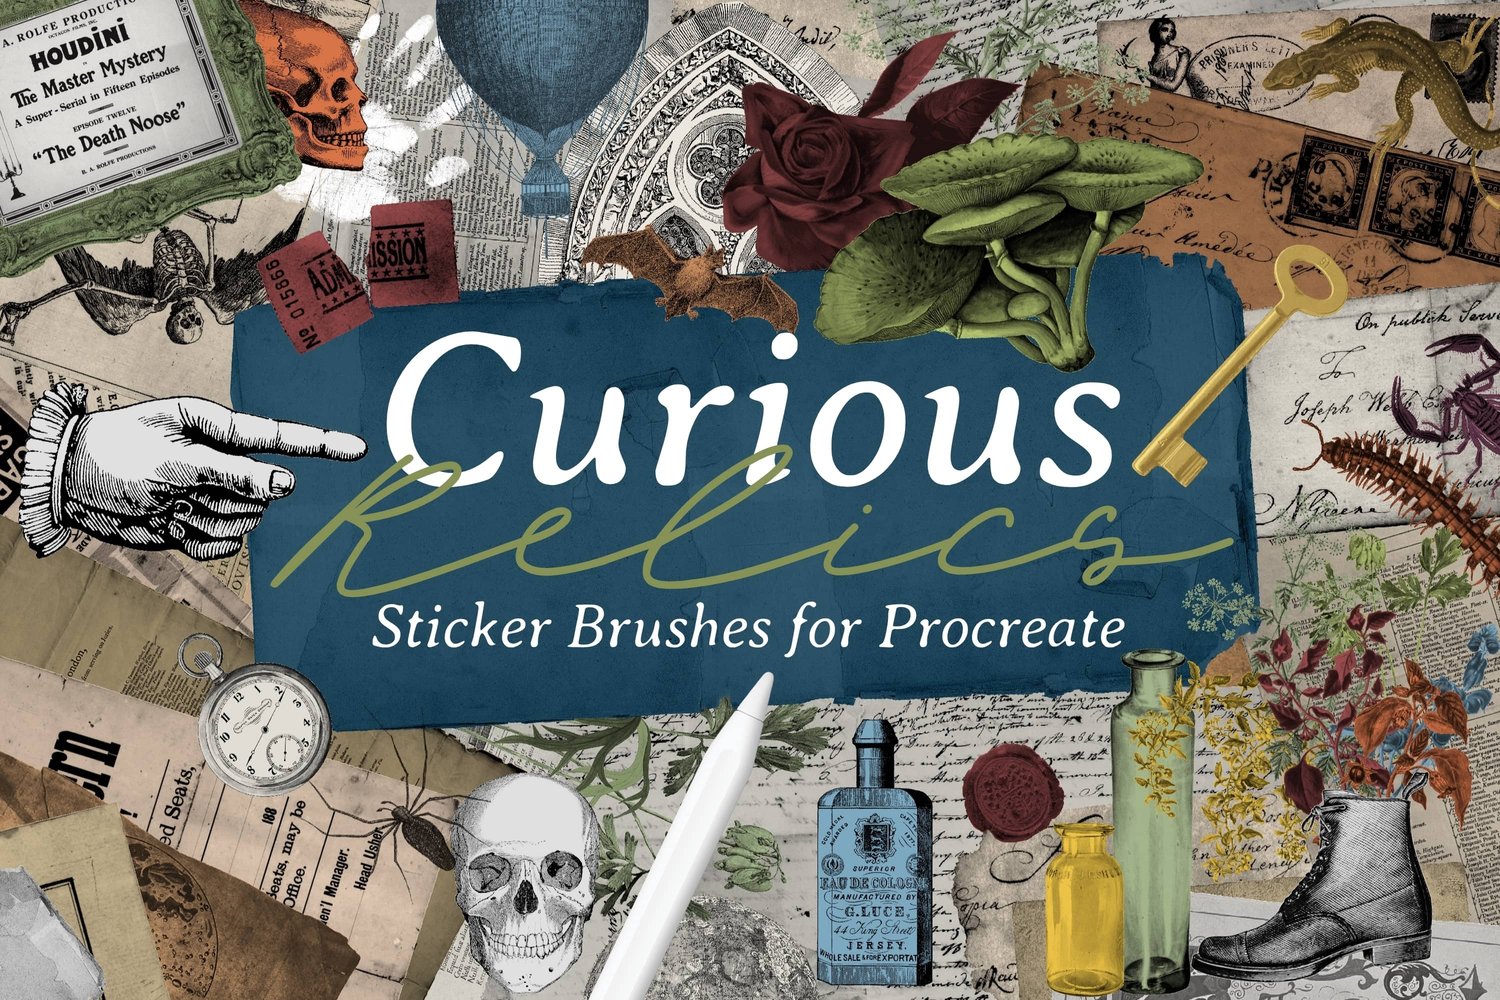
Open up your ephemera library in Safari and split-screen it alongside Procreate. Drag bits of paper into your canvas, things like book pages, a ripped scrap, a calendar page, whatever catches your eye, and drop them in beneath the paper textures so they pick up that journal feel. Rotate, resize, and rearrange them until the layout feels right. There is no right layout, just keep going until you like what you see.
Step 3: Rip the Edges
Brush Used (Mixed Media, paid):
- Deckle Edge Eraser
Most of your ephemera is going to look too neat with its rectangular edges still intact. Switch to the eraser tool, pick the Decal Edge Eraser (or otherwise substitute it with a brush Procreate's Grunge library), and erase along some edges of each piece to give them a torn, ragged look. Be a little random, leave some bits poking out, take chunks out of others. This is the one brush in the video that is not free, but it makes the page feel a hundred times more like a real journal. You can absolutely do this with layer masks instead if you prefer, the eraser is just faster.
Step 4: Group and Tidy the Layers
Once your ephemera is roughly where you want it, group the bits that live on the same page together in the layers panel. Tap one, swipe each related layer to the right to select them all, and tap Group. It just keeps things easy to move around in tandem as you add more.
Step 5: Add Realistic Shadows
This one looks fiddly written out, but you only need to go slow on the first one. After that it flies. It really does make the ephemera feel stuck on the page rather than floating.
For each ephemera layer:
- Double tap near the black on your color disc to set pure black.
- Swipe left on the layer and tap Duplicate.
- Tap the bottom of the two duplicate layers, then tap Select. This selects everything in that layer.
- On the select menu at the bottom of the page, tap Color Fill. Your layer fills with black.
- Turn off the selection by tapping the ribbon icon at the top left.
- Open the adjustments menu (the magic wand), tap Gaussian Blur, then drag right on the canvas until it reads about 3%.
- Tap the N on the shadow layer and bring the opacity down to about 30%. Subtler is better on a light background.
- Optional but worth doing: switch to the Move tool, tap once or twice in one corner to offset the shadow that direction. Pick a corner and stick with it for all your shadows so the light source stays consistent.
Once Color Fill is on, you can fly through the rest of them as it will automatically be turned on for each new selection. This is why I like to do the shadows all in one go once I have placed my collage papers where I want them.
It's also easier to keep all the shadows consistent when doing them all at once, for instance nudging them in all in the same direction with the same number of taps. They look more realistic if they are consistent because in real life, the shadows would all be coming from the same light source.
Step 6: Add More Marks and Embellishments
Brushes Used (Mixed Media Sampler):
- Dotted Line
- Pencil
- Flat Gesso
- Detail Brush
- Flower Stamp
On a new layer above your ephemera groups, scribble loosely in white, then in a pop of pink, with the pencil. Trace along some of the torn edges with the Dotted Line for a stitched-paper look. Tap a bit more gesso here and there to soften transitions. Use the Detail Brush for tiny scribbly marks where things feel flat. Stamp a flower or two on its own layer if you want a focal point. This is the messy embellishment stage, and the goal is to make everything feel cohesive and interesting rather than perfect.
Step 7: Anchor With Stitches
Brushes Used (Mixed Media Sampler):
- Running Stitch
- Wonky Satin Stitch
- Cross Stitch
Add a new layer above everything. Pick a couple of stitch brushes and draw them in around the ephemera in different colors, dark blue first, then a couple of yellows, a small red, then tiny white stitches scattered around to soften the edges. Vary the colors and the sizes. The wonkier the better.
Step 8: Hidden Writing for Yourself
On a final layer, in white with the pencil, write something only you will be able to read. Big in some places, small in others, sentences starting in one spot and finishing in another. The point is not legibility, it is the feeling that this page actually belongs to you, and that there is something underneath the prettiness.
Optional Adjustments
- Use different colors of gesso to set a completely different mood.
- Skip the shadows if you want something flatter and more graphic.
- Swap the asemic writing for actual journaling, hidden or not.
- Pull pieces from your own image library if you have one going. This could include textures, personal photos, anything you like.
The whole point of a series like this is that the same loose process gives you a completely different page every time. Lean into that.