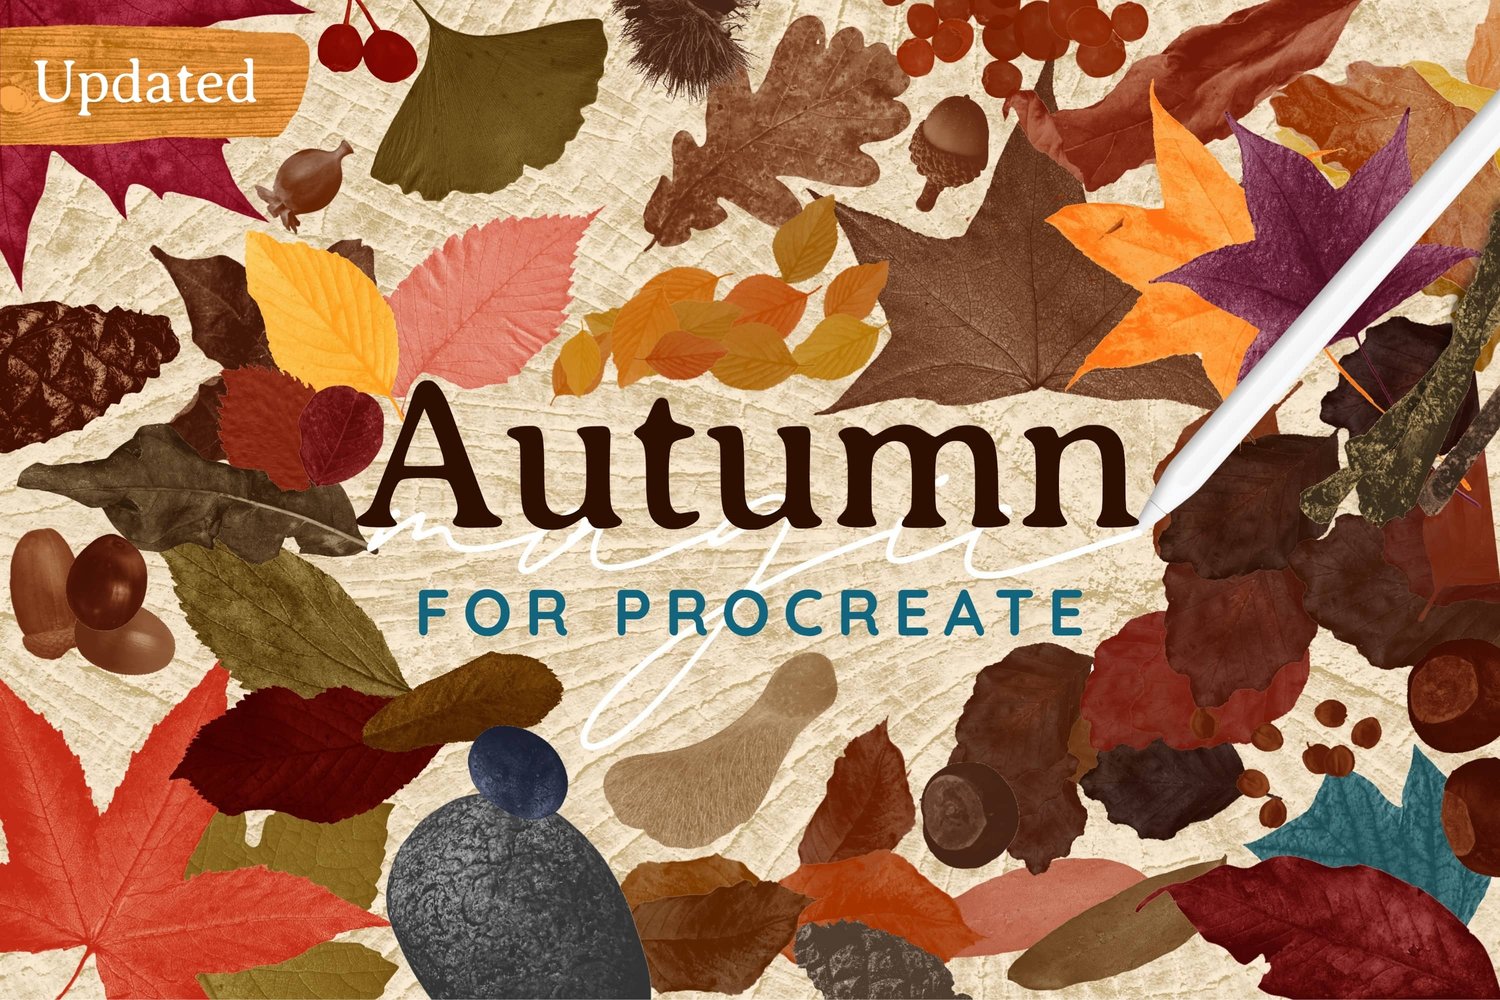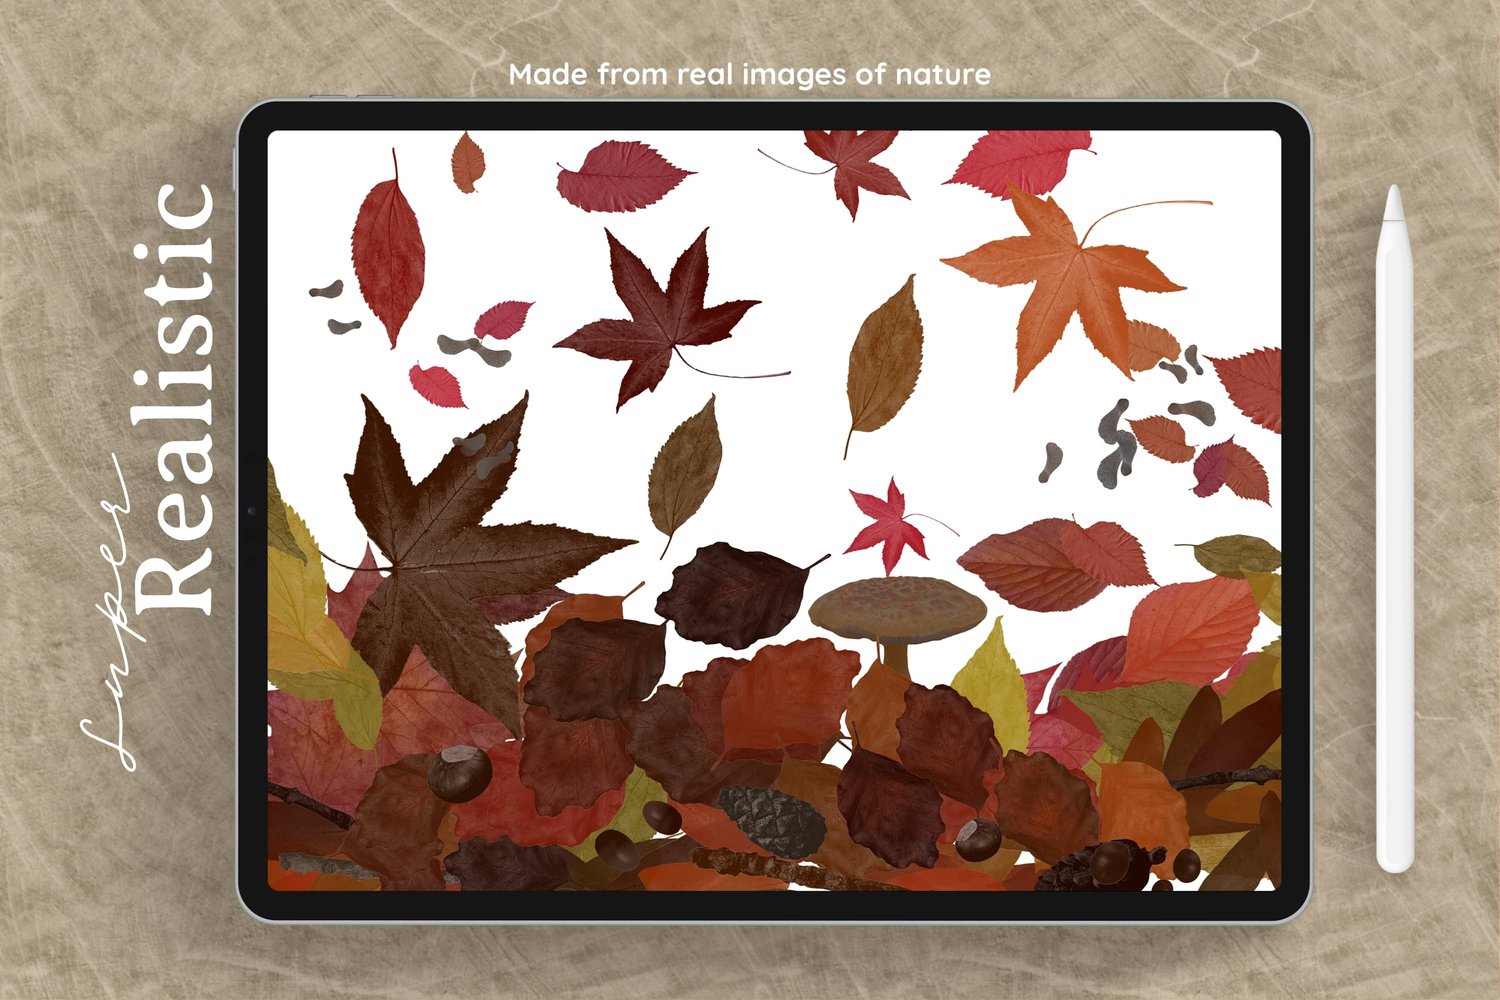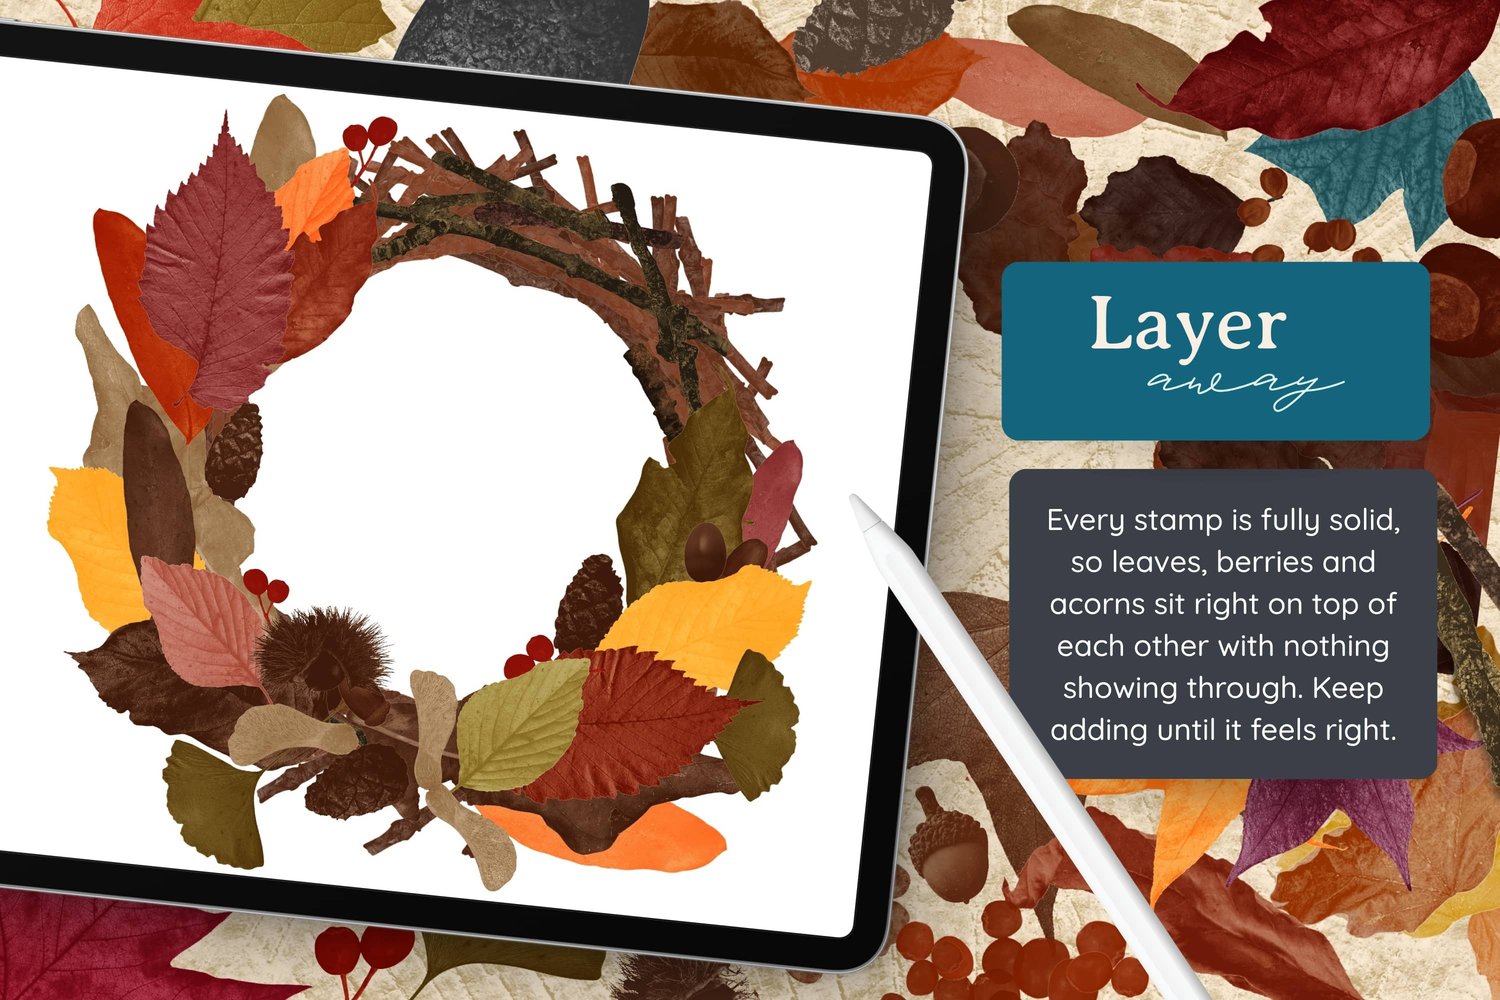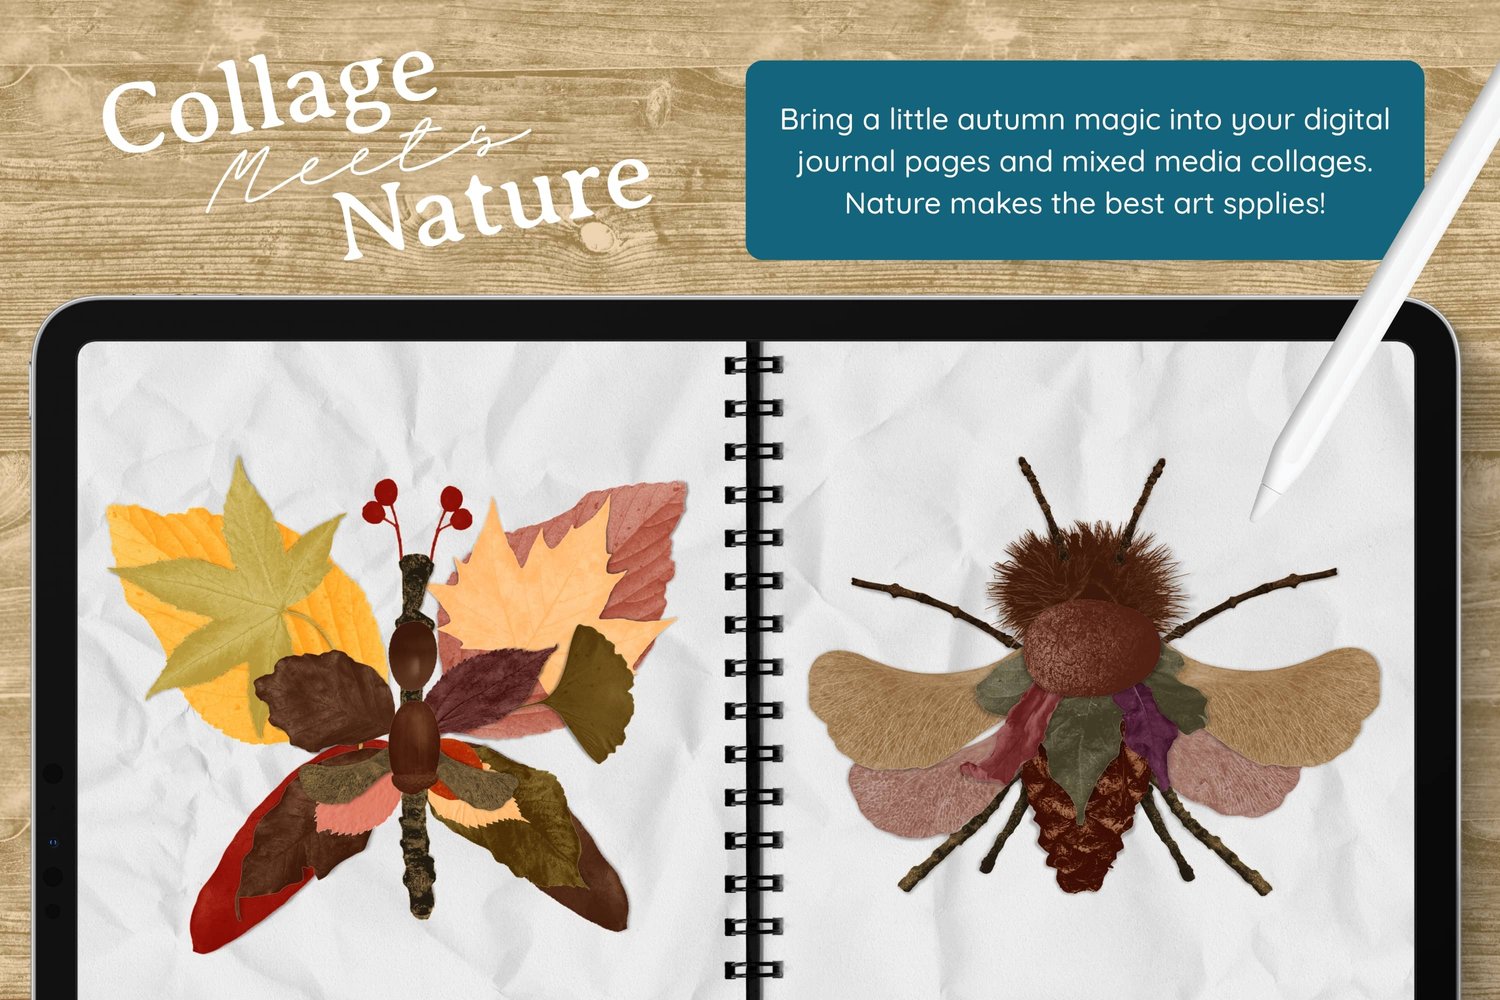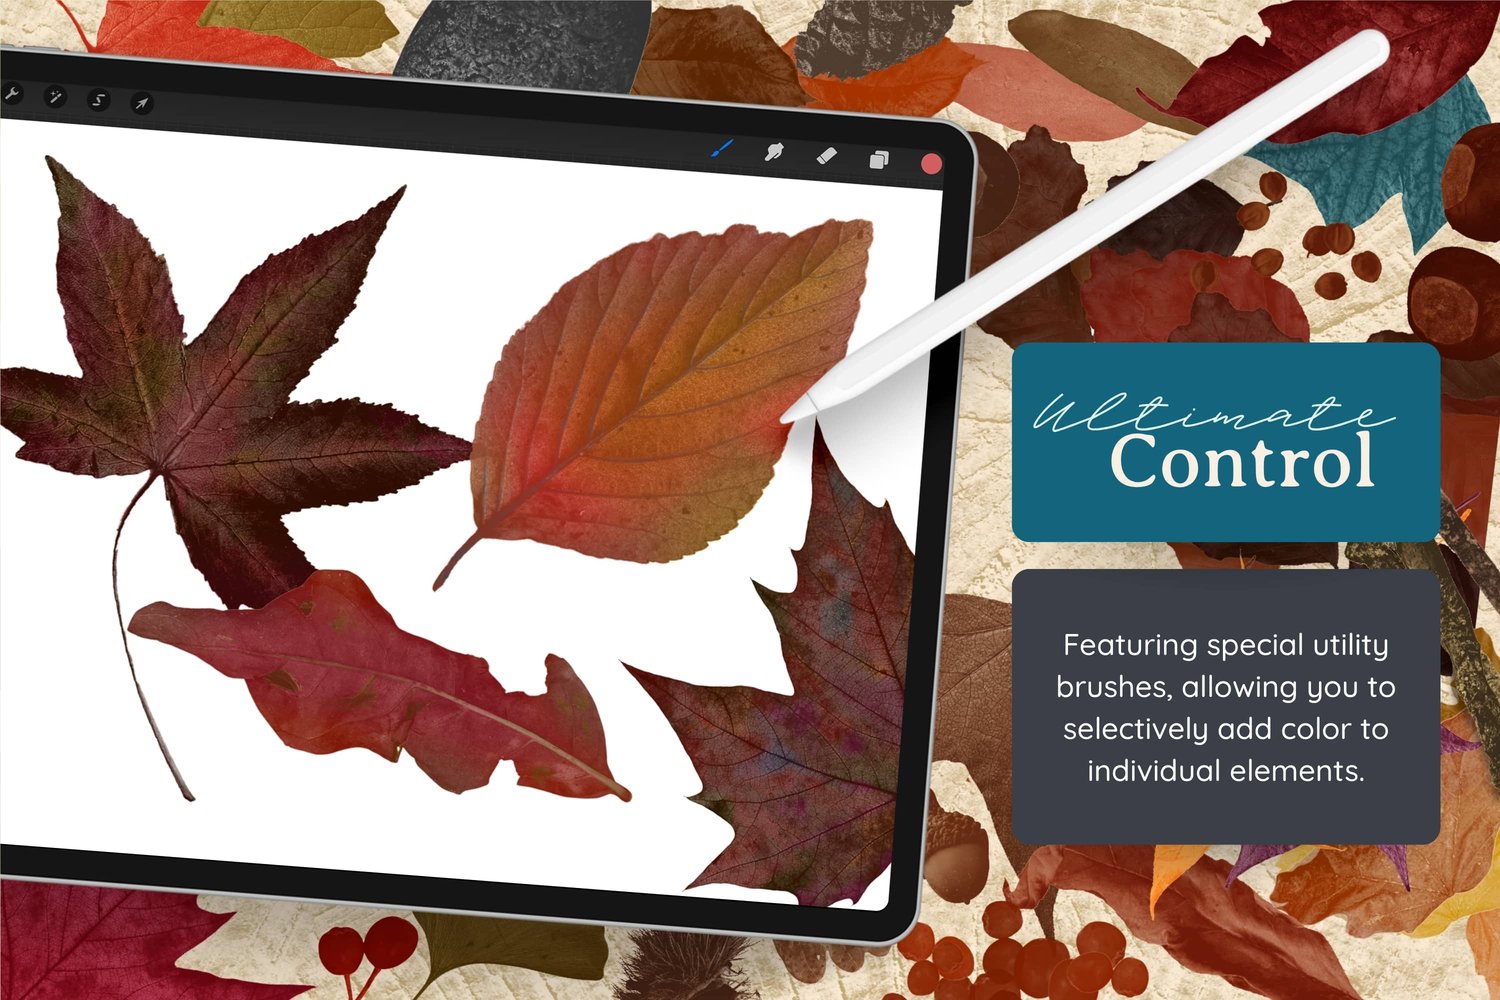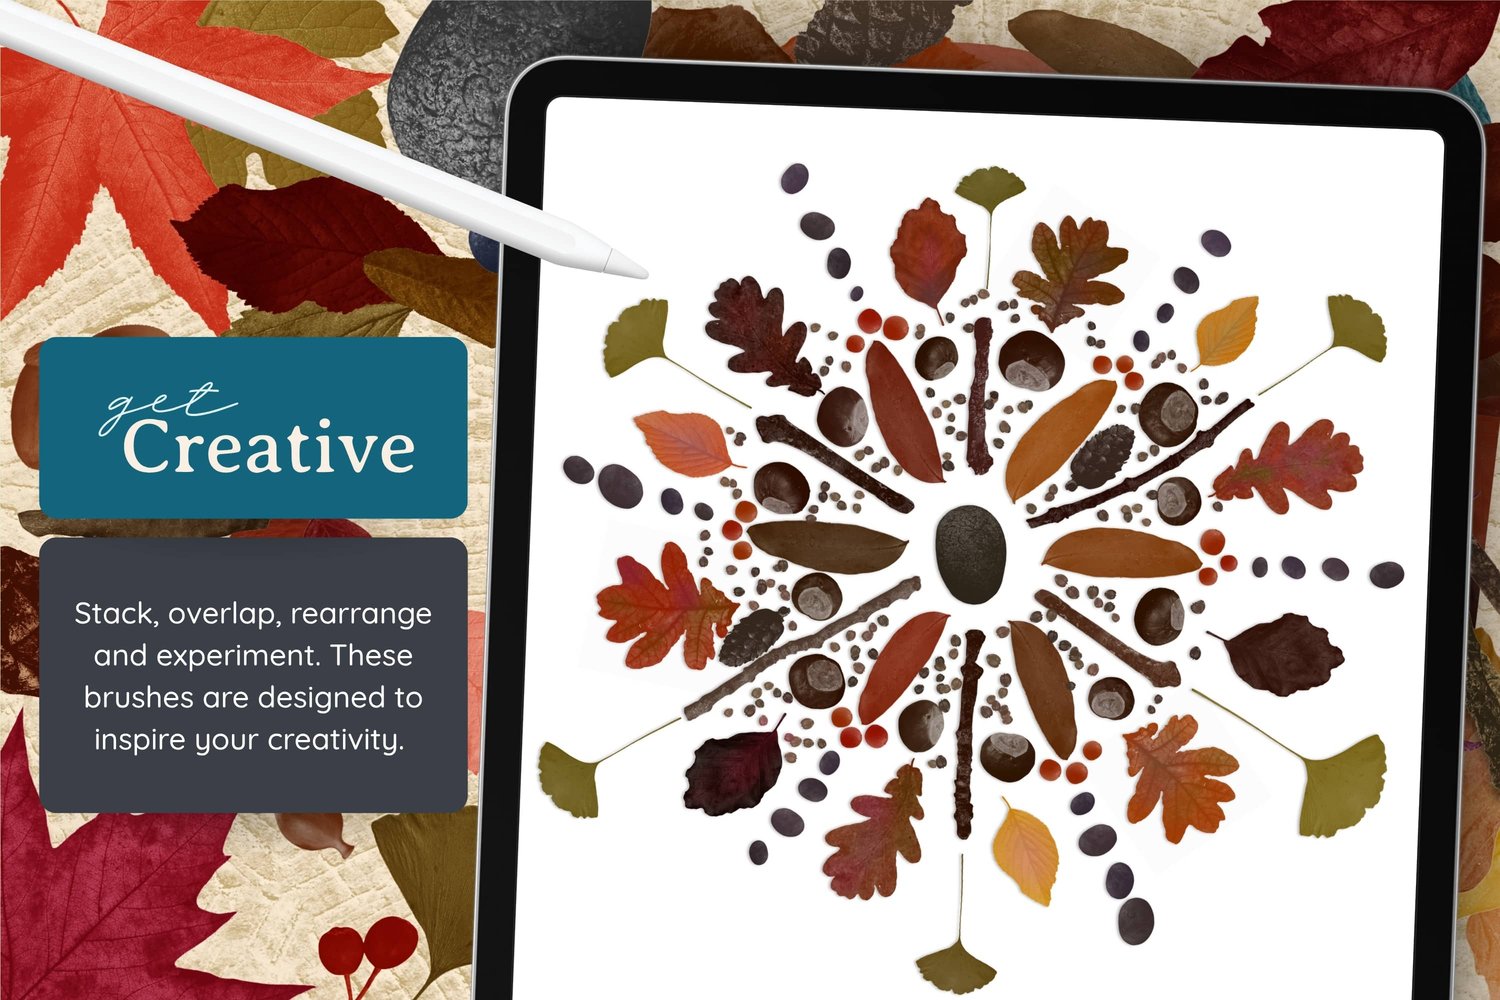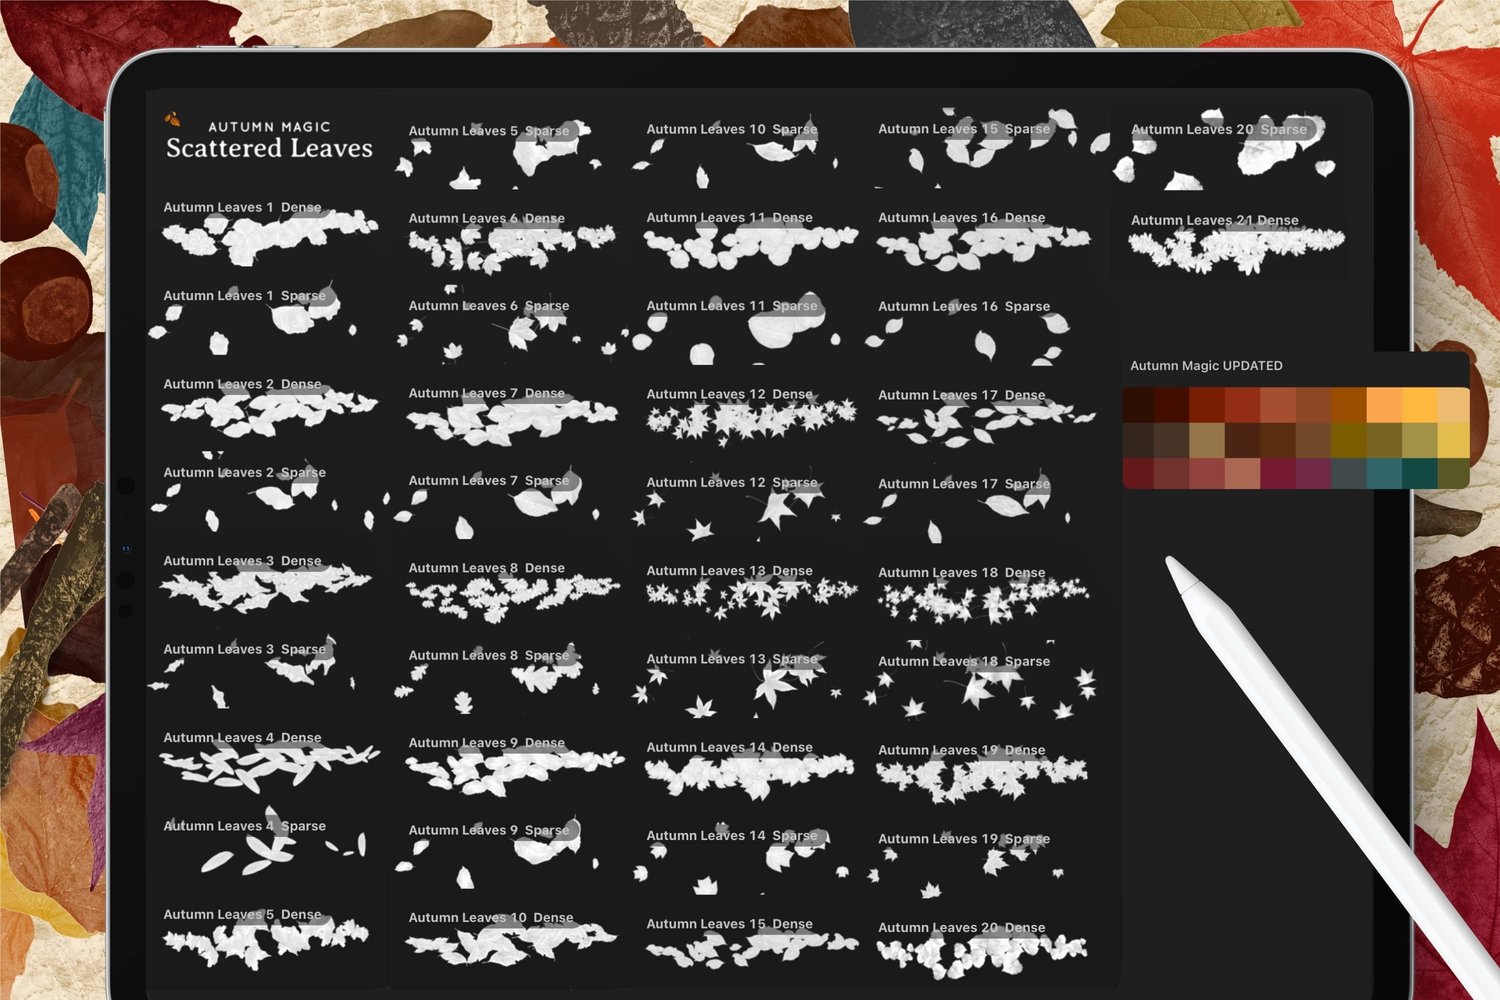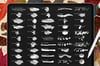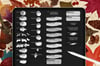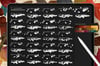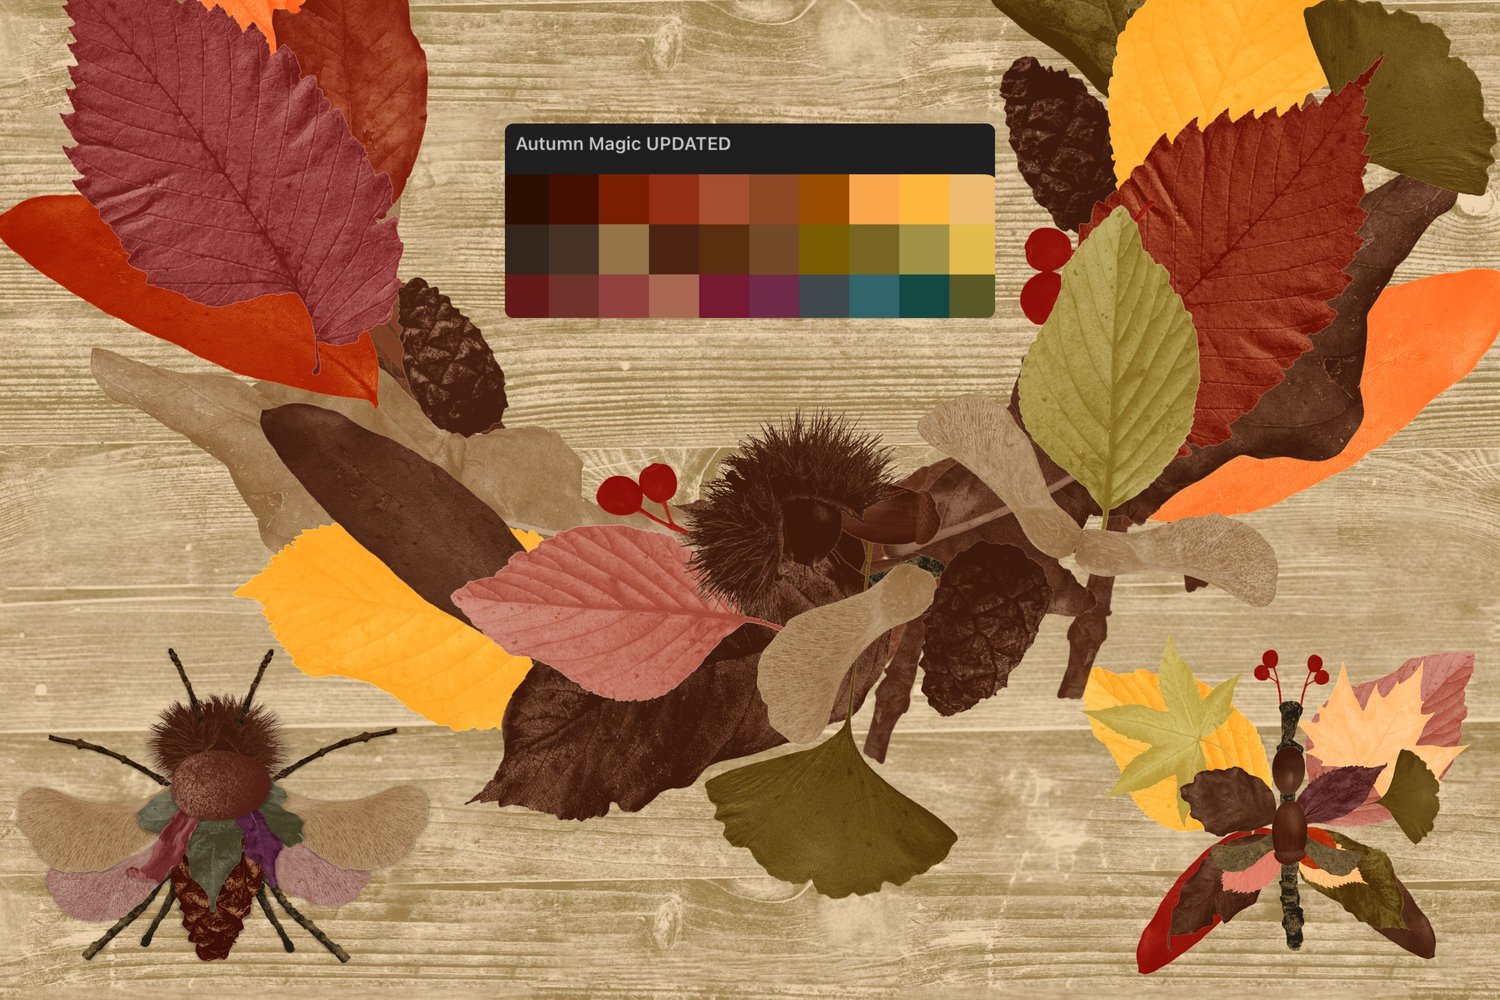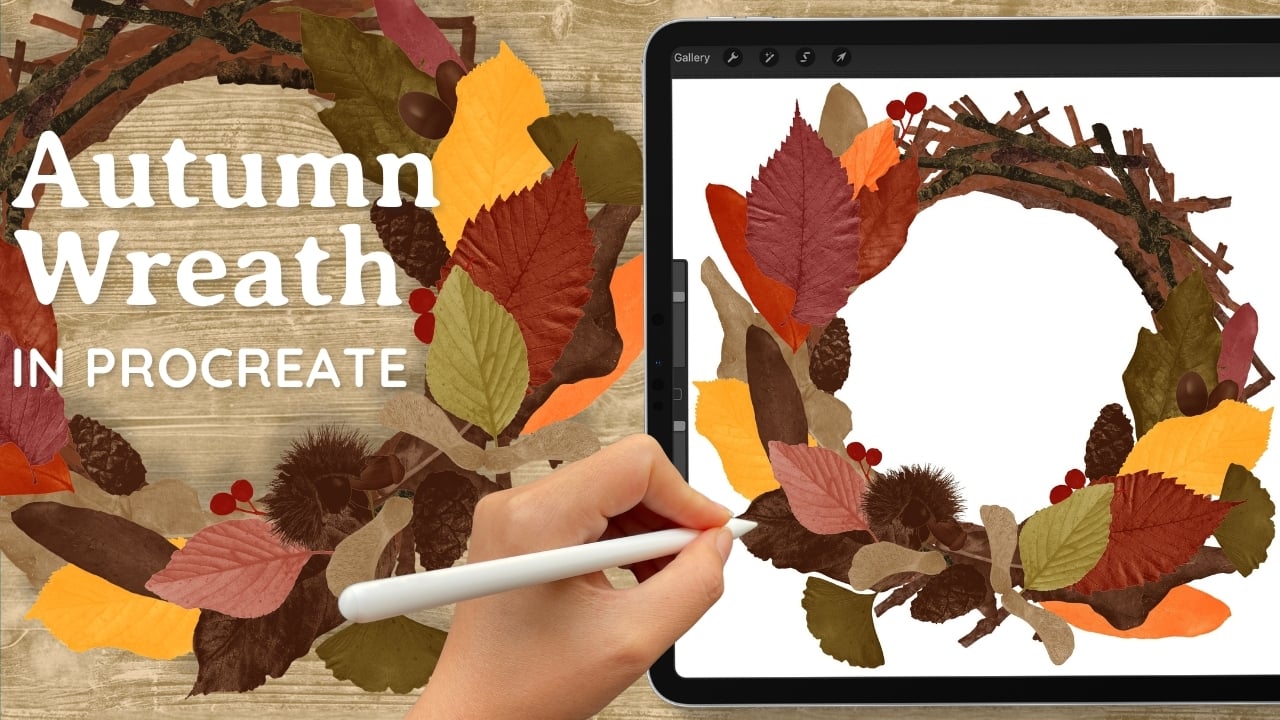
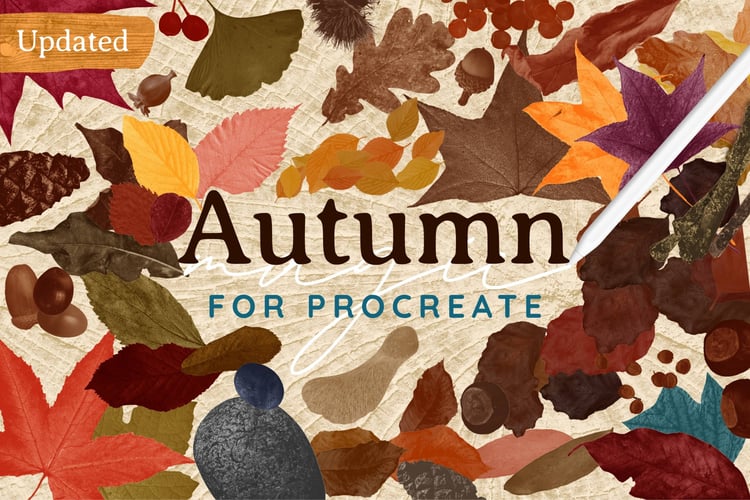
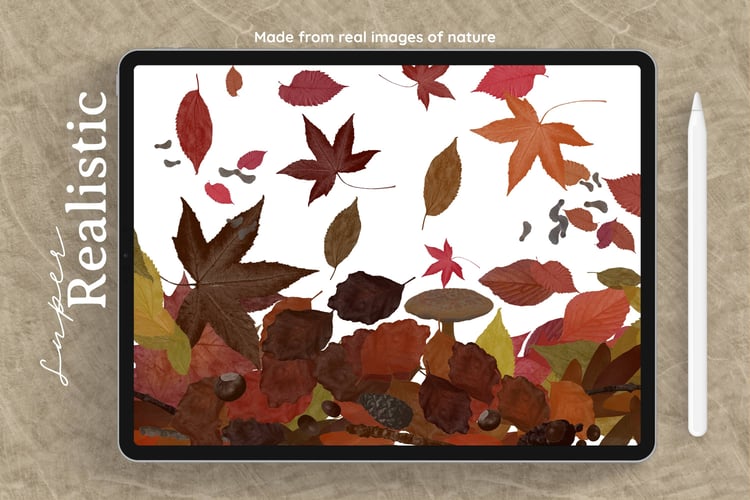
This week we're making a cozy autumn wreath in Procreate, starting with a simple circle of sticks and layering leaves, acorns, pine cones and berries on top. The leaf stamps in my newly updated Autumn Magic set are all solid, so they stack neatly and you can keep shuffling things around until it feels right. Keep it simple with a handful of leaves, or keep adding layers until it's lovely and full. Mine ended up a bit lopsided, heavier at the bottom than the top, and I'm kind of okay with that. Plenty of real wreaths don't go all the way around either.
All the brushes in this tutorial are from my Autumn Magic brush set, which includes the Autumn Magic color palette.
Canvas Setup
- Size: 12 × 12 in at 300 DPI
- Background: White
- Brush Set Used: Autumn Magic
- Color Palette: Autumn Magic
Step 1: Make a Stick Circle for the Base
Pick a dark brown and make the brush fairly large. Draw a circle in one go and bring it back around to meet the start, then keep your pencil on the screen. Procreate will say "Ellipse created" at the top. It won't be a perfect circle yet, so touch the screen with a finger and it snaps into a perfect one. While you're still holding, you can drag to decide how big you want it. Leave some room around it for all the leaves.
Brushes Used (Autumn Magic, Foraged Finds):
- Multi Sticks: the base of the wreath
Name this layer "Base" so it's easy to find later.
Step 2: Add Solid Leaf Stamps All the Way Around
Now for the fun part. Start stamping leaves around the circle, all pointing outward in roughly the same direction. Point your pencil the way you want the leaf to face before you tap, and it will follow.
Each leaf needs its own layer. Because these stamps are solid, they have a funny interaction when they overlap on the same layer. Two leaves on one layer are fine as long as they don't touch, but new layer, new color, new leaf is a good habit.
Brushes Used (Autumn Magic, Leaf Stamps):
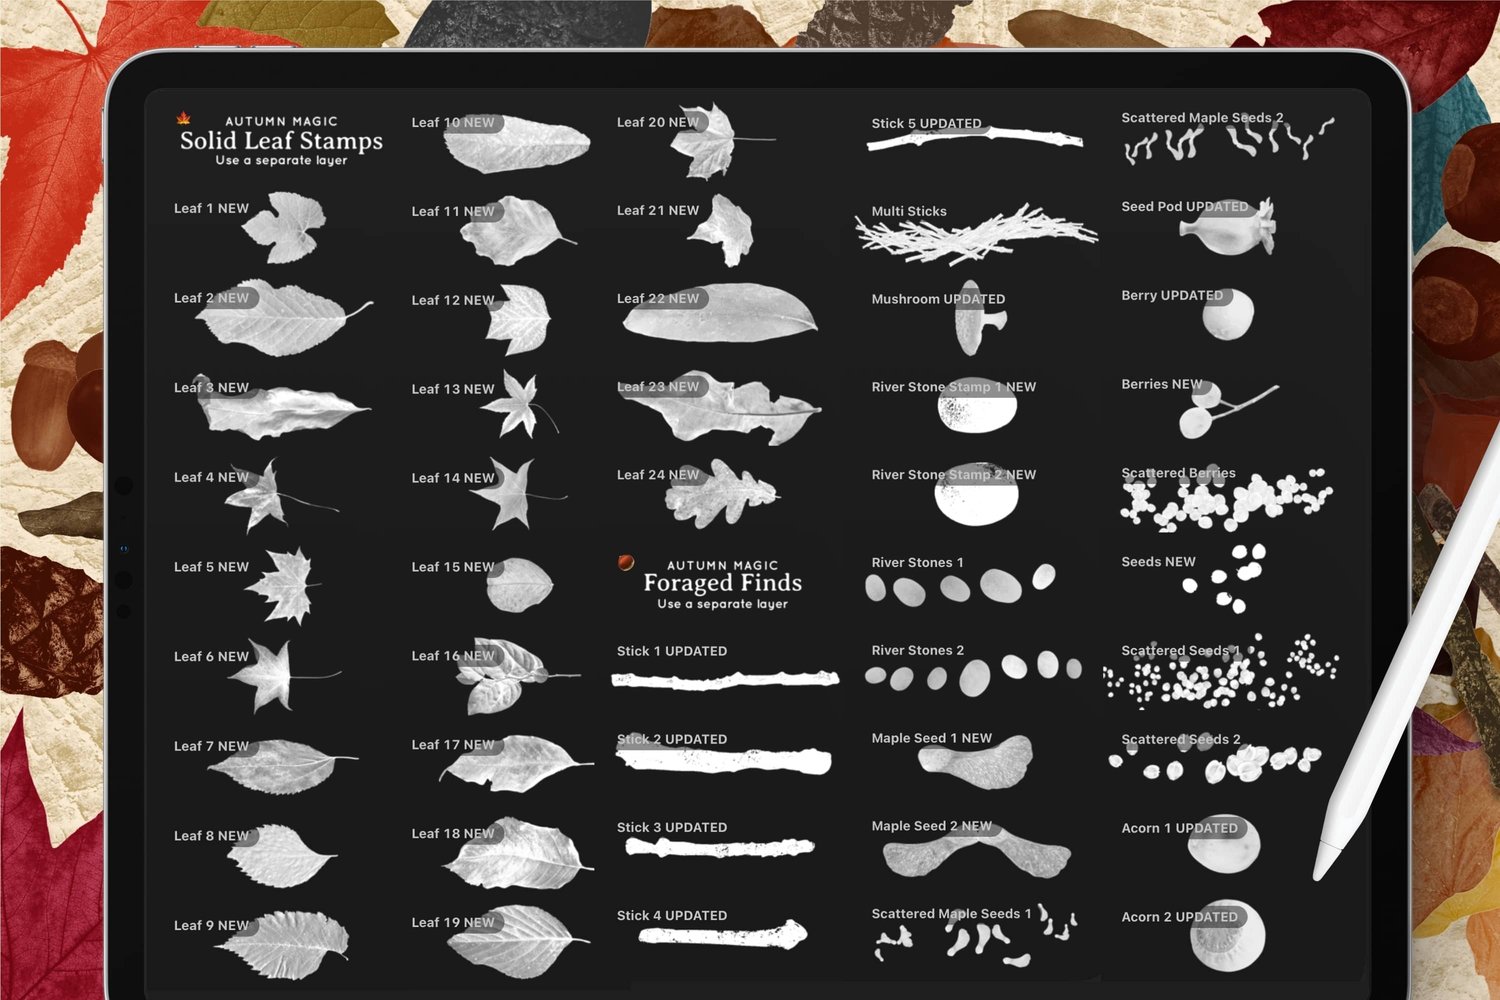
- Leaf #9: lovely in pink
- Leaf #22: one of my favorites, with a gorgeous texture in darker pink, lighter pink and soft yellow
- Leaf #23: crumpled texture that works well in plain brown as a background leaf
- A light green leaf kept small for a pop of brightness
A few tips as you go:
- Balance your colors. Try putting similar colors on both sides of the wreath so it feels even.
- Use the Move tool. Turn snapping off so you can nudge leaves freely, and use the little green handle to rotate them.
- Rotate your canvas. Pinch and twist to turn the canvas instead of crunching your arm into a funny position.
- Change the order anytime. Want the yellow leaf on top? Just drag its layer up. This only works when every leaf is on its own layer.
Oops, two leaves on one layer? Use the Selection tool on Freehand, draw around the leaf you want to separate, then copy and paste. That gives you a copy on its own layer. Go back and erase the original from the old layer, and now you can move and rotate it separately.
Step 3: Add a Few More Sticks
A couple of extra sticks on top of the base make the wreath look more organic, like there are a few different things going on.
Brushes Used (Autumn Magic, Foraged Vines):
- Stick #3: in light brown, plus one with a more reddish hue
Put one as part of the background and a few more wherever the stick base is still showing. This one already has a nice curve, so it follows the circle beautifully.
Step 4: Group Your Layers
By now you'll have a lot of layers. Put all your leaves into one group and your sticks into another. It makes the next steps much easier to keep track of.
Step 5: Add Seeds, Acorns, Pine Cones and Berries
These little accents give the wreath its forest floor feel. Keep them fairly small so everything stays in proportion, and give each one its own layer.
Brushes Used (Autumn Magic, Foraged Finds):
- Maple Seeds #1 and Maple Seeds #2: light brown, great for framing the leaves
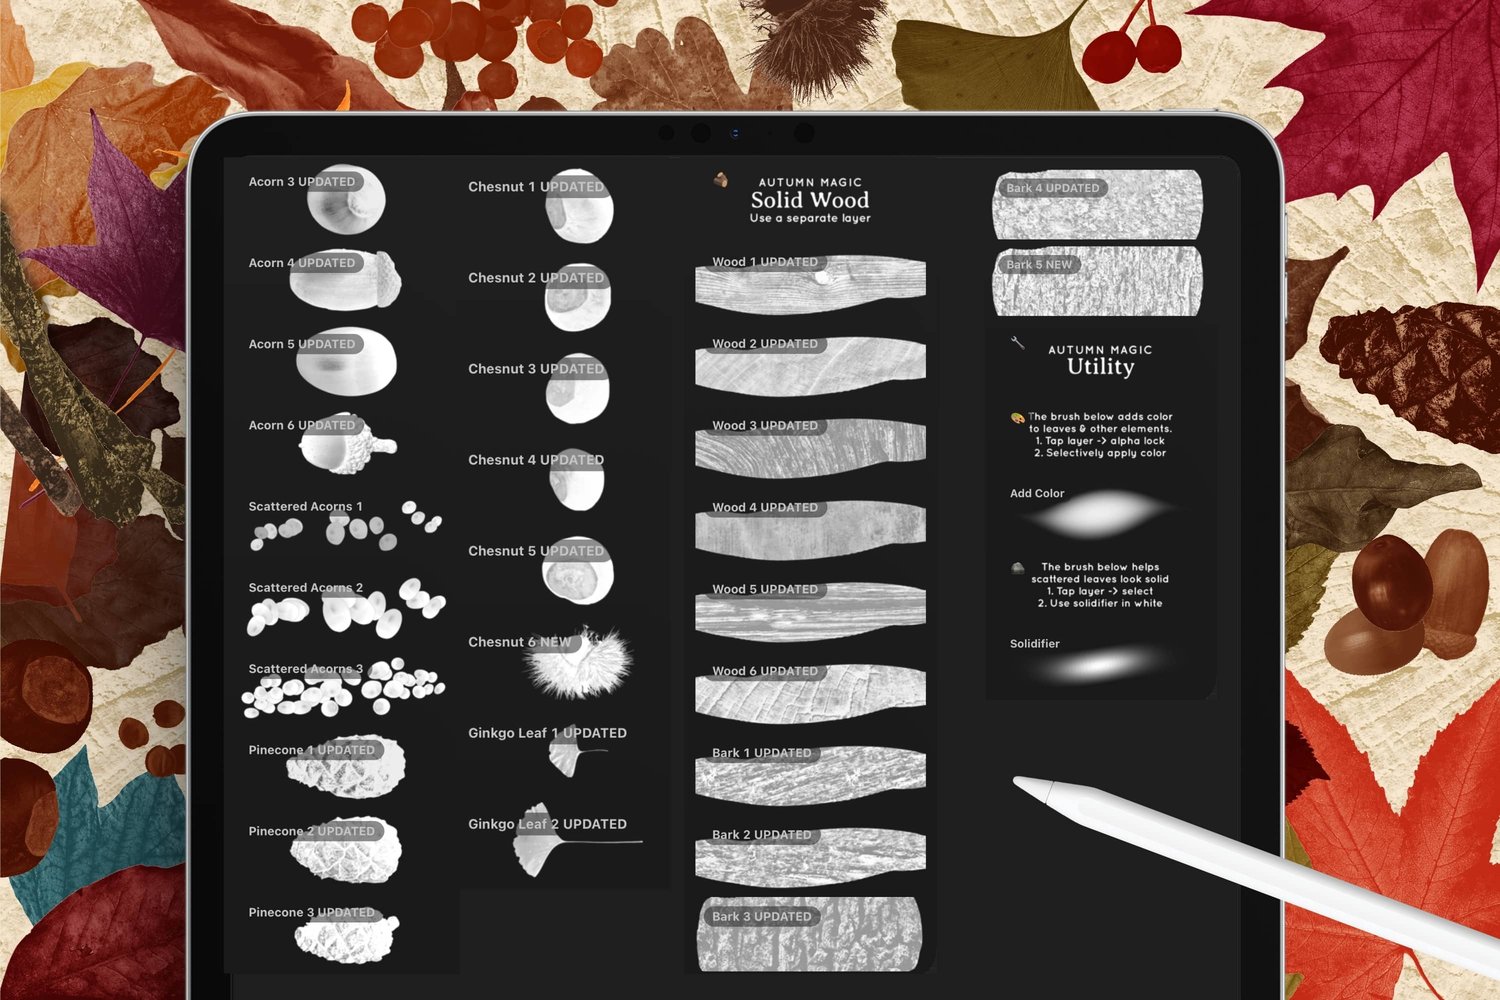
- Acorns: in a warm brown
- Pine Cone #1 and Pine Cone #3: the same multipurpose brown, pointing slightly inward
- Ginkgo Leaves: some of my favorites in the whole set
- Hairy Chestnut: adds a completely different texture
- Berries: bright red, stamped a few times
Odd numbers are just more pleasing to the eye, so try adding your berries in threes. They lean a little Christmassy, but they work for autumn too.
Step 6: Tuck Things In with Layer Order
Once everything is roughly where you want it, go back through your layers and tuck some of the accents underneath the leaves. My practical brain kept wondering how those acorns were just sitting there. Had they been glued on? Moving them under a leaf makes them look tucked in and much more natural.
Quick tip: select layers by touch and hold. Go to Actions > Prefs > Gesture Controls > Layer Select and turn on Touch and hold. Now when you press and hold on part of your canvas, Procreate selects that layer for you. If a few layers overlap there, it lets you choose which one you meant. So handy when you have loads of layers.
Optional Ideas
- Make a greeting card. Leave the middle empty and add a message or a name in the center.
- Print it. At 12 × 12 inches and 300 DPI, it's ready for a square print.
- Leave it open. A wreath doesn't have to go all the way around. A crescent shape that's fuller at the bottom looks lovely too.
- Try a different mood. Swap in more berries and pine cones with deeper greens for a winter version.
- Play with direction. If a few leaves end up pointing the "wrong" way, see if you like it before fixing it. I did!