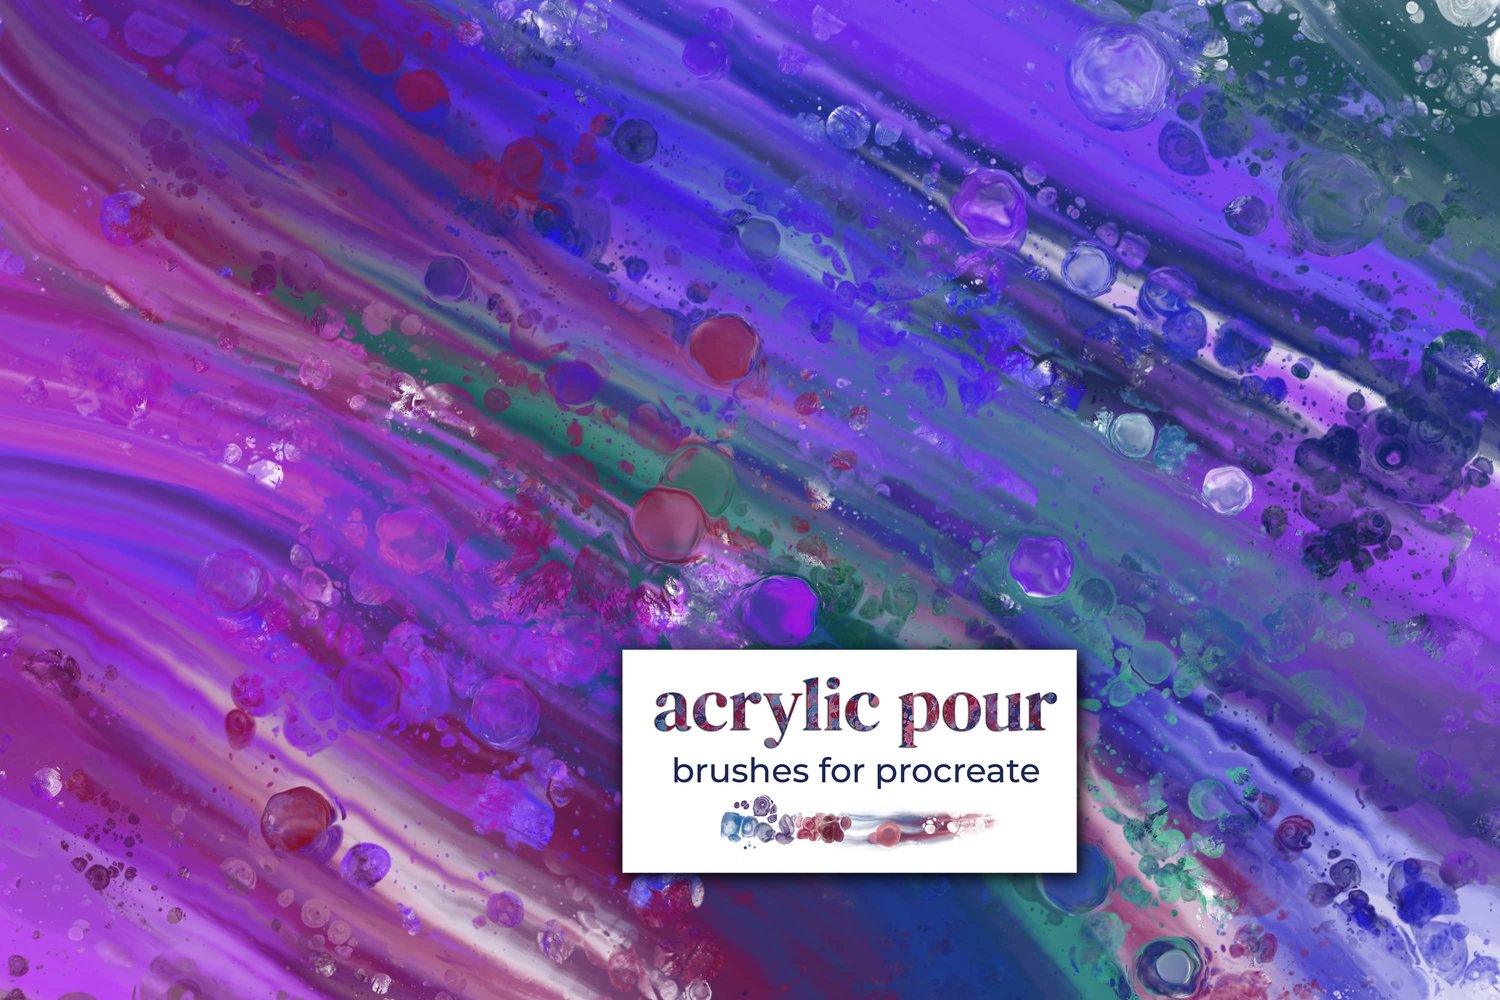
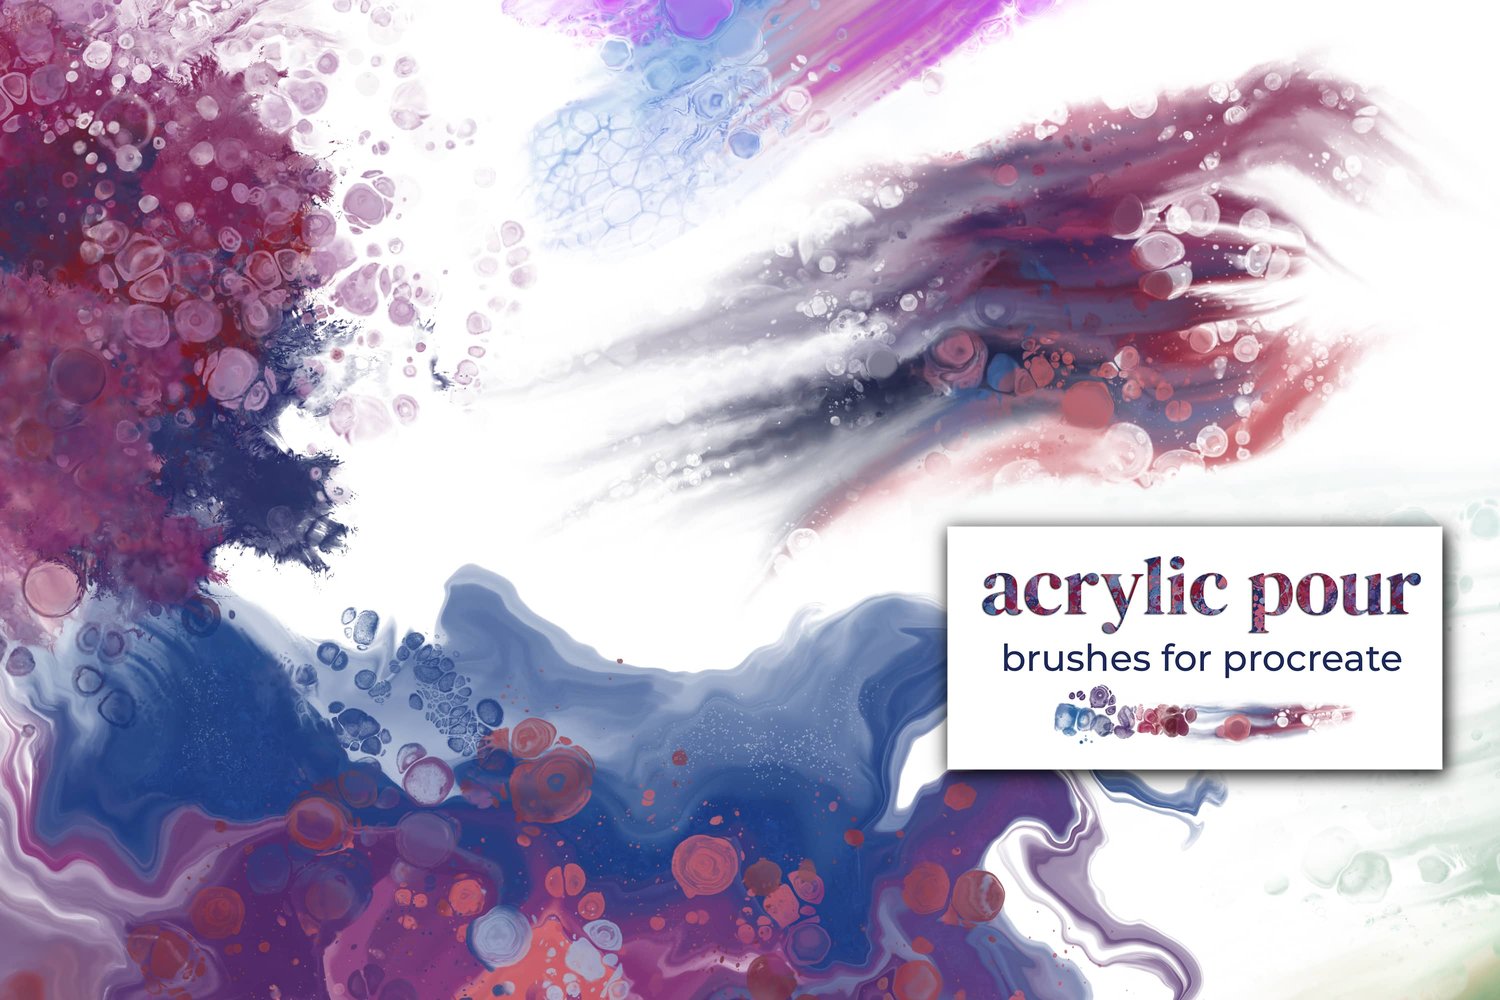
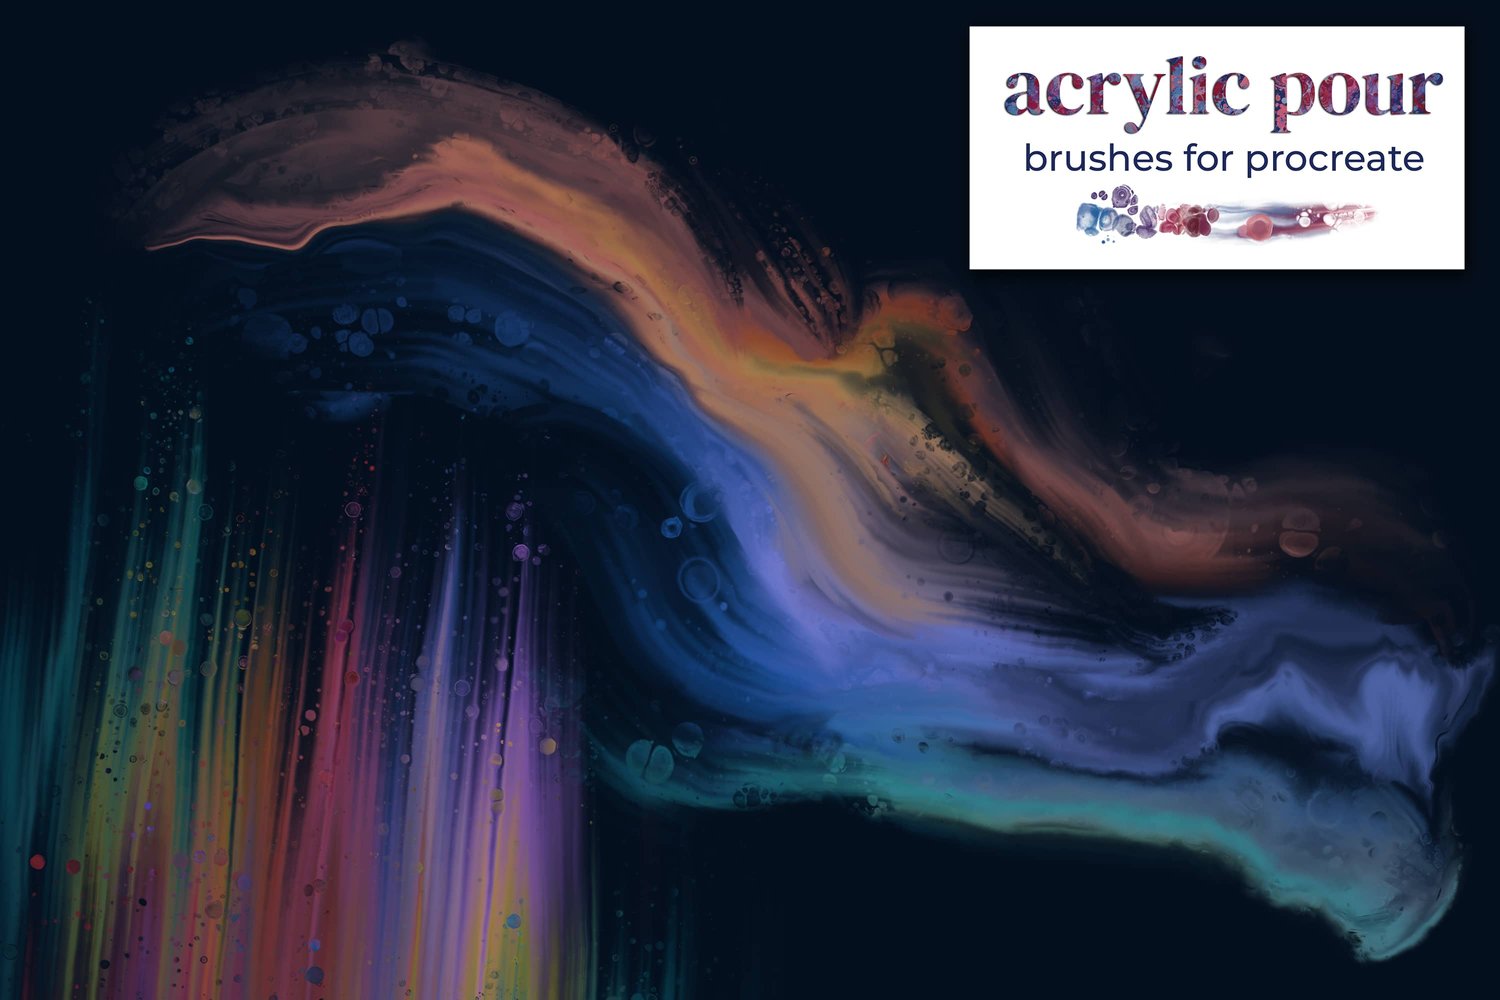
A little while ago I made a digital acrylic pour that looked pretty true to life, cells and all. But for today's tutorial I wanted to experiment a bit further, pushing it somewhere real paint could never go, layering patterns and blend modes on top until it turned into something a bit psychedelic. It was so much fun to make. If you want to see the realistic version first, here is my earlier digital acrylic pour tutorial.
Canvas Setup
- Canvas size: Screen size
- Brush sets used:
- Acrylic Pour
- Pattern Reveal
- Color palette: Pattern Reveal (included with the Pattern Reveal brushes)
- Background color: Black
Step 1: Set Up Your Canvas
Make a new canvas at screen size, then tap the background color and double tap near the black to set it to pure black. The dark background makes the bright pour colors glow, and it plays nicely with the masking we are about to do.
Step 2: Pour Your Base Layer
Brushes Used (Acrylic Pour):
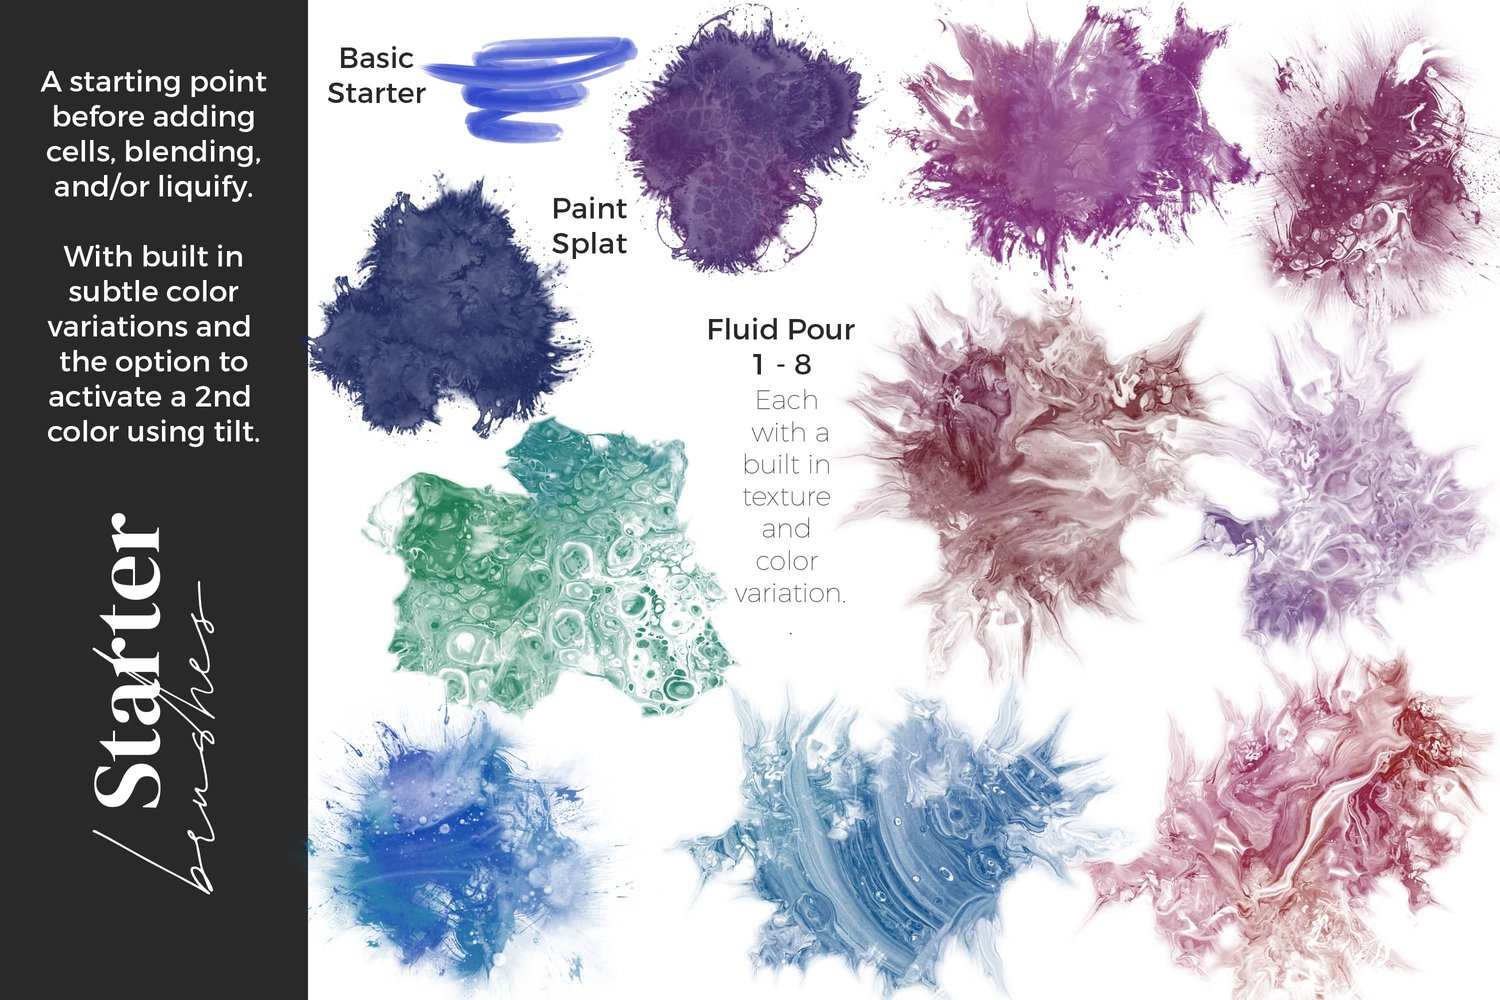
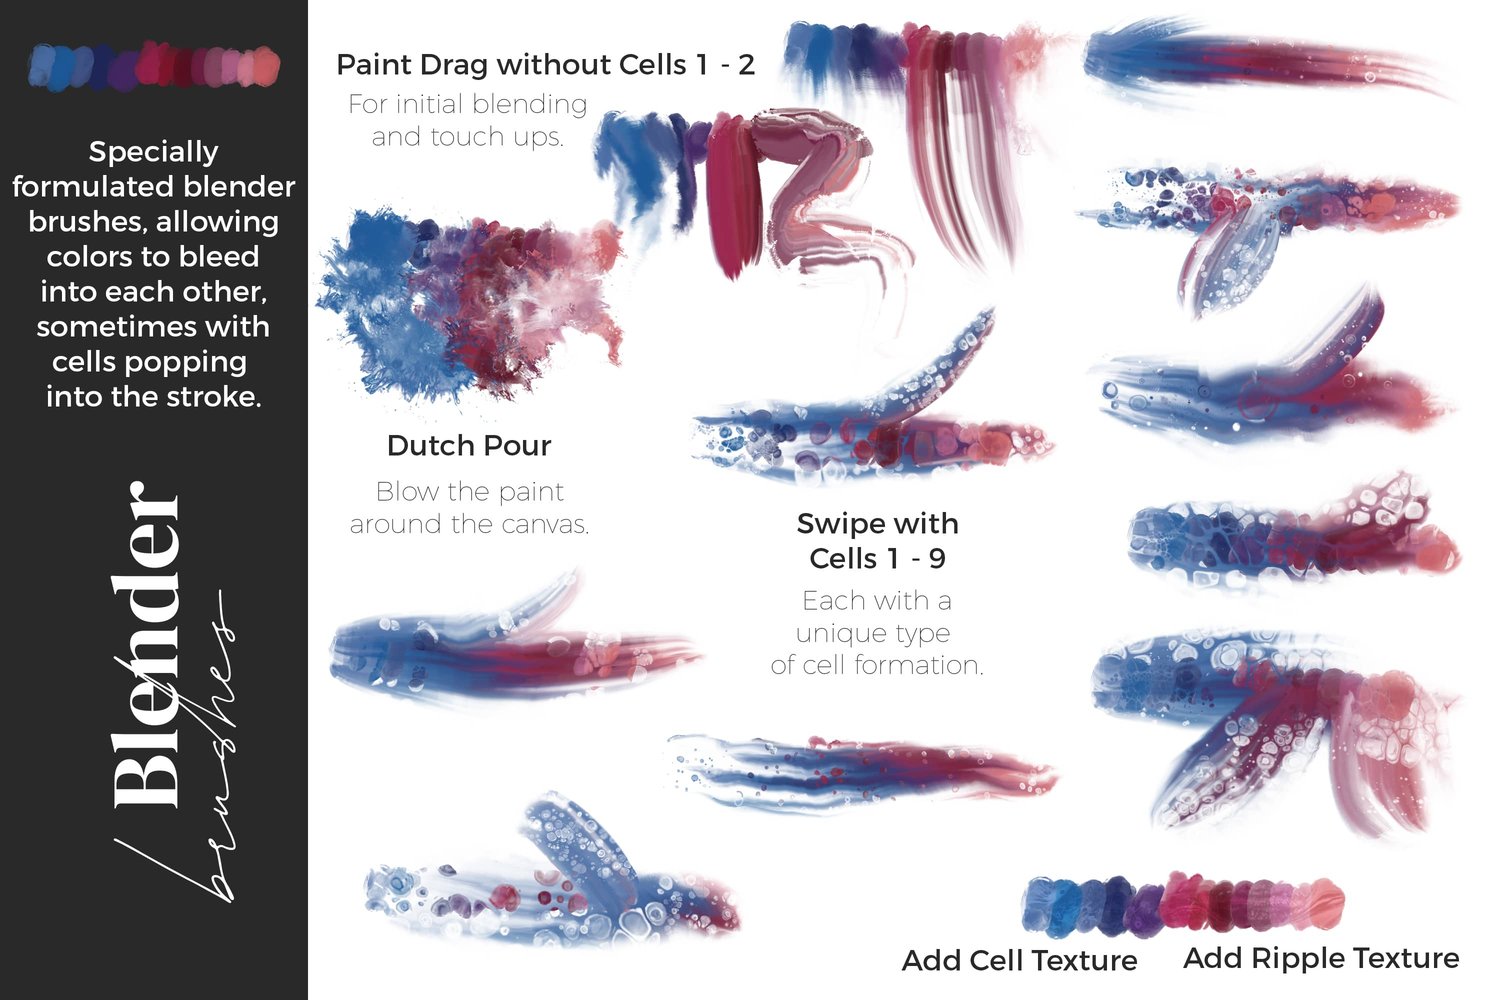
- Fluid Pour #2
Pick some bright colors from the Pattern Reveal palette and block them in across the layer, completely at random. Try not to plan this part at all. Rename the layer "Colors" so you know what you are looking at later.
Step 3: Add a Layer Mask and Hide the Color
Tap the Colors layer and tap Mask. Nothing looks different yet, because a new mask is white, and on a layer mask white reveals while black hides.
Set your color to pure black (double tap near the black, then check the hex reads all zeros), tap the mask, and choose Fill Layer. Your colors will vanish.
Note: the black you see is actually your background color showing through, not the mask turning black. The color is all still sitting there, just hidden. That is exactly what makes this non-destructive, and it is what lets you paint the pour back in wherever you want it.
Step 4: Paint the Pour Back In
Brushes Used (Acrylic Pour):
- Fluid Pour #7
- Fluid Pour #6
- Fluid Pour #4
Switch your color to white and start painting on the mask layer. Wherever you paint, the pour comes back. Move around the canvas uncovering texture in the spots that feel right. You are basically choosing where the pour gets to live. Don't overdo this step.
Step 5: Add Some Cells
Brushes Used (Acrylic Pour):
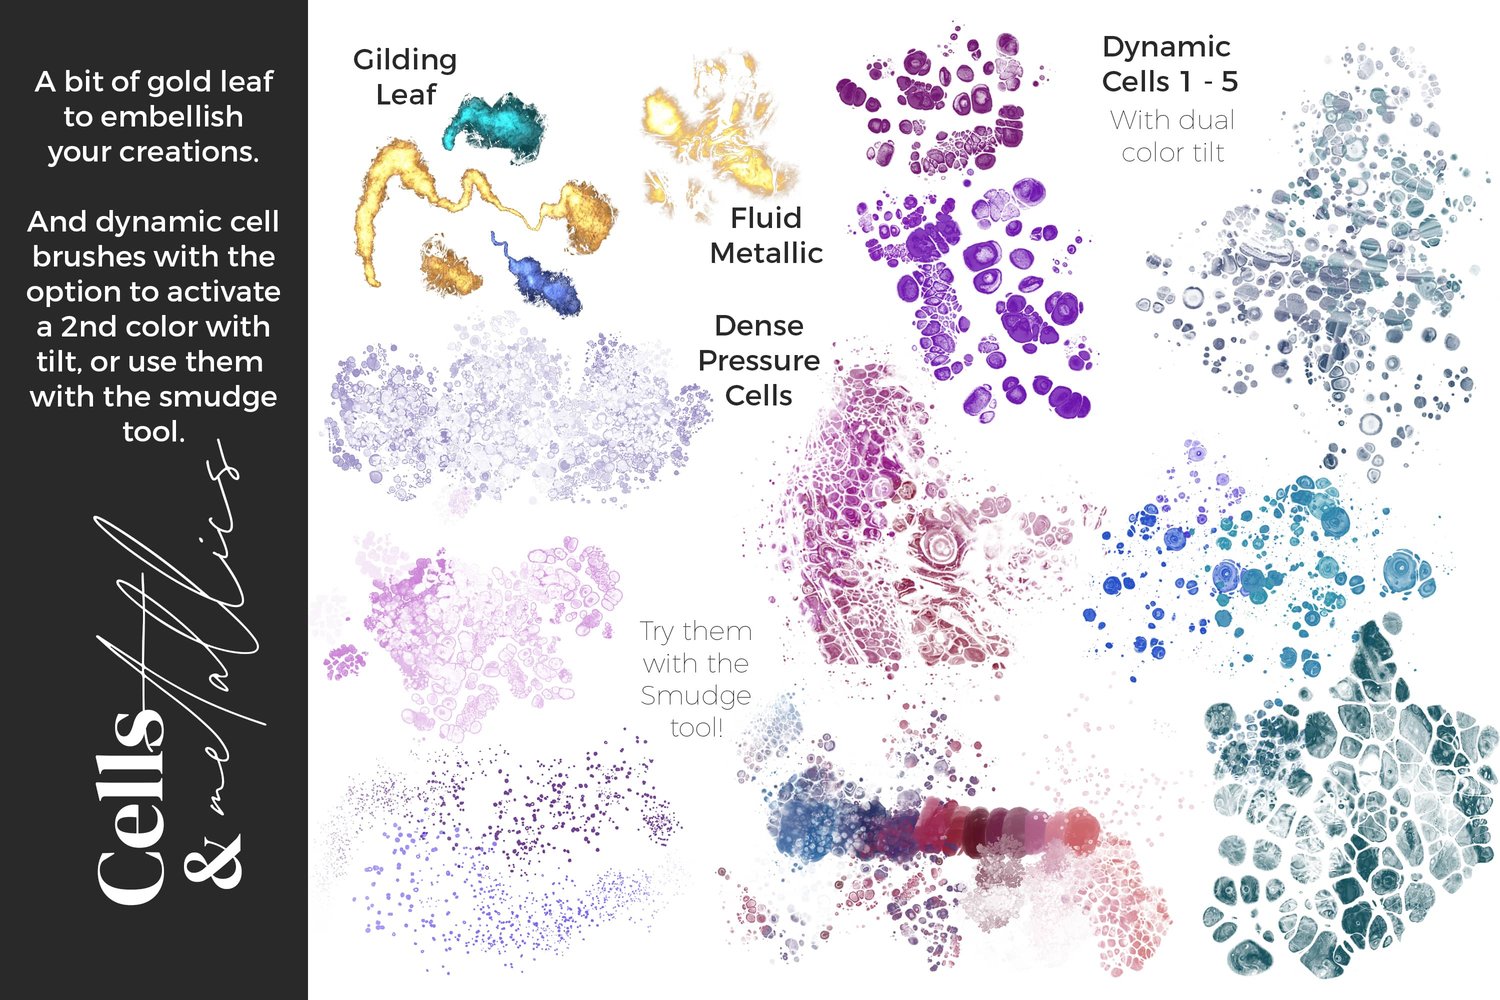
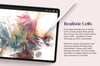
- Dynamic Cells #1
- Dynamic Cells #5
Still in white, still on the mask, tap these on sparingly rather than dragging them around. Tapping keeps the cells from piling up and overlapping into a muddle, so they read more like the real thing.
Step 6: Tidy Up With Black
Brush Used (Procreate Basics library):
- Forester
If a brush left a repeating shape you are not keen on, switch your color back to black and paint over it on the mask to hide it. The Forester brush from the basics library is lovely for this, it has a soft, natural edge. Because you are working on the mask, nothing is ever really erased, so you can go back and forth, revealing with white and covering up with black, as much as you like until it feels right.
Step 7: Merge, Duplicate and Brighten (Optional)
If you are happy with the mask, you can tap the layer and choose Merge Mask to free up a layer, though feel free to skip this if you might want to keep tweaking.
Now swipe left on the layer and Duplicate it. Everything brightens because you have two of the same thing stacked up. On the top copy, tap the N, change the blend mode to Add, then bring the opacity down to around 50%. It adds a glow and a bit more depth without taking over the whole piece.
Step 8: Make the Colors Pop With Difference
Add a new layer, name it "Top Colors," and set its blend mode to Difference.
Brushes Used (Acrylic Pour):
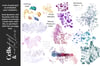
- Paint Splats with Cells
Paint over the texture with a dark blue, then a lighter blue, a light green, an orange, a peachy pink. Watch what happens as you go. Difference mode reacts with the colors already underneath and shifts them into brand new ones, so your orange might turn an area purple. You are adding color without actually covering anything up, and this is where it really starts getting psychedelic.
Step 9: Layer On the Patterns
This is the part you can only do digitally, and it is where the pour stops looking realistic on purpose.
Add another new layer, set it to Difference as well, and name it "Patterns." Pick a light, creamy off-white so the pattern picks up the colors below it.
Brushes Used (Pattern Reveal):
- Dotty Deco Stripe (Ornamental section)
- Sun, Moon and Stars (Celestial section)
- Rainy Day (Organic section)
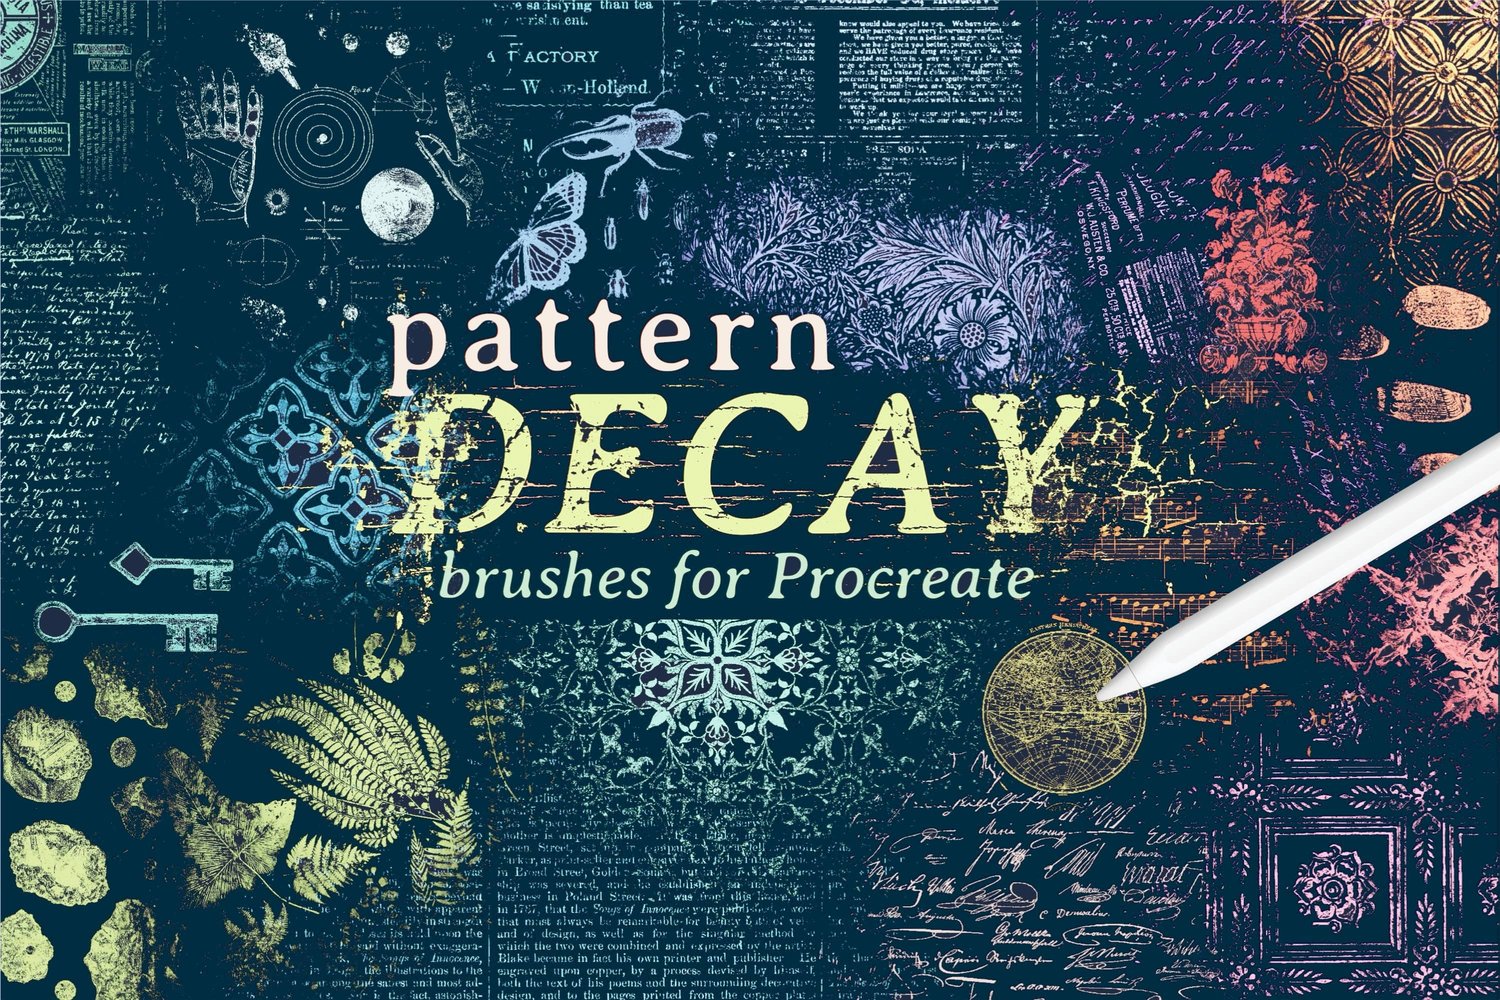
Remember that Pattern Reveal brushes are pressure sensitive, so the harder you press, the more of the pattern shows up. Start with Dotty Deco Stripe about a third of the way across, using the rule of thirds, and press harder in the spots that look interesting. Cluster the Sun, Moon and Stars over on the opposite side so the two patterns are not competing for the same space. Then scatter a little Rainy Day here and there to fill the gaps. The Difference mode recolors each pattern as it lands, so they sink into the pour instead of sitting on top like stickers.
More Optional Adjustments
This whole thing is an experiment, so treat every step as a suggestion. A few things worth playing with:
- Try Screen instead of Add on your duplicate layer for a different kind of glow.
- Lower the opacity of the pattern layer if it starts to feel like too much.
- Go into your base layer's Hue, Saturation, Brightness and pull the saturation down a touch if the colors feel a little too hot.
- Use just one pattern for something calmer, or pile them on for full chaos.
- Keep your mask un-merged so you can keep revealing or hiding the pour later on.
No two of these will ever come out the same, which is half the fun.
Final Thoughts
The whole point here is to follow your curiosity and see where it takes you. Real paint has its limits, and that is part of its charm, but digital lets you keep asking "what if" long after the pour would have set. So give yourself permission to make something loud, a little bit ridiculous, and completely your own.